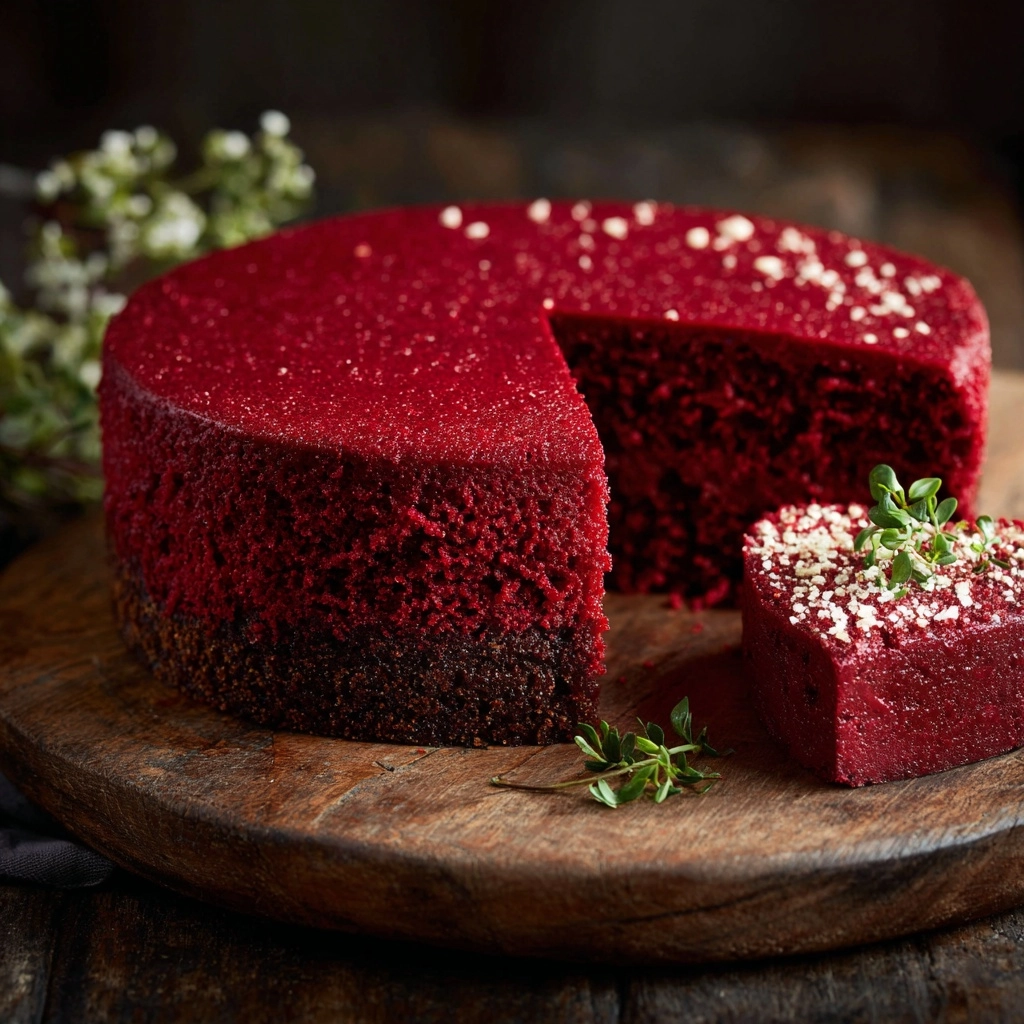
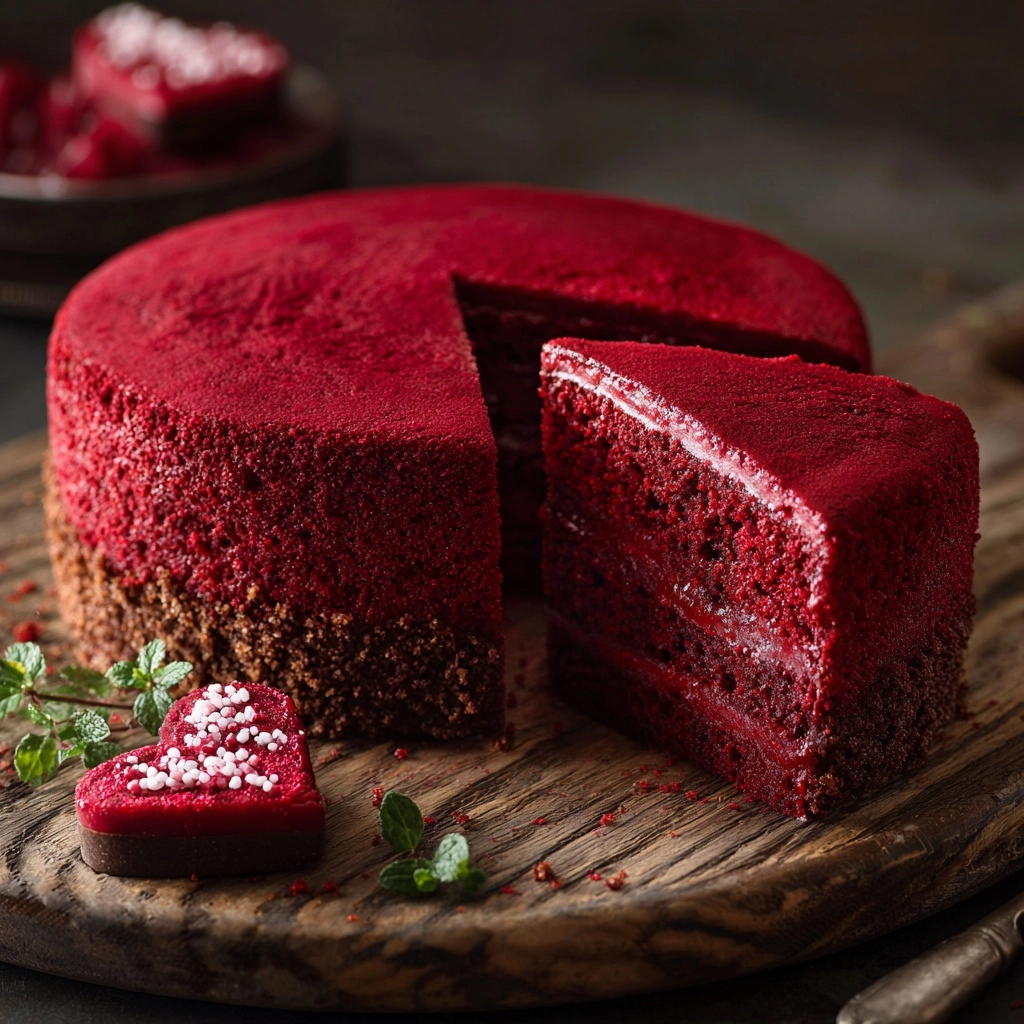
If you’re looking to impress your sweetheart or simply indulge in a deliciously decadent treat, this Valentine’s Day Red Velvet Cheesecake Recipe is an absolute showstopper. Combining the rich, tangy creaminess of classic cheesecake with the vibrant color and subtle cocoa flavor of red velvet, this dessert brings romance and flavor together in every bite. It’s a perfect centerpiece for a special evening, offering a delightful balance of texture and taste that will have everyone asking for seconds.
Ingredients You’ll Need
Though the ingredients list might look long at first glance, each item plays a simple but essential role in creating the perfect harmony of flavors and textures. From the chocolate cookie crumbs that build a sturdy crust to the splash of red food coloring that makes it unmistakably festive, every ingredient contributes something special.
- Chocolate cookie crumbs: Use about 1 1/2 cups for a rich, crunchy crust base that contrasts beautifully with the creamy filling.
- Unsalted butter: 1/4 cup melted helps bind the crust while adding buttery flavor.
- Cream cheese: Three 8-ounce packages softened to silky smoothness create the cheesecake’s luscious core.
- Granulated sugar: 1 cup sweetens the filling without overwhelming the cocoa notes.
- Unsmoked cocoa powder: A tablespoon adds just a hint of chocolate depth that sets the red velvet apart.
- Sour cream: 1 cup adds tang and moisture, making the texture smooth and creamy.
- Buttermilk: Half a cup provides subtle acidity that enhances the red velvet flavor.
- Eggs: Two large eggs help the cheesecake set with a tender texture.
- Vanilla extract: Two teaspoons bring warmth and balance every bite.
- Red food coloring: One tablespoon is key to achieving that classic red velvet vibrancy.
- Heavy cream: Half a cup whipped with powdered sugar for the perfect topping.
- Powdered sugar: One tablespoon sweetens the whipped cream topping lightly.
- Fresh berries or heart-shaped sprinkles (optional): For a festive Garnish that adds color and whimsy.
How to Make Valentine’s Day Red Velvet Cheesecake Recipe
Step 1: Prepare the Crust
Start by preheating your oven to 325°F (160°C) and greasing a 9-inch springform pan, wrapping it in foil for a leak-proof water bath later. Mix the chocolate cookie crumbs with melted butter until evenly combined, then press this mixture firmly into the bottom of your pan to create an even crust. Bake for 8 minutes to set the base, then remove and allow it to cool while you prepare the filling.
Step 2: Make the Cheesecake Filling
In a large mixing bowl, beat the softened cream cheese until it’s smooth and creamy without any lumps. Gradually add in the granulated sugar and cocoa powder, beating continuously so everything blends perfectly. Then, add sour cream, buttermilk, eggs, vanilla extract, and the red food coloring. Beat the mixture until it turns a smooth, uniform red. Be sure to scrape down the sides as you mix to incorporate everything evenly before pouring this luscious filling onto your cooled crust.
Step 3: Bake in a Water Bath
Place the springform pan inside a larger roasting pan and pour about an inch of hot water into the outer pan to create a gentle water bath that prevents cracking. Bake your cheesecake for 60 to 70 minutes until the center is set but maintains a slight jiggle. Once done, turn off the oven and crack open the door, letting the cheesecake cool inside for one hour before moving it to the refrigerator to chill for at least four hours or overnight.
Step 4: Adding the Whipped Topping
When you’re ready to serve, whip the heavy cream with the powdered sugar until soft peaks form—a decadent crown for your cheesecake. Spread or pipe this topping over the chilled dessert, adding beautiful fresh berries or heart-shaped sprinkles if you’re aiming for an extra romantic touch perfect for Valentine’s Day.
How to Serve Valentine’s Day Red Velvet Cheesecake Recipe

Garnishes
The topping is where creativity shines. Fresh berries like raspberries, strawberries, or blueberries complement the red velvet flavors wonderfully and bring a bit of tart freshness. For a more playful look, sprinkle heart-shaped sprinkles or edible glitter to match the festive spirit of Valentine’s Day.
Side Dishes
This cheesecake pairs beautifully with a light glass of champagne or a rich cup of espresso, balancing the richness and sweetness. If you want to keep desserts coming, simple vanilla ice cream or a berry compote on the side can make the entire experience feel lavish without overwhelming the palate.
Creative Ways to Present
Consider presenting your Valentine’s Day Red Velvet Cheesecake Recipe on a cake stand decorated with rose petals or delicate fairy lights to set the mood. You could also slice individual servings into heart shapes using cookie cutters for a charming personal touch that’s sure to wow anyone you share it with.
Make Ahead and Storage
Storing Leftovers
This cheesecake keeps wonderfully in the fridge for up to two days. Be sure to cover it tightly with plastic wrap or store it in an airtight container to maintain its silky texture and rich flavor without drying out.
Freezing
If you want to make the Valentine’s Day Red Velvet Cheesecake Recipe ahead of time, it freezes well. Wrap the whole cheesecake or individual slices tightly in plastic wrap and foil, and freeze for up to one month. When ready to enjoy, thaw overnight in the refrigerator.
Reheating
Since cheesecake is best served chilled, avoid microwaving. Instead, allow frozen slices to thaw slowly in the fridge before serving to preserve the creamy consistency and vibrant color.
FAQs
Can I use regular milk instead of buttermilk?
While regular milk can be used in a pinch, buttermilk provides acidity that enhances the red velvet’s characteristic tang and tender texture. You can make a buttermilk substitute by adding 1 tablespoon of lemon juice or vinegar to 1/2 cup of milk and letting it sit for 5 minutes before using.
What type of red food coloring works best for this recipe?
Gel or paste red food coloring is preferred since it delivers vibrant color without adding excess liquid to the batter. Liquid coloring can be used, but you may need to adjust the amount slightly to avoid thinning the mixture.
Why is the water bath necessary when baking cheesecake?
The water bath creates a moist baking environment, which helps the cheesecake cook evenly and prevents cracks on the surface by moderating oven temperature.
Can I make this recipe gluten-free?
Yes! Simply substitute the chocolate cookie crumbs with gluten-free chocolate cookie crumbs to maintain that delicious crust without gluten concerns.
How should I slice the cheesecake for clean pieces?
Run a knife under hot water before slicing, then wipe it clean between cuts. This simple step ensures neat slices and prevents the cheesecake from sticking to the blade.
Final Thoughts
There’s nothing quite like sharing a homemade dessert that feels both indulgent and lovingly crafted, and this Valentine’s Day Red Velvet Cheesecake Recipe delivers exactly that. Its beautiful crimson color, velvety texture, and irresistible flavor make it the perfect way to say “I love you” or to treat yourself on a special day. Give it a try, and watch as it becomes one of your most cherished recipes to make year after year.
Print
Valentine’s Day Red Velvet Cheesecake Recipe
- Prep Time: 25 minutes
- Cook Time: 1 hour 10 minutes
- Total Time: 5 hours 35 minutes
- Yield: 12 servings
- Category: Dessert
- Method: Baking
- Cuisine: American
- Diet: Vegetarian
Description
This Valentine’s Day Red Velvet Cheesecake is a luscious dessert combining a rich cream cheese filling with a vibrant red hue and a chocolate cookie crust. Topped with whipped cream and optional fresh berries or heart-shaped sprinkles, it’s perfect for a romantic celebration or any special occasion.
Ingredients
For the crust:
- 1 1/2 cups chocolate cookie crumbs (such as Oreos, without filling)
- 1/4 cup unsalted butter, melted
For the cheesecake:
- 3 (8-ounce) packages cream cheese, softened
- 1 cup granulated sugar
- 1 tablespoon unsweetened cocoa powder
- 1 cup sour cream
- 1/2 cup buttermilk
- 2 large eggs
- 2 teaspoons vanilla extract
- 1 tablespoon red food coloring
For the topping:
- 1/2 cup heavy cream
- 1 tablespoon powdered sugar
- Fresh berries or heart-shaped sprinkles (optional)
Instructions
- Prepare the crust: Preheat the oven to 325°F (160°C). Grease a 9-inch springform pan and wrap the outside with foil to prevent leaks. In a small bowl, combine chocolate cookie crumbs and melted butter until fully mixed. Press the crumb mixture firmly into the bottom of the pan to form an even crust. Bake for 8 minutes, then set aside to cool.
- Make the cheesecake filling: In a large bowl, beat the softened cream cheese until smooth and creamy. Add granulated sugar and cocoa powder, beating until fully combined. Mix in sour cream, buttermilk, eggs, vanilla extract, and red food coloring. Beat until the mixture is smooth and evenly colored, scraping down the bowl sides as needed. Pour the cheesecake filling over the cooled crust.
- Bake in a water bath: Place the springform pan into a larger roasting pan. Add about 1 inch of hot water to the outer pan to create a water bath. Bake for 60 to 70 minutes, until the center is set but still slightly jiggly. Turn off the oven, crack the door, and let the cheesecake cool inside for 1 hour.
- Chill the cheesecake: Remove the cheesecake from the oven and water bath. Chill it in the refrigerator for at least 4 hours or overnight to fully set and develop flavor.
- Prepare the topping and serve: Before serving, whip the heavy cream with powdered sugar until soft peaks form. Spread or pipe the whipped cream over the chilled cheesecake. Garnish with fresh berries or festive heart-shaped sprinkles if desired. Slice with a knife warmed under hot water for clean cuts.
Notes
- To make slicing easier, run a knife under hot water and wipe clean between each cut.
- The cheesecake can be made up to 2 days in advance and stored in the refrigerator.

