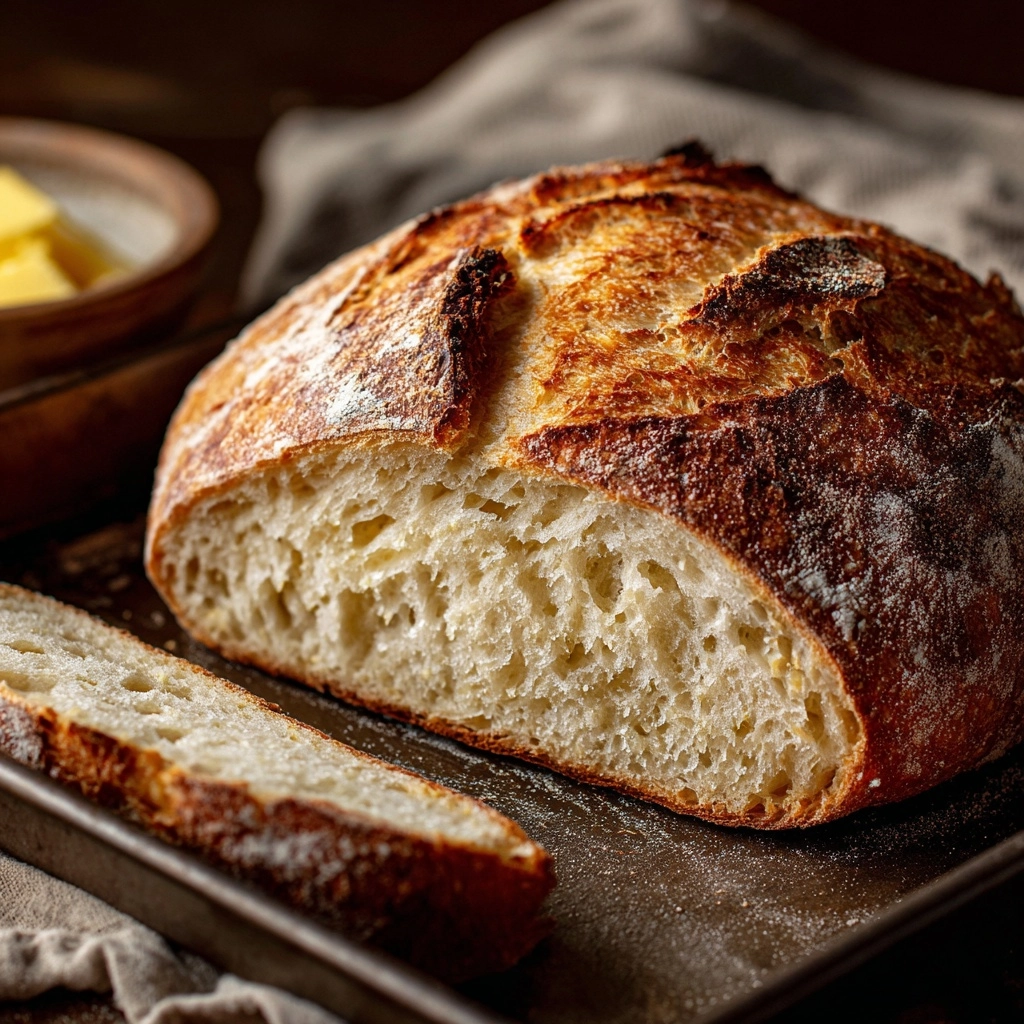
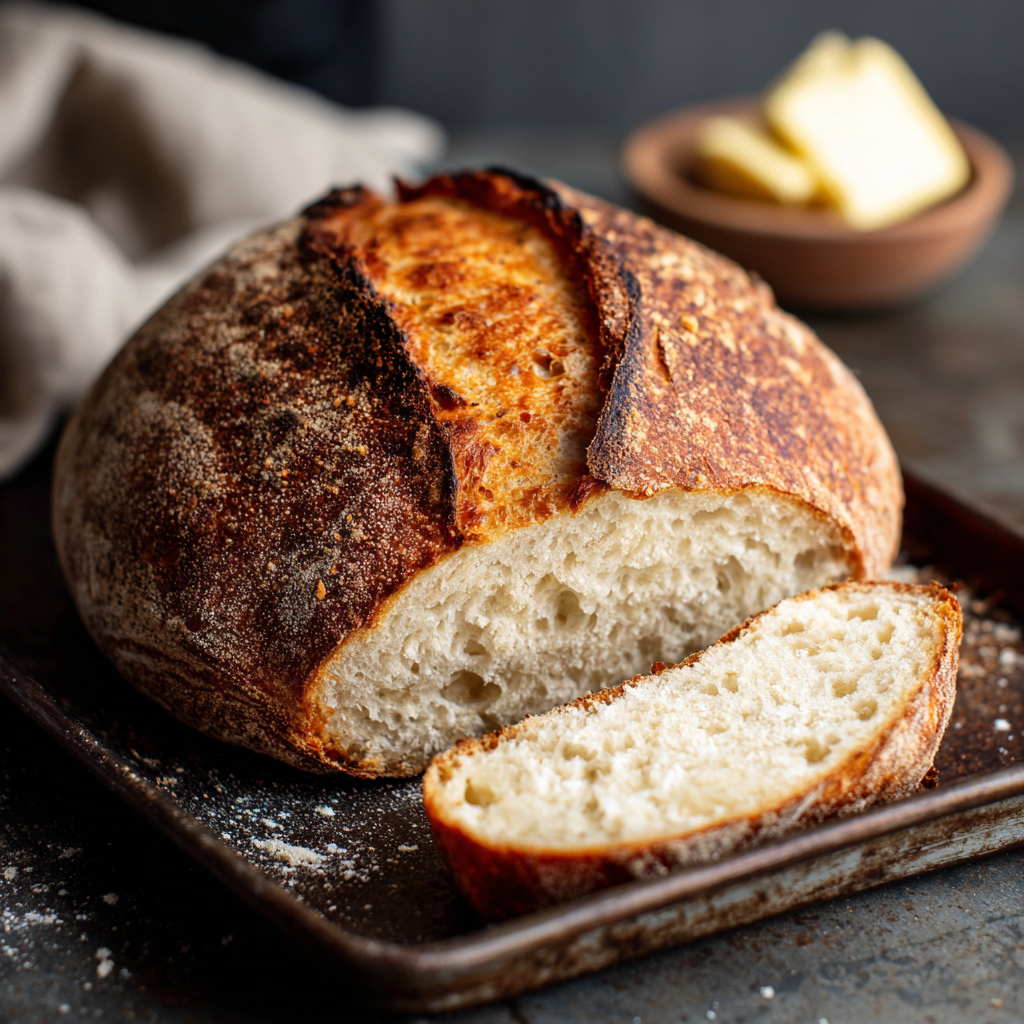
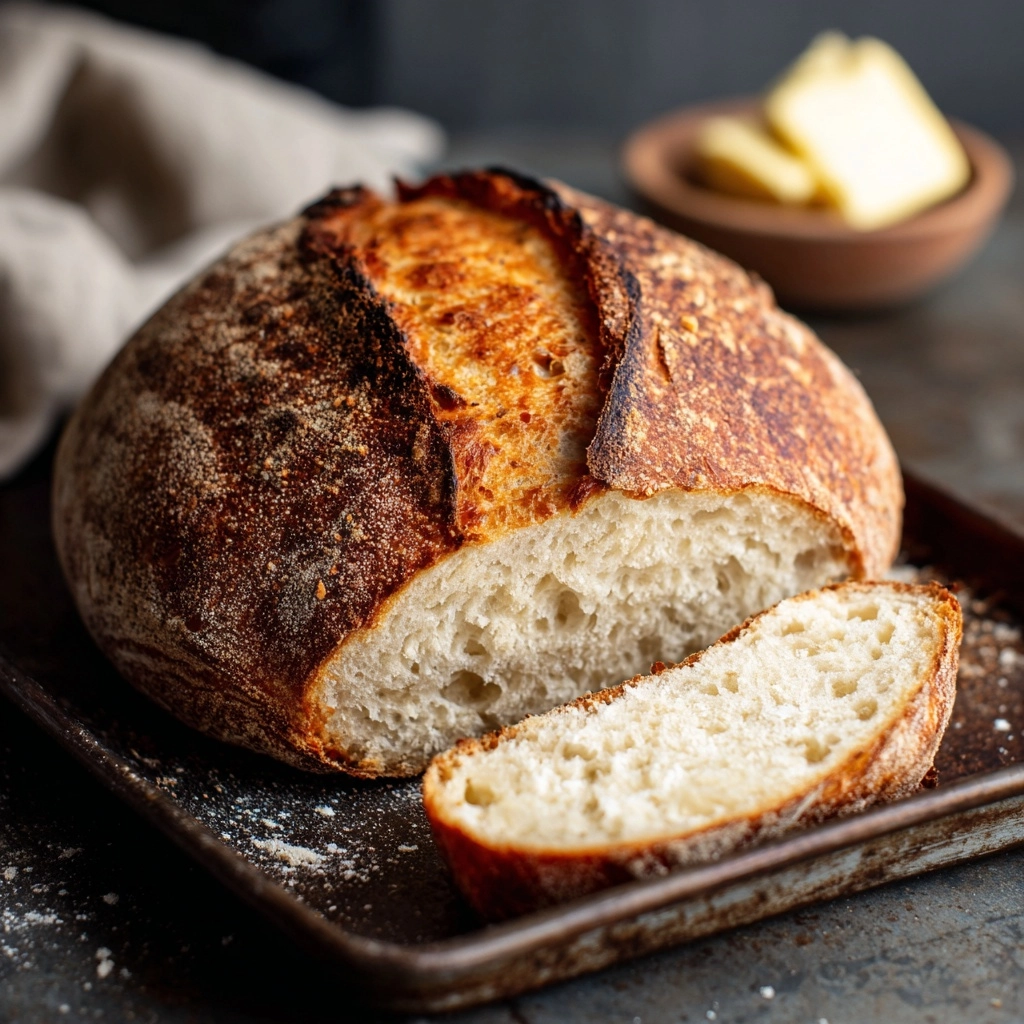
If you’re ready to meet your new favorite loaf, this Soft Sourdough Sandwich Bread is here to steal the show. Imagine a golden-crusted, tender-crumbed bread with just the right amount of tang, softness, and springiness—absolutely perfect for sandwiches, toast, or simply slathering with butter. This recipe blends the rustic character of sourdough with the pillowy softness we all crave in everyday sandwich loaves. Whether you’re a seasoned sourdough pro or just learning the ropes, this bread is about to become a beloved staple in your baking routine.

Ingredients You’ll Need
One of the many joys of Soft Sourdough Sandwich Bread is how a handful of essential, everyday ingredients come together to make something magical. Each element plays a key role, from the humble starter to a drizzle of honey—so let’s look at what you’ll need, and why.
- Sourdough Starter (1 cup, active, 100% hydration): This is the lifeblood of your loaf, providing rise, flavor, and that signature tang.
- Warm Water (1 1/4 cups): Helps dissolve the honey and starter, ensuring a smooth and hydrated dough.
- Honey (2 tablespoons): Adds just a touch of natural sweetness and promotes a soft crumb and golden crust.
- Olive Oil or Melted Butter (2 tablespoons): Infuses richness and keeps the bread tender for days, so use your favorite for a flavor boost.
- Bread Flour (3 1/2 cups, plus more as needed): The higher protein content gives Soft Sourdough Sandwich Bread its structure and classic chewy softness.
- Salt (1 1/2 teaspoons): Vital for flavor—a good bread quietly relies on just the right amount of salt for perfect balance.
How to Make Soft Sourdough Sandwich Bread
Step 1: Mix the Wet Ingredients
In a large mixing bowl, whisk together the active sourdough starter, warm water, honey, and olive oil or melted butter. You want the mixture to look creamy and smooth at this point; this will help the flour hydrate evenly later. Taking the time to fully blend the wet ingredients now makes the dough much easier to bring together, and you’ll notice the starter dissolves nicely with a bit of whisking.
Step 2: Add Dry Ingredients and Combine
Sprinkle the bread flour and salt over the wet mixture. With a sturdy spoon or just your hands (which is half the fun!), mix until a shaggy dough forms. Don’t panic if it looks rough around the edges—this is exactly how it should look before you give it a little resting time to fully develop.
Step 3: Autolyse (Rest the Dough)
Let the dough rest, uncovered, for 30 minutes. This quick pause (called autolyse) lets the flour absorb the water completely and encourages gluten to start developing naturally. You’ll be amazed at how much smoother and stretchier the dough gets with a bit of patience!
Step 4: Stretch and Folds
Now for a baker’s secret weapon: the stretch and fold! Every 30 minutes for the next 2 hours, gently grab an edge of the dough, stretch it up, and fold it over the middle. Rotate the bowl and repeat three more times for a total of four folds per session. Complete this routine four times. This action builds incredible structure without any hard kneading—so your Soft Sourdough Sandwich Bread will be airy and lofty, just like the best bakery loaves.
Step 5: Bulk Fermentation
Cover your bowl with a damp towel or plastic wrap and let the dough rise at room temperature for 4 to 6 hours, until it’s billowy and nearly doubled in size. The fermentation here is what gives your loaf flavor and softness; you’ll notice lovely bubbles forming, and the dough should jiggle slightly if you nudge the bowl.
Step 6: Shape the Dough
Lightly flour your work surface and gently turn out the dough. Shape it into a log, tucking and rolling until it fits snugly into a greased 9×5-inch loaf pan, seam side down. This shaping step creates a tight loaf that will rise beautifully and slice perfectly for sandwiches.
Step 7: Final Proof
Cover the pan and let the dough rise for 1 to 2 hours, until it just peaks over the rim of your pan. If you want a more pronounced sour tang, you can pop the shaped loaf in the fridge overnight at this point and bake it the next morning—more on that trick below!
Step 8: Baking
Preheat your oven to 375°F (190°C). Bake the bread for 35 to 40 minutes, or until it’s gloriously golden and sounds hollow when tapped. That’s your cue it’s done. Remove from the pan and let cool completely on a wire rack—don’t skip this, as the crumb continues to set and develop as it cools.
How to Serve Soft Sourdough Sandwich Bread

Garnishes
A warm slice of Soft Sourdough Sandwich Bread needs little embellishment, but a brush of melted butter right after baking creates an irresistible sheen and soft crust. For variety, try a sprinkle of flaky sea salt, a light dusting of cinnamon sugar, or even a brush of honey if you like a hint of sweetness.
Side Dishes
This bread makes an incredible base for any meal. Pair it with a rich, creamy soup (tomato is a classic combo), a crisp side salad for lunch, or serve slices alongside a cheese and charcuterie board. Don’t overlook how stunning it is simply toasted and topped with your favorite spreads at breakfast.
Creative Ways to Present
For an eye-catching brunch platter, cut the Soft Sourdough Sandwich Bread into thick slabs and arrange with butter rosettes and homemade jam. Make finger sandwiches for a tea party, or transform slices into savory grilled cheese or luscious French toast—this loaf is endlessly versatile.
Make Ahead and Storage
Storing Leftovers
Keep your Soft Sourdough Sandwich Bread fresh for up to four days by storing it in a breathable bread bag or wrapping it loosely in a clean kitchen towel. Avoid refrigerating, as this can dry out the tender crumb. Leaving the loaf unsliced until you’re ready to enjoy it will help extend its softness.
Freezing
This bread freezes beautifully! Once completely cooled, slice the loaf and layer slices with parchment paper, then seal in a freezer bag. That way, you can grab a piece or two as needed—just pop straight into the toaster or let thaw at room temperature.
Reheating
For that just-baked taste, refresh slices in a toaster or briefly warm them in a low oven (300°F) for a few minutes. If you froze your bread, there’s no need to thaw first; toasting brings it back to life in moments, making it taste like you’ve just pulled it from the oven.
FAQs
What type Bread
You’ll want an active starter at 100% hydration (equal parts water and flour by weight). Feed your starter 4 to 6 hours before baking so it’s bubbly and lively—this provides the best rise and flavor for your Soft Sourdough Sandwich Bread.
Can I use all-purpose flour instead of bread flour?
You can substitute all-purpose flour in a pinch, though bread flour’s higher protein delivers a chewier, taller loaf. If using all-purpose, expect a slightly softer but still enjoyable texture—your crumb might be more delicate but still sandwich-worthy.
How do I get a stronger sour flavor?
For an extra-tangy Soft Sourdough Sandwich Bread, allow the shaped loaf to proof in the refrigerator overnight, then bake directly from the fridge the next day. The extended cold fermentation deepens flavor without compromising softness.
What’s the best way to slice this bread without squishing it?
Be sure the loaf is completely cool before slicing, as cutting while warm can squash the tender crumb. Use a sharp, serrated bread knife and gentle sawing motions for even, bakery-style slices every time.
Can I double the recipe?
Absolutely! Double the ingredients and divide the dough between two loaf pans. Just be sure your oven can accommodate both loaves side-by-side for even baking, and keep an eye on them near the end of the bake.
Final Thoughts
There’s something incredibly rewarding about pulling a golden loaf of Soft Sourdough Sandwich Bread from your oven and knowing you made it yourself. Whether you enjoy it in a towering sandwich, toasted for breakfast, or simply with a pat of butter, this bread is destined to become a cherished part of your homemade bread rotation. Give it a try, and prepare to fall in love!
Print
Soft Sourdough Sandwich Bread Recipe
- Prep Time: 25 minutes (active)
- Cook Time: 40 minutes
- Total Time: 10–12 hours (including fermentation and proofing)
- Yield: 1 loaf (about 12 slices)
- Category: Bread
- Method: Baking
- Cuisine: American
- Diet: Vegetarian
Description
Learn how to make a delicious Soft Sourdough Sandwich Bread at home with this easy recipe. This bread is perfect for sandwiches or toast, with a soft texture and a hint of tangy sourdough flavor.
Ingredients
For the Bread:
- 1 cup active sourdough starter (100% hydration)
- 1 1/4 cups warm water
- 2 tablespoons honey
- 2 tablespoons olive oil or melted butter
- 3 1/2 cups bread flour (plus more as needed)
- 1 1/2 teaspoons salt
Instructions
- Mix the Ingredients: In a large mixing bowl, whisk together the sourdough starter, warm water, honey, and oil. Add the flour and salt, mix until a shaggy dough forms.
- Rest the Dough: Let the dough rest for 30 minutes (autolyse).
- Stretch and Fold: Perform a series of stretch and folds every 30 minutes for 2 hours.
- Bulk Ferment: Cover the bowl and let the dough rise at room temperature for 4 to 6 hours.
- Shape and Proof: Shape the dough into a log, place in a loaf pan, let rise for 1 to 2 hours.
- Bake: Preheat the oven, bake the bread for 35–40 minutes until golden brown.
- Cool and Slice: Let the bread cool on a wire rack before slicing.
Notes
- For a tangier flavor, proof the dough in the refrigerator overnight.
- This bread is great for sandwiches or toast.
- Store at room temperature or freeze for longer storage.
Nutrition
- Serving Size: 1 slice
- Calories: 150
- Sugar: 2g
- Sodium: 210mg
- Fat: 3g
- Saturated Fat: 0.5g
- Unsaturated Fat: 2.5g
- Trans Fat: 0g
- Carbohydrates: 26g
- Fiber: 1g
- Protein: 4g
- Cholesterol: 0mg


