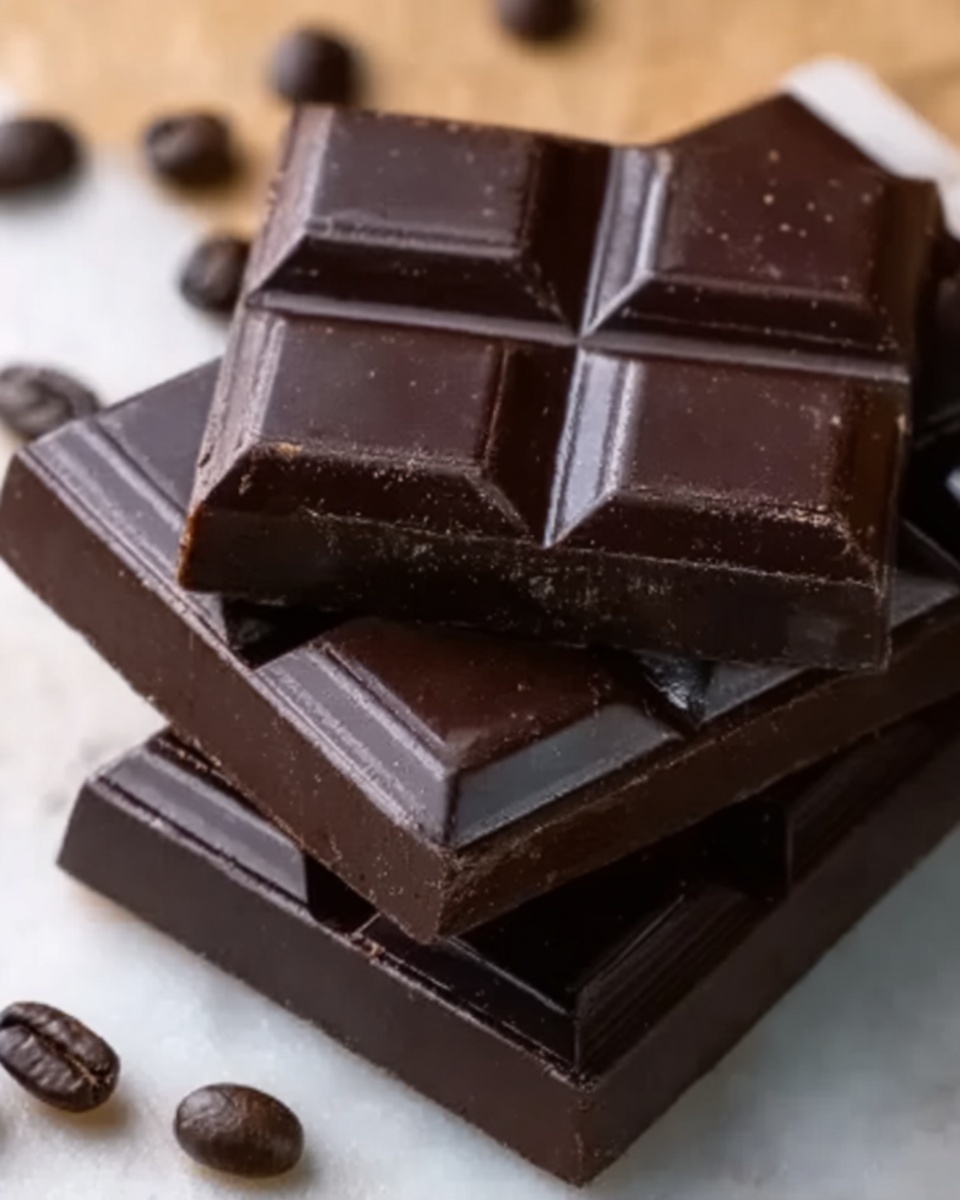
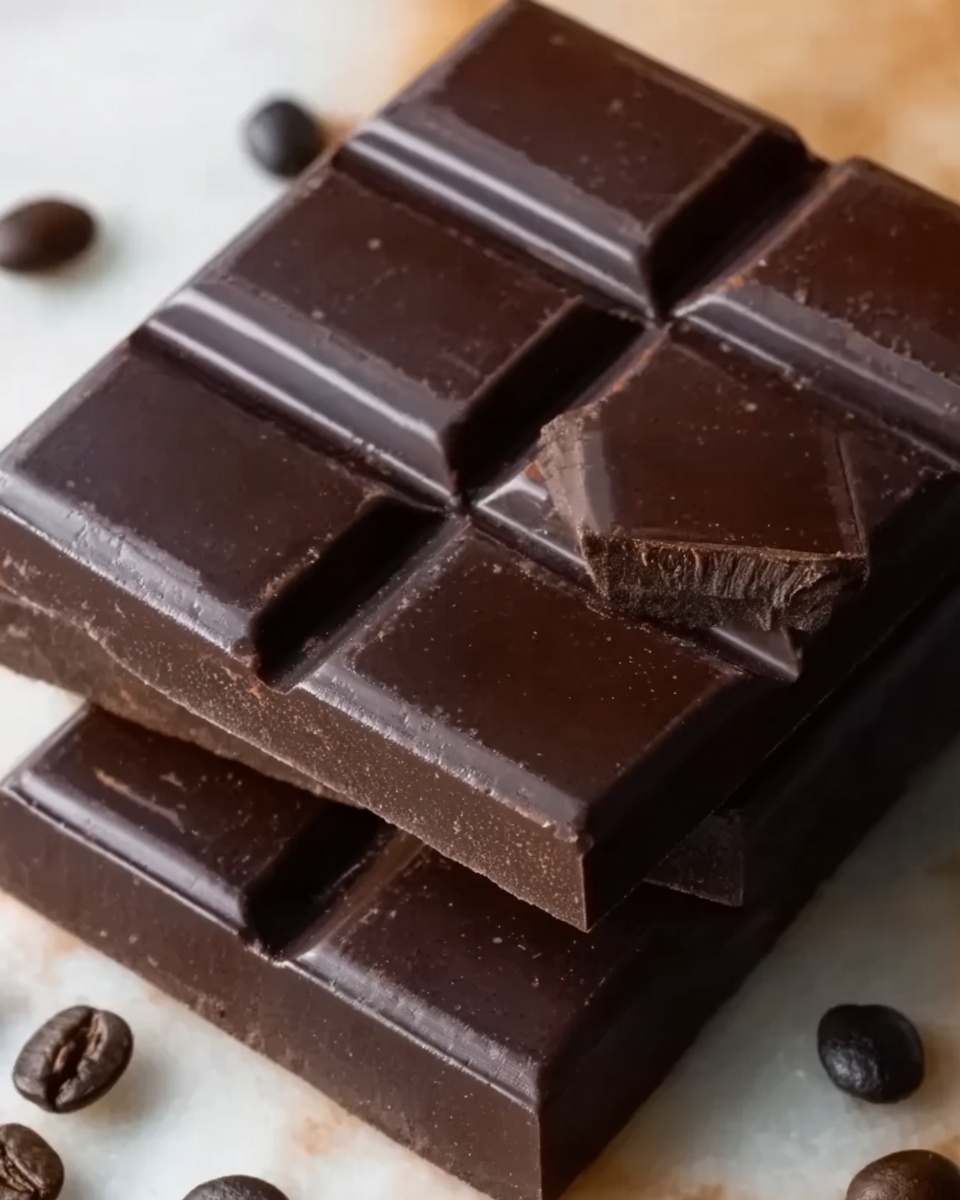
If you have ever dreamed of crafting your very own sweet treat from scratch, let me introduce you to this delightful Homemade Chocolate Bars Recipe. Rich, velvety, and customizable to your heart’s desire, these bars combine the purest ingredients to create chocolate that feels indulgent yet wholesome. Whether you prefer a smooth, classic bite or love adding texture with nuts and dried fruits, this recipe is your golden ticket to chocolate heaven right in your kitchen. It’s surprisingly simple, requires no complicated tools, and delivers that satisfying snap of high-quality chocolate you’ll be so proud to share.
Ingredients You’ll Need
These ingredients are wonderfully straightforward but each plays a crucial role in delivering the perfect balance of flavor, texture, and appearance. From the silky cocoa butter to the slight sweetness and hint of vanilla, every component harmonizes to bring the chocolate bars to life.
- 1 cup cocoa butter, chopped: The secret to smooth, melt-in-your-mouth texture and that beautiful glossy finish.
- 3/4 cup unsweetened cocoa powder (or cacao powder for raw chocolate): Provides the deep chocolate flavor that’s essential for richness.
- 1/4 cup powdered sugar or maple syrup (for sweetness): Balances the natural bitterness of cocoa with just the right touch of sweetness.
- 1/2 teaspoon vanilla extract: Enhances all the chocolate notes with warm, aromatic undertones.
- Pinch of salt: A subtle accent that intensifies the chocolate flavor and rounds everything out.
- Optional add-ins (chopped nuts, dried fruit, shredded coconut, or sea salt): Customize your bars to add crunch, chewiness, or an extra flavor boost.
How to Make Homemade Chocolate Bars Recipe
Step 1: Melt the Cocoa Butter
Start by gently melting your cocoa butter in a double boiler or a heatproof bowl set over simmering water. This slow heating method keeps it smooth and prevents scorching, giving you that perfect silky base to work with.
Step 2: Combine the Ingredients
Once melted, remove the bowl from heat and whisk in your cocoa powder, powdered sugar (or maple syrup), vanilla extract, and a pinch of salt. Whisk thoroughly until the mixture is completely smooth with no lumps. This is where the magic happens, turning simple ingredients into luscious chocolate.
Step 3: Shape Your Bars
Pour the chocolate mixture into silicone chocolate bar molds or a parchment-lined baking dish. Molds give you neat individual bars; a baking dish can be sliced later for rustic pieces.
Step 4: Add Your Favorite Mix-Ins
Sprinkle over any chopped nuts, dried fruits, shredded coconut, or even a little sea salt for contrast. Press these gently into the chocolate so they stick well once set. This step is all about making the recipe your own.
Step 5: Let it Set
Place your molds or dish in the refrigerator for 1 to 2 hours. Cooling allows everything to firm up nicely, so you get that satisfying snap when you bite.
Step 6: Unmold and Enjoy
Once fully set, pop the chocolate bars out of the molds or cut the slab into bars if you used a baking dish. Look at that gorgeous, smooth chocolate—ready to savor or gift.
Step 7: Store Properly
Keep your homemade creations fresh by storing them in an airtight container at room temperature or the fridge if you prefer a firmer texture. This will preserve their flavor and texture beautifully.
How to Serve Homemade Chocolate Bars Recipe

Garnishes
A sprinkle of flaky sea salt or a dusting of cocoa powder can elevate the presentation and add a delightful flavor pop. Fresh mint leaves or edible flowers also make for an eye-catching and fresh garnish to impress your guests.
Side Dishes
Serve these chocolate bars alongside a cup of rich espresso or creamy hot chocolate for the ultimate indulgence. They also pair wonderfully with fresh berries or a light fruit salad to balance the richness.
Creative Ways to Present
Wrap each bar individually in parchment or wax paper tied with a colorful ribbon to create charming homemade gifts. You can also sprinkle chopped nuts or crushed freeze-dried fruits on top before setting for a gourmet look that invites curiosity and delight.
Make Ahead and Storage
Storing Leftovers
Your leftover bars will stay fresh in an airtight container for up to two weeks at room temperature, ideally in a cool, dry place. Keep them away from strong-smelling foods to prevent flavor absorption.
Freezing
If you want to keep them for longer, wrap bars tightly with plastic wrap and place inside a freezer-safe container. They freeze beautifully and can last for up to three months, giving you chocolate on demand whenever the craving hits.
Reheating
To enjoy frozen bars at their best, allow them to thaw naturally at room temperature for about 30 minutes. Avoid reheating chocolate directly as it may lose its texture and shine.
FAQs
Can I use a different sweetener in this recipe?
Absolutely! This Homemade Chocolate Bars Recipe is very flexible. You can substitute powdered sugar with maple syrup, agave nectar, or even honey, but keep in mind these liquid sweeteners might slightly soften the texture.
What if I don’t have a double boiler?
No worries. You can create a makeshift double boiler using a heatproof bowl placed over a pot of gently simmering water. Just ensure the bowl doesn’t touch the water to prevent overheating the chocolate.
Can I make this recipe vegan?
Yes! Using maple syrup instead of powdered sugar and ensuring your add-ins are plant-based will keep the entire recipe vegan-friendly while keeping rich taste intact.
How do I avoid chocolate bloom or a dull finish?
Melting the cocoa butter carefully and not overheating any ingredients helps maintain glossy chocolate. Setting the bars in a cool environment and avoiding temperature fluctuations prevents bloom or white streaks.
What is the best way to add nuts or fruits?
For the best flavor and texture, add finely chopped nuts or dried fruit that is not too moist. Press the add-ins gently into the surface of the chocolate just before chilling to help them adhere well.
Final Thoughts
This Homemade Chocolate Bars Recipe is such a joy to make and even more fun to share. Once you get a taste of this creamy, customizable treat, store-bought chocolate will feel a little ordinary. So gather your ingredients, get your hands a little chocolatey, and experience the pure satisfaction that only homemade goodies can bring. You’ll find this recipe quickly becoming a go-to for gifting, indulging, or simply brightening any day.
Print
Homemade Chocolate Bars Recipe
- Prep Time: 15 minutes
- Cook Time: 5 minutes
- Total Time: 1 hour 20 minutes
- Yield: 10 servings
- Category: Dessert
- Method: Stovetop
- Cuisine: International
- Diet: Vegetarian
Description
Make your own rich and creamy homemade chocolate bars with just a few natural ingredients. This simple recipe uses cocoa butter, cocoa powder, and a touch of sweetness to create smooth, customizable chocolate bars. Add nuts, dried fruit, or shredded coconut for extra texture and flavor. Perfect for a healthy treat or gift!
Ingredients
Chocolate Base
- 1 cup cocoa butter, chopped
- 3/4 cup unsweetened cocoa powder (or cacao powder for raw chocolate)
- 1/4 cup powdered sugar or maple syrup (for sweetness)
- 1/2 teaspoon vanilla extract
- Pinch of salt
Optional Add-ins
- Chopped nuts
- Dried fruit
- Shredded coconut
- Sea salt
Instructions
- Melt Cocoa Butter: In a double boiler or heatproof bowl set over a saucepan of simmering water, melt the chopped cocoa butter while stirring until smooth and fully liquid.
- Mix Ingredients: Remove the bowl from heat and whisk in the cocoa powder, powdered sugar (or maple syrup), vanilla extract, and a pinch of salt until the mixture is fully combined and smooth with no lumps.
- Pour into Molds: Carefully pour the chocolate mixture into silicone chocolate bar molds or a parchment-lined baking dish, ensuring an even layer.
- Add Toppings: Sprinkle any desired add-ins such as chopped nuts, dried fruit, shredded coconut, or sea salt on top, pressing them gently into the chocolate for better adhesion.
- Chill to Set: Place the molds or baking dish into the refrigerator for 1 to 2 hours until the chocolate bars are completely firm and set.
- Remove and Serve: Once set, carefully pop the chocolate bars out of the silicone molds or slice the chocolate if set in a baking dish into bars of your preferred size.
- Storage: Store the chocolate bars in an airtight container at room temperature for softer texture or refrigerate for a firmer bite. Consume within 2 weeks for best freshness.
Notes
- You can substitute maple syrup if you prefer a natural liquid sweetener instead of powdered sugar, but expect a slightly different texture.
- Use high-quality cocoa powder or raw cacao powder for the best flavor and health benefits.
- Be careful not to overheat the cocoa butter; keep the water at a gentle simmer to avoid scorching.
- Customize your bars with your favorite nuts, dried fruits, or sprinkles for variety.
- Store bars in a cool place away from direct sunlight to prevent melting or blooming.

