
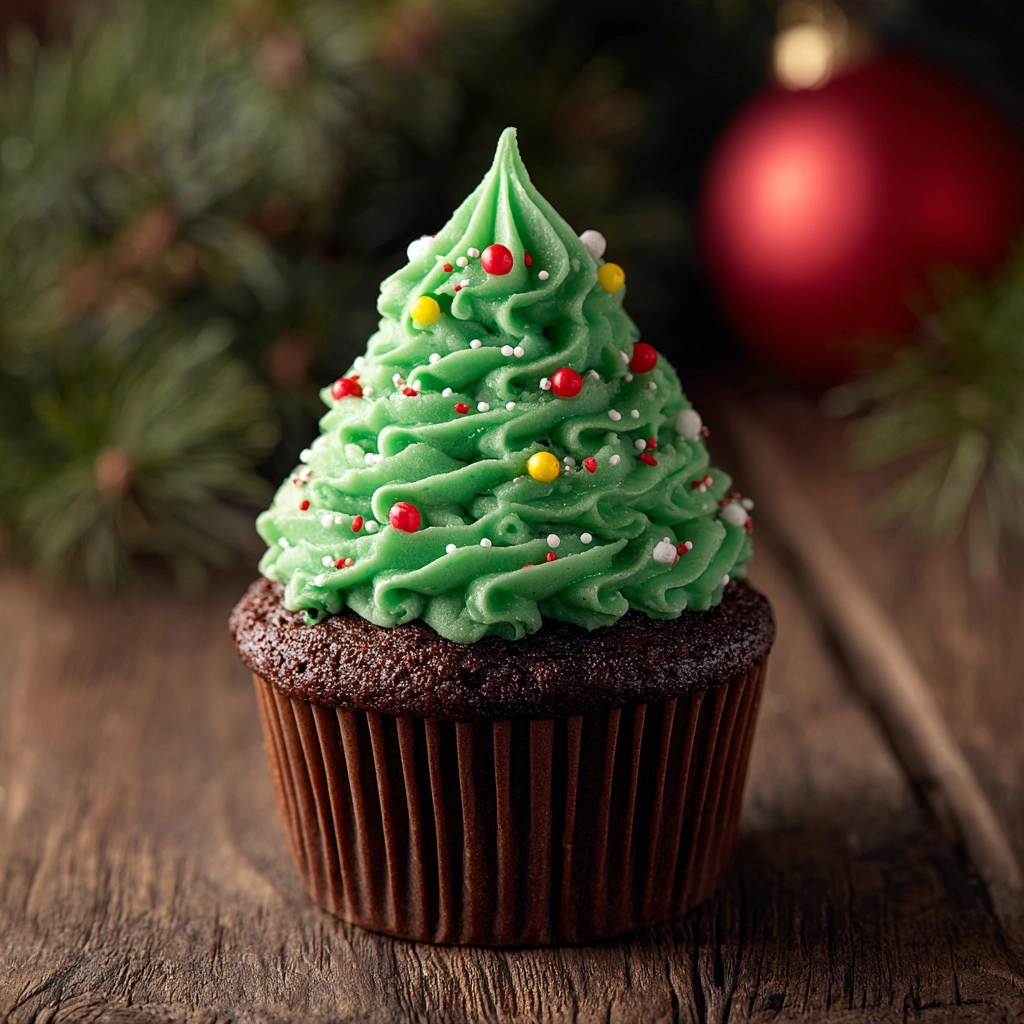
Ready to dazzle your holiday dessert table with pure festive charm? The Christmas Tree Brownie Cups Recipe brings together fudgy chocolate bites, swirls of merry green frosting, and playful candy accents, all packed into bite-sized treats that look just as enchanting as they taste. Adored by both kids and grown-ups, these whimsical brownie cups are as simple to make as they are delightful to eat — ideal for parties, cookie exchanges, or just a cozy night baking with loved ones. One taste, and you’ll know these are set to become a cherished part of your holiday tradition!
Ingredients You’ll Need
Every ingredient in this Christmas Tree Brownie Cups Recipe plays a starring role: from rich cocoa for deep flavor to pretty toppings that transform brownies into edible Christmas trees. Don’t skip any — each one is crucial for achieving that iconic taste, texture, and festive appearance.
- Butter (unsalted, melted): Delivers unbeatable richness and keeps the brownie cups irresistibly moist.
- Granulated sugar: Sweetens the batter and helps create that signature chewy-crisp brownie top.
- Eggs (large): Bind the mixture and add lusciousness to the texture.
- Vanilla extract: Adds a subtle aromatic warmth that enhances all the chocolatey notes.
- Unsweetened cocoa powder: The secret to that deep, “grown-up” chocolate flavor.
- All-purpose flour: Provides structure so the cups hold their adorable shape.
- Salt: Just a pinch balances the sweetness and boosts all the other flavors.
- Baking powder: Gives a little lift for tender brownie bites.
- Green frosting or tinted vanilla frosting: Turns every brownie into a swirled Christmas tree — for best results, use frosting that holds its shape when piped.
- Mini candy stars or sprinkles: Add a pop of color and sparkle as tree “ornaments.”
- Mini candy canes (halved): Perfect for creating whimsical tree “trunks.”
- Powdered sugar (optional): For an enchanting snow-dusted effect on your forest of brownie trees.
How to Make Christmas Tree Brownie Cups Recipe
Step 1: Prep the Pan and Oven
Start by preheating your oven to 350°F so it’s hot and ready for action. Lightly grease your mini muffin tin, or if you’re feeling extra festive, line it with cheerful mini paper liners. This step makes removing the brownie cups a breeze and helps them keep their picture-perfect shape.
Step 2: Make the Brownie Batter
In a medium bowl, whisk together the melted butter and granulated sugar until smooth. Next, add in the eggs and vanilla extract, beating until the mixture is glossy and well combined — this little trick guarantees that shiny, crackly brownie top we all adore. Now, gently stir in the cocoa powder, flour, salt, and baking powder until just blended. Don’t over-mix here; a few streaks are totally fine!
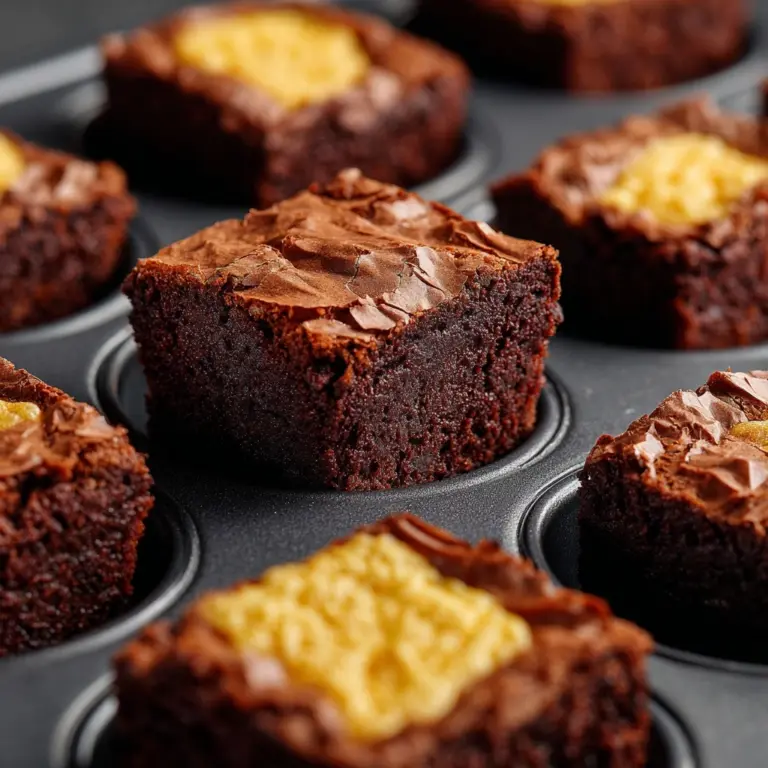
Step 3: Fill and Bake the Brownie Cups
Spoon the brownie batter into the prepared mini muffin cups, filling each about three-quarters full. Pop the tray in the oven and bake for 10 to 12 minutes. When the tops are set and a toothpick inserted in the center comes out with a few moist crumbs, your brownie cups are done. Let them cool in the pan for 5 minutes, then transfer to a wire rack to cool completely.
Step 4: Decorate Your Brownie Trees
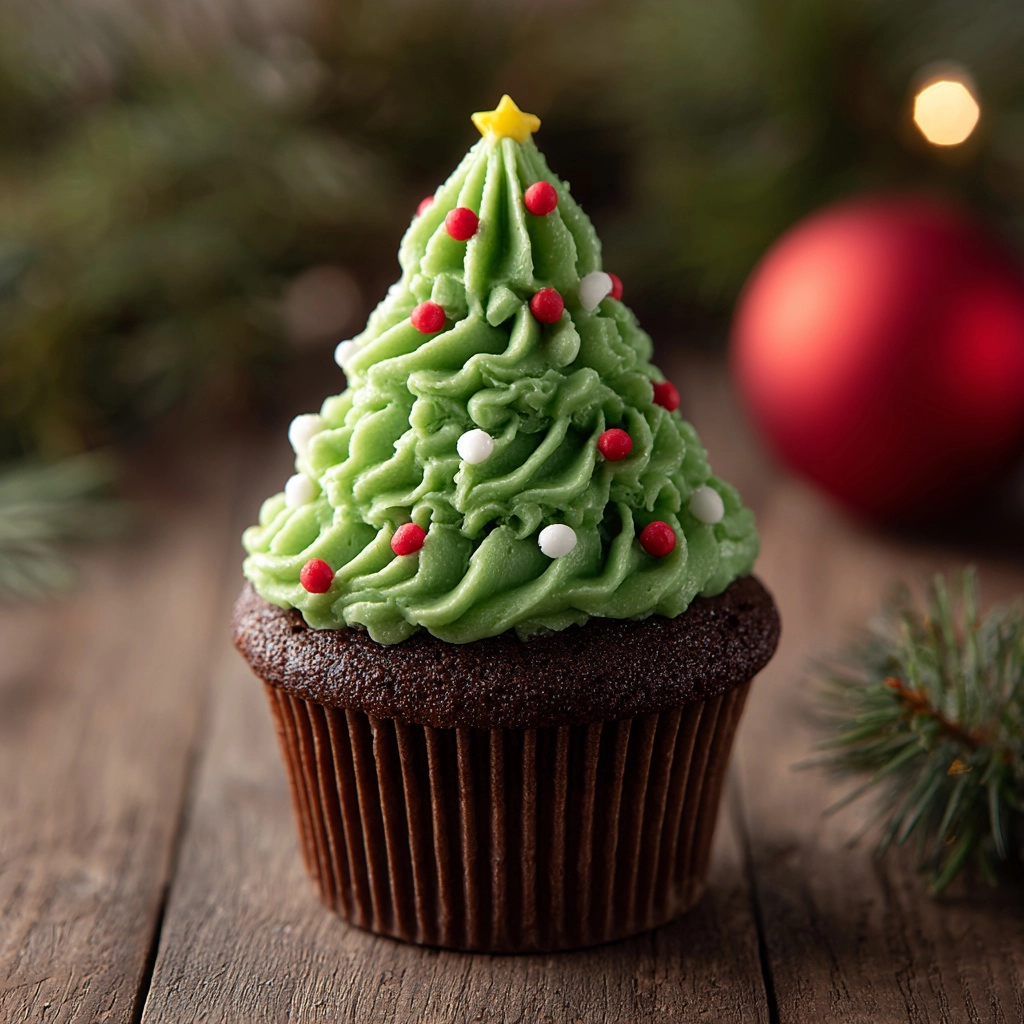
Once the brownie cups are fully cooled, it’s time for the most satisfying part: decoration! Pipe a generous swirl of green frosting on top of each cup to resemble a Christmas tree — feel free to get creative with your spiral technique. Sprinkle on mini candy stars or colorful sprinkles as ornaments, and finish by inserting a halved mini candy cane into the base of each tree for a whimsical “trunk.” For a magical winter touch, dust the tops with a light shower of powdered sugar.
How to Serve Christmas Tree Brownie Cups Recipe
Garnishes
Dress up your platter with extra dustings of powdered sugar for a snowy effect or nestle the brownie cups in a bed of edible “snow” made from coconut flakes. You can also arrange some extra candy stars or red-and-green sprinkles on the serving tray for added sparkle.
Side Dishes
A mug of rich hot cocoa or a scoop of peppermint ice cream makes a dreamy pairing with the Christmas Tree Brownie Cups Recipe. For a grown-up twist, offer mulled wine or spiced cider on the side — the warmth perfectly complements the fudgy brownies.
Creative Ways to Present
Pile the decorated brownie trees on a cake stand, staggered for a “mini forest” centerpiece effect, or box them up as edible gifts for friends and neighbors. These brownie cups make picture-perfect additions to cookie trays, holiday potlucks, or kids’ classroom parties; they even double as edible place settings when nestled atop festive plates.
Make Ahead and Storage
Storing Leftovers
After a celebration, place any leftover decorated brownie cups in an airtight container. They’ll stay soft and tasty at room temperature for up to three days — just keep them away from heat sources to avoid melting the frosting.
Freezing
Craving to get ahead on your Christmas prep? You can freeze the undecorated brownie cups in a single layer, then transfer to a freezer bag or container for up to a month. Thaw at room temperature before adding all your festive toppings.
Reheating
If you adore brownies slightly warm, heat undecorated cups in the microwave for 5 to 10 seconds. Avoid reheating decorated brownies, as the frosting and candy canes may melt or lose texture.
FAQs
Can I use boxed brownie mix for this recipe?
Absolutely! If you’re short on time, a quality boxed brownie mix is a fantastic shortcut for the Christmas Tree Brownie Cups Recipe. Just prepare the mix as directed and continue with the mini muffin instructions and decorating steps.
How do I get vibrant green frosting?
Use gel-based food coloring for the boldest green, or purchase pre-tinted green frosting from the baking aisle. For homemade, beat a few drops of green gel food dye into vanilla frosting until you reach your desired shade.
What’s the trick to frosting neat Christmas trees?
Chill your frosting for about 10 to 15 minutes before piping so it holds its shape. Use a star tip or round piping tip and go slow — swirling from the center outward so each “tree” stands tall.
Can I make these brownie cups gluten free?
You can easily swap the all-purpose flour for your favorite 1-to-1 gluten free baking blend. The rest of the Christmas Tree Brownie Cups Recipe remains unchanged and just as festive!
How far in advance can I decorate the brownies?
Decorate up to one day ahead for best results. The brownies stay moist and the frosting keeps its shape, but add candy canes just before serving to keep them from softening in the frosting.
Final Thoughts
Bring some holiday cheer to your kitchen with the Christmas Tree Brownie Cups Recipe — it’s fun, festive, and truly foolproof. There’s undeniable magic in baking and decorating these little treats, and sharing them is guaranteed to make the season extra sweet. Give it a try with your loved ones, and let this recipe become one of your new favorite Christmas traditions!
Print
Christmas Tree Brownie Cups Recipe
- Prep Time: 15 minutes
- Cook Time: 12 minutes
- Total Time: 27 minutes
- Yield: 24 mini brownie cups
- Category: Dessert
- Method: Baking
- Cuisine: American
- Diet: Vegetarian
Description
These Christmas Tree Brownie Cups are a festive and delicious treat perfect for the holiday season. Rich, chocolatey brownie cups topped with green frosting and colorful decorations, they are sure to bring joy to any celebration.
Ingredients
Brownie Cups:
- 1/2 cup unsalted butter (melted)
- 3/4 cup granulated sugar
- 2 large eggs
- 1 teaspoon vanilla extract
- 1/3 cup unsweetened cocoa powder
- 1/2 cup all-purpose flour
- 1/4 teaspoon salt
- 1/4 teaspoon baking powder
Decoration:
- Green frosting or tinted vanilla frosting
- Mini candy stars or sprinkles
- Mini candy canes (halved)
- Powdered sugar for dusting (optional)
Instructions
- Preheat the oven: Preheat the oven to 350°F and lightly grease a mini muffin tin or line with mini paper liners.
- Mix the brownie batter: In a medium bowl, whisk together the melted butter and sugar. Add eggs and vanilla, beat until smooth. Stir in cocoa powder, flour, salt, and baking powder until combined.
- Bake the brownie cups: Spoon the batter into the mini muffin cups and bake for 10 to 12 minutes until set. Let cool in the pan, then transfer to a wire rack.
- Decorate: Pipe green frosting on each brownie, decorate with candy stars or sprinkles, and insert a halved candy cane. Dust with powdered sugar if desired.
Notes
- Store decorated brownie cups in an airtight container for up to 3 days.
- Chill the frosting slightly for easier piping.
- You can use boxed brownie mix for convenience.
Nutrition
- Serving Size: 1 brownie cup
- Calories: 110
- Sugar: 10g
- Sodium: 50mg
- Fat: 6g
- Saturated Fat: 4g
- Unsaturated Fat: 2g
- Trans Fat: 0g
- Carbohydrates: 14g
- Fiber: 1g
- Protein: 1g
- Cholesterol: 25mg

