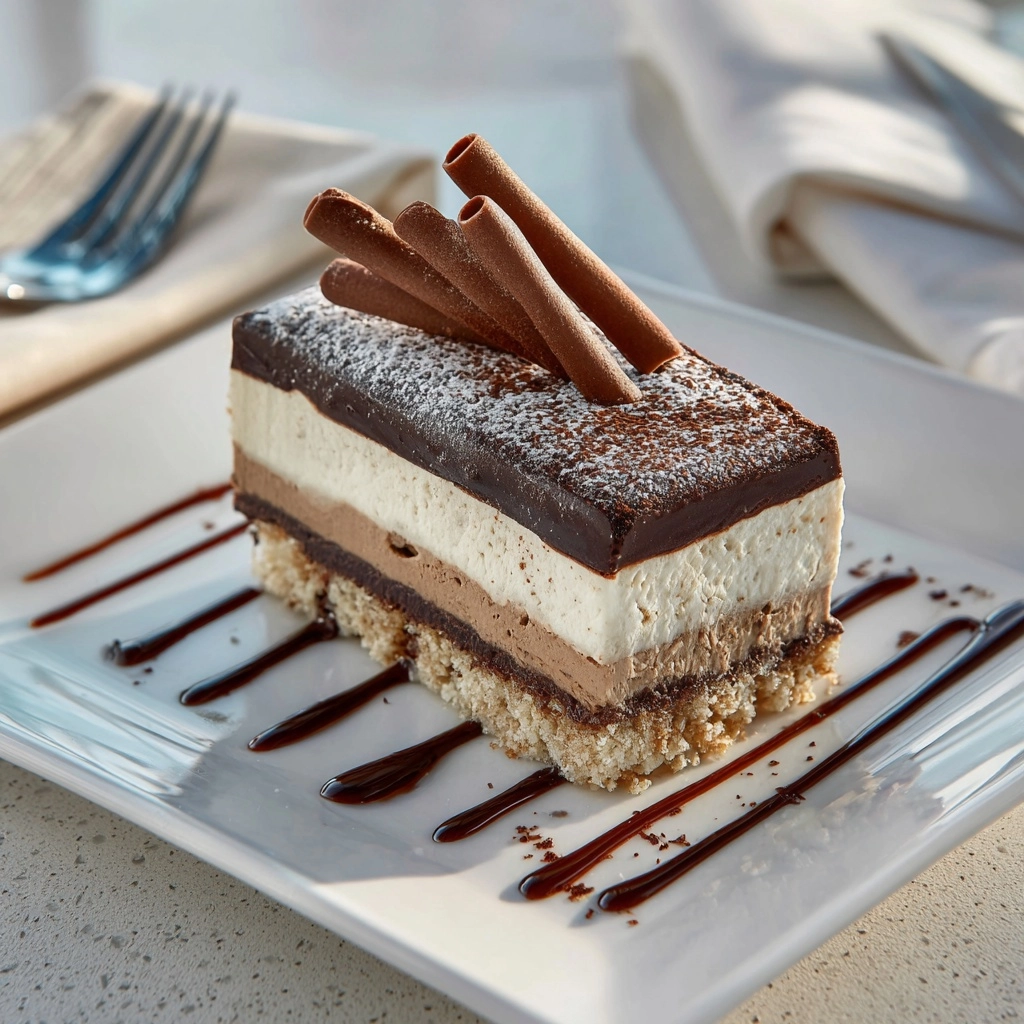
If you’re searching for a dessert that ticks every box—rich, creamy, layered, and effortlessly impressive—look no further than this Chocolate Delight: No-Bake Layered Chocolate Dessert Recipe. This indulgent treat combines a buttery pecan crust with a luscious cream cheese layer, topped with silky chocolate pudding and whipped topping, making it a guaranteed crowd-pleaser for any occasion. The no-bake element keeps things simple and stress-free without sacrificing that decadent chocolate experience we all crave.
Ingredients You’ll Need
Ingredients You’ll Need
This recipe calls for a handful of simple yet essential ingredients, each playing a unique role to create the perfect balance of flavor, texture, and color. From the buttery crust to the creamy layers, every component works beautifully together.
- 1 cup all-purpose flour: The base for the crust, lending structure and a tender crumb.
- 1/2 cup unsalted butter, melted: Adds richness and binds the crust together perfectly.
- 1 cup chopped pecans (optional): Offers a satisfying crunch and nutty flavor to the crust.
- 1 (8 oz) package cream cheese, softened: Creates a smooth, tangy layer that balances the sweetness.
- 1 cup powdered sugar: Sweetens the cream cheese layer without any grittiness.
- 1 (8 oz) tub whipped topping (like Cool Whip), divided: Adds lightness and airiness to the cream cheese and tops the dessert with fluffy perfection.
- 2 (3.9 oz) packages instant chocolate pudding mix: The star chocolate layer that’s quick to thicken and full of flavor.
- 3 cups cold milk: Necessary to whisk with the pudding mix, creating a creamy filling.
- Chocolate shavings or cocoa powder for garnish (optional): Adds a final touch of elegance and extra chocolate flair.
How to Make Chocolate Delight: No-Bake Layered Chocolate Dessert Recipe
Step 1: Prepare the Crust
Start by preheating your oven to 350°F. In a medium bowl, combine the flour, melted butter, and chopped pecans if you’re using them. This mixture comes together quickly and soon transforms into a crumbly, flavorful base. Press it firmly into the bottom of a 9×13-inch baking dish to form an even layer. Bake for about 15 to 18 minutes until the crust turns lightly golden and sets as the foundation for your dessert. Once done, let it cool completely to ensure the layers above stay fresh and firm.
Step 2: Create the Cream Cheese Layer
While your crust cools, beat the softened cream cheese with the powdered sugar until it’s gloriously smooth and lump-free. This step is key to a luscious texture that will balance the richness of the crust and pudding. Gently fold in 1 cup of whipped topping to lighten the mixture, adding a cloud-like softness. Spread this mixture evenly over the cooled crust—it’s the second heavenly layer that promises a creamy bite in every forkful.
Step 3: Whisk Together the Chocolate Pudding
In a separate bowl, whisk the instant chocolate pudding mix with cold milk for about 2 minutes. It’s amazing how quickly this luscious, velvety filling thickens—turning into the rich chocolate heart of the dessert. Pour and spread the pudding layer evenly over the cream cheese base, smoothing the top to keep every layer distinct yet inviting.
Step 4: Top with Whipped Topping and Chill
Finish by spreading the remaining whipped topping over your chocolate pudding layer, creating a light and airy cap to the dessert. Refrigerate the entire dish for at least 2 hours. This chilling time is when the magic happens—the layers meld, flavors intensify, and the dessert sets, making slicing and serving a breeze.
How to Serve Chocolate Delight: No-Bake Layered Chocolate Dessert Recipe
Garnishes
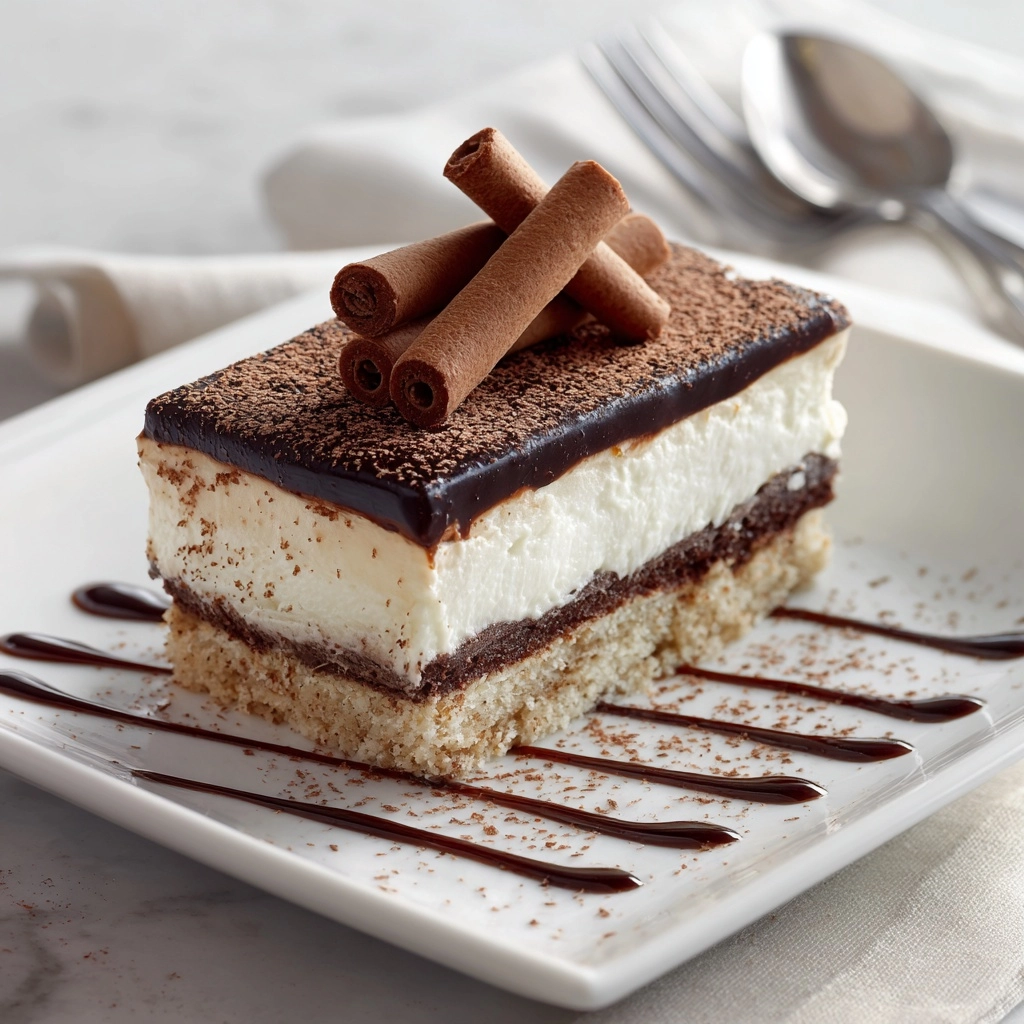
To elevate your Chocolate Delight: No-Bake Layered Chocolate Dessert Recipe, consider garnishing with chocolate shavings or a gentle dusting of cocoa powder. These simple touches add visual appeal and a hint of extra chocolate luxury that impress guests and elevate the dessert experience.
Side Dishes
This dessert pairs beautifully with fresh berries or a drizzle of raspberry sauce to add a tangy contrast that cuts through the richness. A scoop of vanilla bean ice cream or a small glass of chilled milk also complements the creamy layers perfectly, making your dessert moment even more memorable.
Creative Ways to Present
Try serving this dessert in clear individual cups for a charming presentation that shows off the beautiful layers. Alternatively, slice it into neat squares and plate with a sprig of mint or edible flowers. These small creative touches turn a simple dessert into an unforgettable centerpiece at any gathering.
Make Ahead and Storage
Storing Leftovers
Store any leftover Chocolate Delight: No-Bake Layered Chocolate Dessert Recipe in an airtight container in the refrigerator. Thanks to its creamy layers, it stays fresh and moist for up to 3 days—still delicious and ready for a second helping or unexpected guests.
Freezing
Freezing this dessert is possible but best done with airtight wrapping to prevent freezer burn. Before freezing, consider slicing into individual portions for easier thawing. Thaw overnight in the refrigerator and consume within 1 to 2 days for the best texture and flavor.
Reheating
This dessert is best enjoyed cold, so reheating is not recommended as it can compromise the creamy textures. If you want a softer experience, simply allow refrigerated portions to sit at room temperature for 15–20 minutes before serving.
FAQs
Can I use a different type of nut or omit nuts altogether?
Absolutely! If you prefer, swap pecans for walnuts, almonds, or even skip nuts for a nut-free version. The crust will still hold beautifully and taste fantastic without them.
How long should I refrigerate before serving?
Chilling for at least 2 hours is essential to let the layers set nicely. For even better results, preparing the dessert a day ahead allows the flavors to meld perfectly.
Can I use homemade whipped cream instead of store-bought?
Yes! Fresh whipped cream can be used in place of store-bought whipped topping. Just be sure it’s whipped to soft peaks for the best texture in your layers.
Is there a gluten-free version of this recipe?
To make this gluten-free, swap the all-purpose flour for a gluten-free flour blend. Ensure the pudding mix and other ingredients are also gluten-free to keep the dessert safe for those with sensitivities.
What can I do to make the chocolate flavor richer?
Try using chocolate fudge or dark chocolate instant pudding mix instead of regular chocolate pudding mix. This substitution adds depth and intensifies the chocolate experience substantially.
Final Thoughts
Now that you know how effortlessly this Chocolate Delight: No-Bake Layered Chocolate Dessert Recipe comes together, it’s hard to imagine a better way to satisfy your chocolate cravings without turning on the oven for hours. Whether it’s a weeknight treat or a special occasion centerpiece, I encourage you to try it and enjoy every luscious, layered bite. This dessert truly is a delightful gift to yourself and anyone lucky enough to share it with you!
Print
Chocolate Delight: No-Bake Layered Chocolate Dessert Recipe
- Prep Time: 20 minutes
- Cook Time: 15 minutes
- Total Time: 2 hours 35 minutes
- Yield: 12 servings
- Category: Dessert
- Method: No-Cook
- Cuisine: American
- Diet: Vegetarian
Description
Chocolate Delight is a rich and creamy layered dessert featuring a buttery pecan crust, a smooth cream cheese layer, and luscious instant chocolate pudding topped with whipped cream. This no-bake chocolate dessert is perfect for any occasion, requiring minimal oven time for the crust and then chilled to set beautifully, making it an easy yet impressive treat.
Ingredients
Crust
- 1 cup all-purpose flour
- 1/2 cup unsalted butter, melted
- 1 cup chopped pecans (optional)
Cream Cheese Layer
- 1 (8 oz) package cream cheese, softened
- 1 cup powdered sugar
- 1 (8 oz) tub whipped topping (like Cool Whip), divided
Chocolate Pudding Layer
- 2 (3.9 oz) packages instant chocolate pudding mix
- 3 cups cold milk
Garnish (optional)
- Chocolate shavings or cocoa powder
Instructions
- Prepare the Crust: Preheat the oven to 350°F. In a medium bowl, combine the flour, melted butter, and chopped pecans if using. Mix until well combined, then press the mixture evenly into the bottom of a 9×13-inch baking dish. Bake for 15 to 18 minutes until the crust is lightly golden. Remove from the oven and let it cool completely.
- Make the Cream Cheese Layer: In a separate bowl, beat the softened cream cheese and powdered sugar together until the mixture is smooth and creamy. Gently fold in one cup of the whipped topping until fully incorporated. Spread this cream cheese mixture evenly over the cooled crust layer.
- Prepare the Chocolate Pudding: In another bowl, whisk the instant chocolate pudding mix with three cups of cold milk for about 2 minutes until the pudding thickens.
- Assemble the Dessert: Pour and spread the thickened chocolate pudding evenly over the cream cheese layer. Then gently spread the remaining whipped topping over the pudding layer, smoothing the surface with a spatula.
- Chill and Garnish: Place the dessert in the refrigerator and chill for at least 2 hours to allow the layers to set well. Before serving, optionally garnish the top with chocolate shavings or a light dusting of cocoa powder.
Notes
- You can use chocolate fudge or dark chocolate pudding mix instead of regular chocolate pudding for a richer flavor.
- Make this dessert a day ahead to allow the layers to set beautifully and the flavors to meld.
- For a nut-free version, simply omit the pecans from the crust without affecting the overall texture too much.


