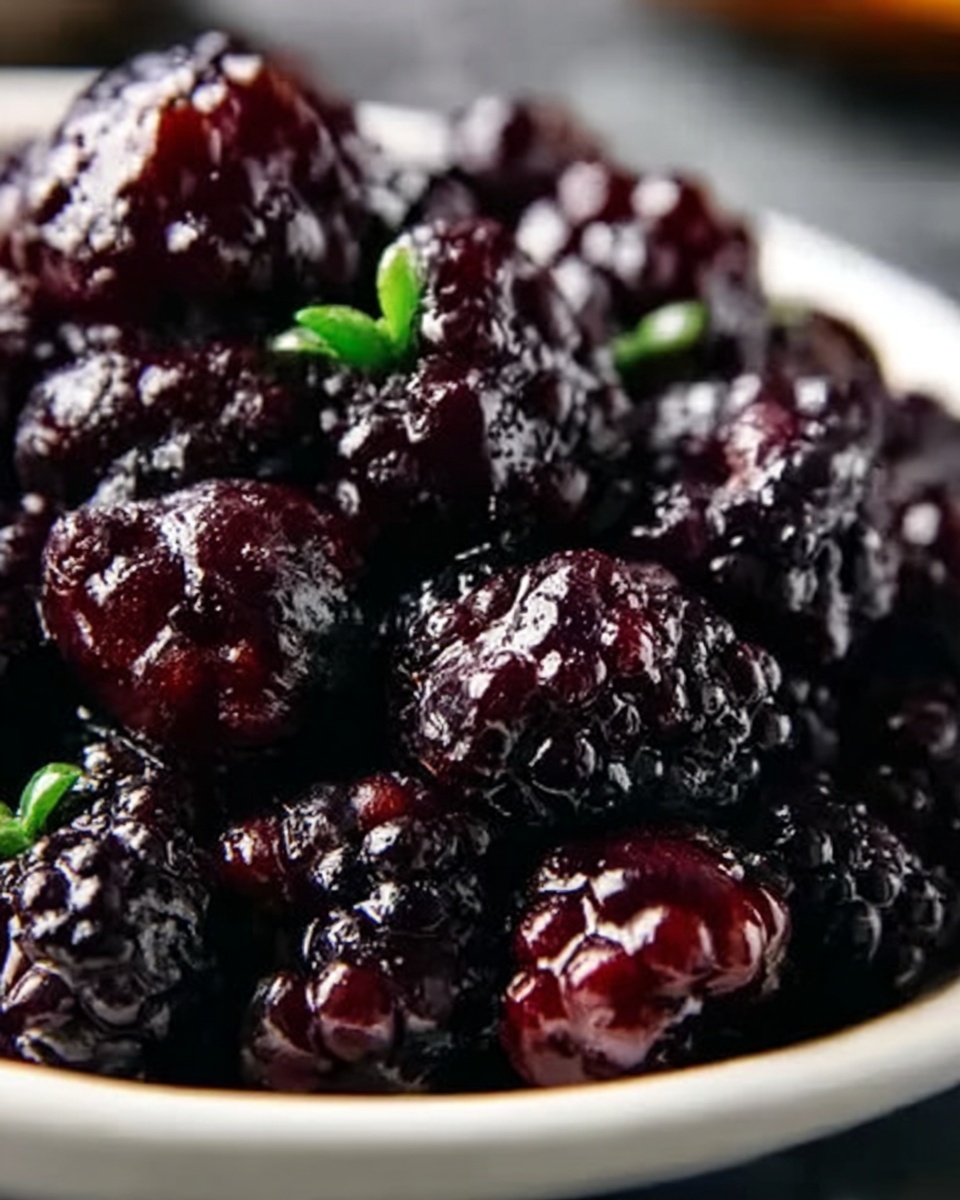
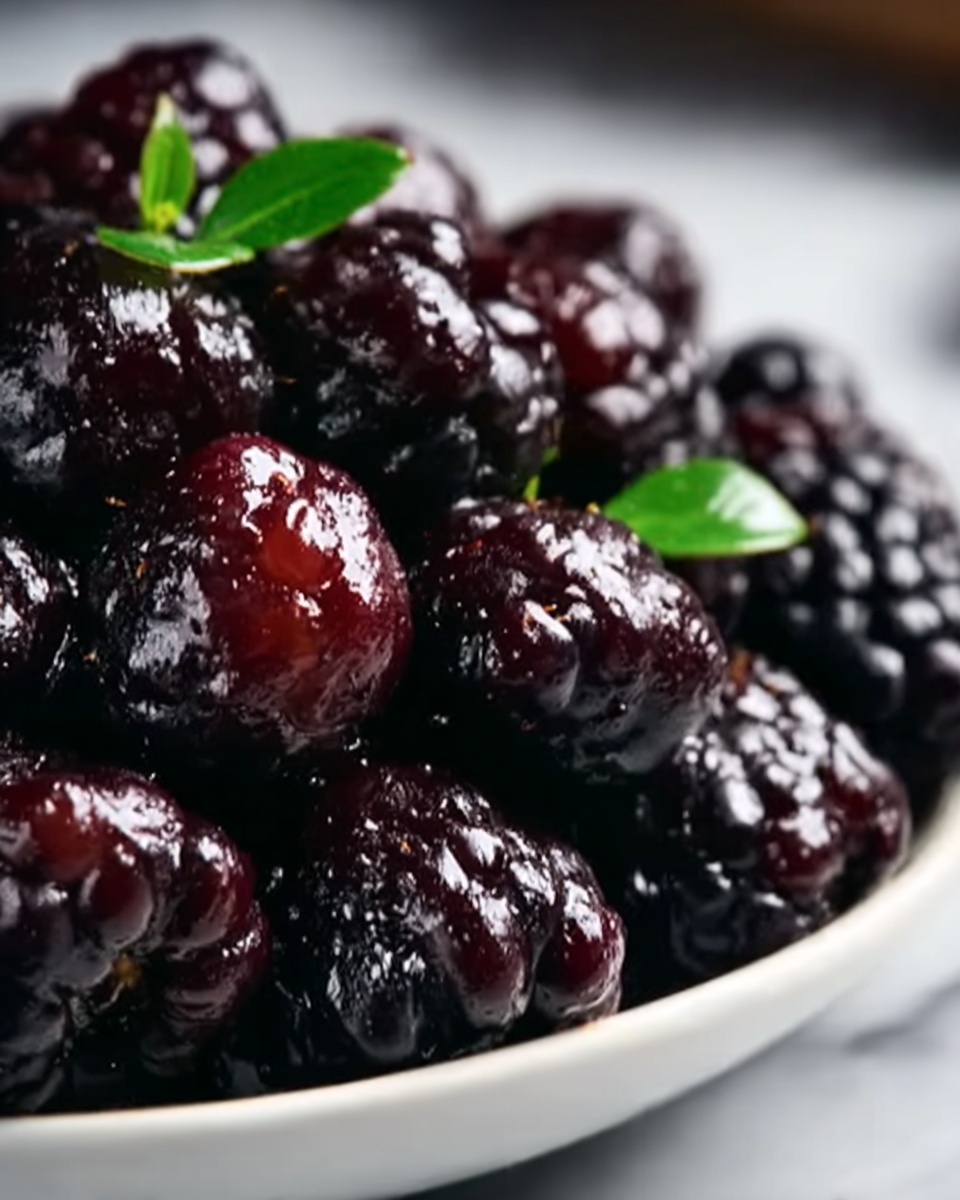
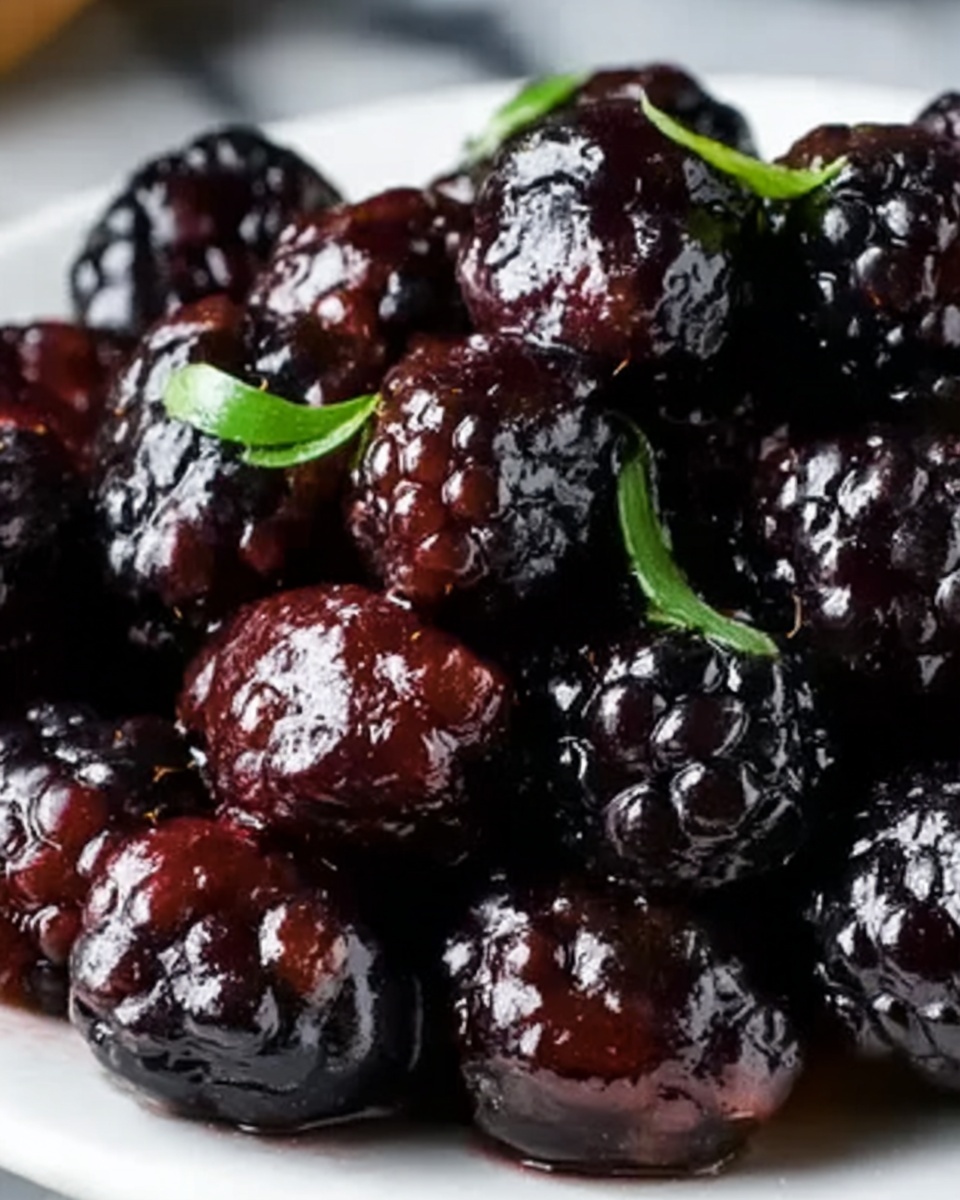
If you have a soft spot for vibrant, luscious spreads that burst with natural sweetness, then you are going to adore this Blackberry Jam Recipe. Imagine the deep, rich flavor of fresh blackberries cooked down to a velvety jam that’s perfectly balanced with a hint of tartness from lemon juice and just a touch of cinnamon warmth. It’s a homemade delight that transforms any breakfast or snack into a special moment, capturing the essence of summer all year round. Trust me, once you try making this Blackberry Jam Recipe, you’ll want to stash jars of it everywhere.
Ingredients You’ll Need
Creating this Blackberry Jam Recipe is wonderfully simple thanks to a handful of essential ingredients. Each one plays a crucial role in building the jam’s rich flavor, silky texture, and stunning color that you’ll love spreading on toast or dolloping on desserts.
- 4 cups fresh blackberries: Choose ripe, juicy berries for the best flavor; frozen can work if fresh aren’t available.
- 2 cups granulated sugar: Sweetens the jam perfectly while helping the fruit set with a lovely gloss.
- 1 tablespoon lemon juice: Adds a bright tang and helps preserve the jam’s freshness and color.
- 1/2 teaspoon vanilla extract (optional): Enhances the depth of flavor with smooth, aromatic notes.
- 1/4 teaspoon ground cinnamon (optional): Provides a gentle warmth that complements the berries beautifully.
How to Make Blackberry Jam Recipe
Step 1: Prepare the Fruit
Start by rinsing your blackberries gently and letting them air dry. Use a potato masher or fork to crush the berries, releasing their sticky juices. If you prefer a smoother texture, an immersion blender is your best friend here—just be careful not to overblend, as a little chunkiness adds delightful character.
Step 2: Cook the Jam
Combine the crushed blackberries, sugar, and lemon juice in a large saucepan. Slowly bring the mixture to a simmer over medium heat, stirring gently but constantly. This slow simmer encourages the sugar to dissolve fully and the fruit to break down into a luscious jam base without scorching.
Step 3: Thicken and Flavor
Once simmering, reduce the heat and keep the jam gently bubbling for 25 to 30 minutes. Stir often to prevent sticking and watch as the mixture thickens into that perfect jam consistency. For extra flavor, stir in vanilla extract and cinnamon toward the end of cooking. To test if your jam is ready, spoon a little onto a cold plate and run your finger through it—if it wrinkles without running, you’re good to go!
Step 4: Can or Store
Remove your jam from heat and let it cool for about 10 minutes. Pour it into sterilized jars while still warm. If you plan to consume it within a few weeks, simply refrigerate. For longer shelf life, opt for water bath canning: submerge jars in boiling water for 10 minutes, then let cool completely before storing. This method locks in freshness and flavor.
How to Serve Blackberry Jam Recipe
Garnishes
A generous dollop of blackberry jam on a plate is colorful enough, but you can dress it up by adding a sprig of fresh mint or a light dusting of powdered sugar. These simple touches brighten the presentation and invite guests to dig in.
Side Dishes
This Blackberry Jam Recipe pairs wonderfully with warm buttered toast, fresh biscuits, or even a cheese platter featuring sharp cheddar or creamy brie. It also makes a show-stopping addition to breakfast pancakes or oatmeal for a fruity burst at any time of day.
Creative Ways to Present
Try swirling blackberry jam through plain yogurt or drizzling it over vanilla ice cream for a sweet twist. For entertaining, fill mini tart shells with the jam and top with whipped cream or sliced almonds for irresistible bite-sized treats.
Make Ahead and Storage
Storing Leftovers
Once opened, keep your blackberry jam refrigerated and sealed tight. It will stay fresh for up to three weeks, so savor it slowly or gift the extras to friends—they’ll thank you for sharing such a scrumptious homemade treasure.
Freezing
If you want to save jam for longer than a few weeks, freezing is a fantastic option. Transfer your jam into airtight containers, leaving some room for expansion. Frozen jam can last for several months without any loss in flavor or texture, making future breakfasts just as delightful.
Reheating
Warm your blackberry jam gently on the stove or in the microwave to bring back that freshly made taste and soften it for easy spreading. Just be sure to avoid overheating, which can break down the fruit’s texture and sweetness.
FAQs
Can I use frozen blackberries for this recipe?
Absolutely! Frozen blackberries work well and are a great substitute when fresh berries aren’t in season. Just thaw them completely before use to avoid diluting the jam.
Is it necessary to add lemon juice?
Lemon juice is important as it balances the sweetness and helps the jam set properly by activating the natural pectin in the berries, plus it preserves the vibrant color.
Can I make this jam without added sugar?
Reducing or skipping sugar might affect the jam’s texture and preservation. If you’d like a less sweet version, you could try natural sweeteners but the cooking time and final consistency might vary.
How do I know when the jam has set?
The classic wrinkle test is the easiest: place a small spoonful on a cold plate and push it with your finger. If the surface wrinkles and holds its shape without running, your jam is perfectly set.
What is the best way to sterilize jars for canning?
Boil your jars and lids in water for 10 minutes or run them through a hot dishwasher cycle without detergent. This ensures they are clean and safe to store your delicious Blackberry Jam Recipe long term.
Final Thoughts
Making this Blackberry Jam Recipe at home is such a rewarding experience, from the sweet aroma filling your kitchen to the first luscious spoonful. Whether you’re new to canning or a seasoned jam lover, this recipe’s vibrant flavor and sumptuous texture are bound to become a kitchen staple. So go ahead—gather those berries, roll up your sleeves, and treat yourself to the sheer joy of homemade blackberry jam.
Print
Blackberry Jam Recipe
- Prep Time: 10 minutes
- Cook Time: 30 minutes
- Total Time: 40 minutes
- Yield: 2 cups jam
- Category: Condiment
- Method: Stovetop
- Cuisine: American
- Diet: Vegetarian
Description
This homemade blackberry jam recipe is a simple and delicious way to preserve the vibrant flavor of fresh blackberries. With only a few ingredients and easy steps, you can create a luscious, sweet jam perfect for spreading on toast, adding to desserts, or gifting. Optional vanilla and cinnamon add depth and warmth to the jam’s natural fruity sweetness.
Ingredients
Jam Ingredients
- 4 cups fresh blackberries (or frozen if fresh is unavailable)
- 2 cups granulated sugar
- 1 tablespoon lemon juice
- 1/2 teaspoon vanilla extract (optional for extra flavor)
- 1/4 teaspoon ground cinnamon (optional for added warmth)
Instructions
- Prepare the Fruit: Use a potato masher or a fork to crush the blackberries and release their natural juices. For a smoother texture, you may use an immersion blender to puree the berries slightly before cooking.
- Cook the Jam: Combine the crushed blackberries, granulated sugar, lemon juice, vanilla extract, and cinnamon in a pot. Stir the mixture well and bring it to a simmer over medium heat.
- Simmer and Thicken: Once the mixture reaches a simmer, reduce the heat to low and let it cook gently for 25 to 30 minutes. Stir frequently to prevent sticking and burning. The jam will thicken as it cooks.
- Check Consistency: To test if the jam is ready, place a small spoonful onto a cold plate and let it cool briefly. Run your finger through the jam—if it wrinkles and holds its shape, it has reached the perfect consistency.
- Cool and Store: Remove the pot from heat and let the jam cool for about 10 minutes. Transfer the jam into sterilized jars. You can store the jam in the refrigerator for up to 3 weeks or preserve it long-term by processing the jars in a water bath for 10 minutes. Let jars cool completely before storing.
- Serve: Enjoy your homemade blackberry jam spread on toast, muffins, or as a sweet addition to your favorite recipes.
Notes
- Use ripe blackberries for the best flavor and natural sweetness.
- Frozen blackberries work well if fresh ones are unavailable; thaw before using.
- Add optional vanilla extract and cinnamon for extra depth in flavor.
- Ensure jars and lids are sterilized properly to avoid contamination if you plan to store long-term.
- Stir frequently during cooking to prevent burning.
- Properly sealed canned jars can be stored comfortably for up to 1 year in a cool, dark place.

