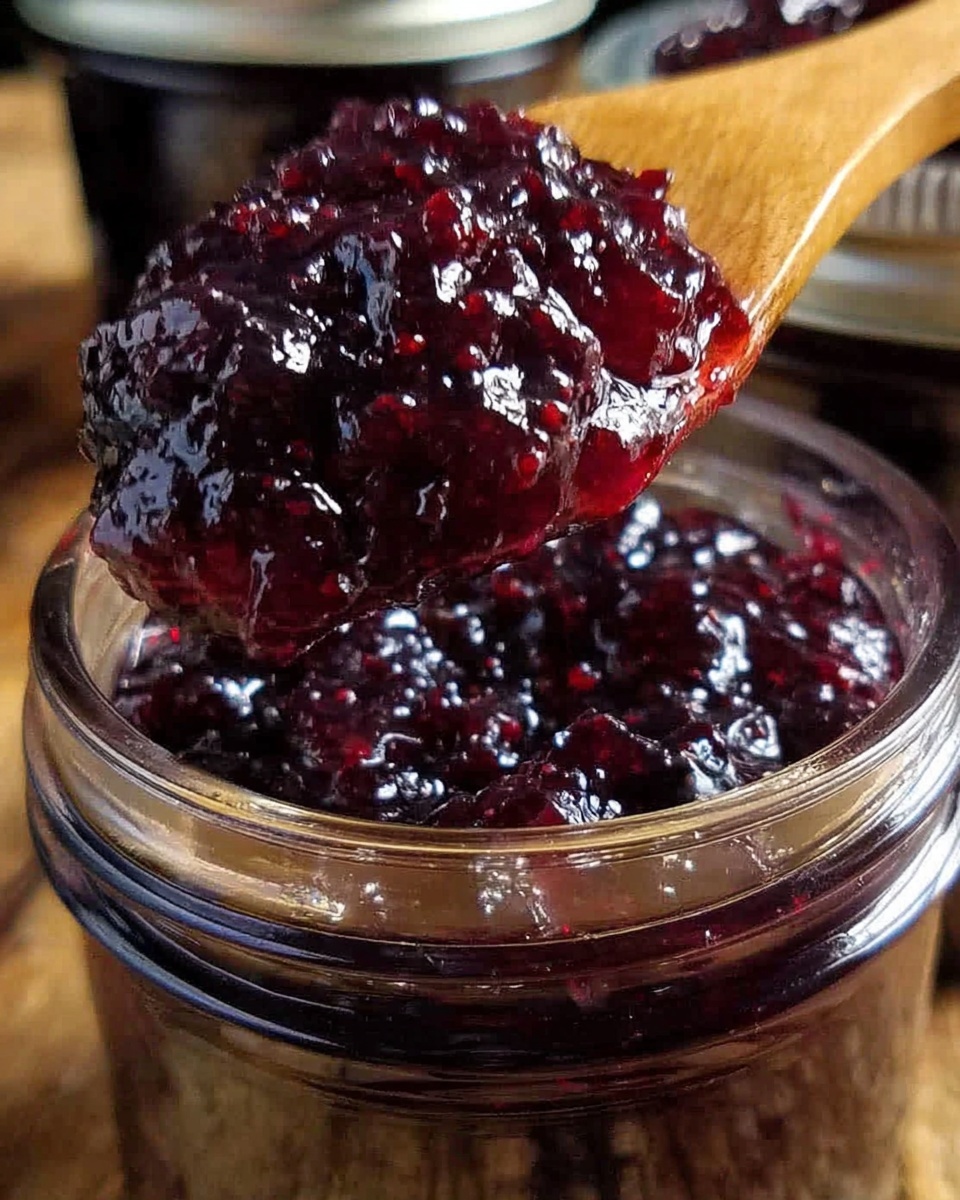
There is something truly magical about making jam from scratch, especially when it’s bursting with the fresh, juicy goodness of ripe blackberries. This Best Homemade Blackberry Jam Recipe captures the essence of summer in a jar, combining just the right balance of sweetness, tang, and that unmistakable deep purple hue. Whether you’re spreading it on warm toast or swirling it into yogurt, this jam brings a sweet, homemade touch to your day that no store-bought version can match.
Ingredients You’ll Need
Ingredients You’ll Need
Simple ingredients are the secret to this jam’s incredible flavor and texture. Each one plays an essential role in crafting that luscious, thick consistency and vibrant taste that makes this recipe stand out.
- 4 cups fresh blackberries: Choose ripe, juicy berries for the richest flavor and beautiful color.
- 2 cups granulated sugar: Sweetens the jam and helps with preservation while balancing the tartness.
- 2 tablespoons lemon juice: Adds brightness and acidity to enhance the berry flavor.
- 1 tablespoon lemon zest (optional): Elevates the fragrance and adds a subtle citrus zing.
- 1 packet (1.75 oz) fruit pectin (optional): Use this if you prefer a thicker jam that sets firmly.
How to Make Best Homemade Blackberry Jam Recipe
Step 1: Prepare the Berries and Lemon Juice
Start by combining your fresh blackberries and lemon juice in a large saucepan over medium heat. Using a potato masher or the back of a spoon, gently crush the berries. This helps to release their juice, which is crucial for a rich jam base full of natural blackberry flavor.
Step 2: Add Sugar and Lemon Zest
Stir in the granulated sugar and, if you’re using it, the lemon zest. The sugar not only sweetens the mixture but also helps to balance the natural tartness of the berries. The lemon zest brings an extra burst of citrus aroma that makes the jam even more vibrant.
Step 3: Bring to a Gentle Boil
Bring your mixture to a gentle boil, stirring frequently to prevent it from sticking to the pan. This step allows the sugar to dissolve completely and the flavors to meld beautifully.
Step 4: Add Pectin (Optional) and Boil
If you want your jam a bit thicker, add the fruit pectin according to the packet instructions. Keep boiling and stirring constantly for 1 to 2 minutes. The pectin helps the jam to set properly, giving it that perfect spreadable texture.
Step 5: Simmer Until Thickened
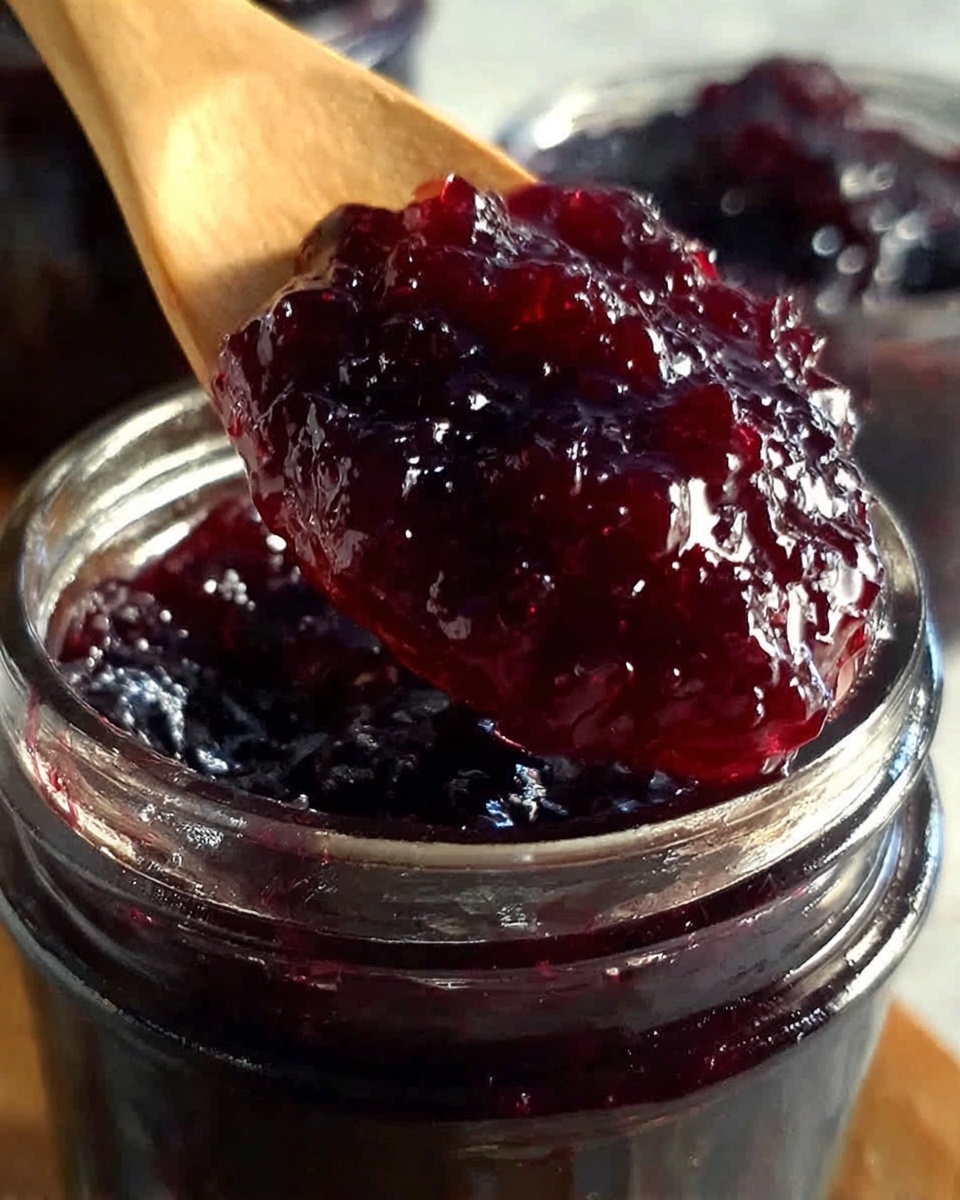
Reduce the heat slightly and let the jam simmer for 10 to 15 minutes. Stir occasionally and watch the texture transform. To test if it’s ready, spoon a bit onto a cold plate; if it wrinkles when you push it, your jam has reached the right thickness.
Step 6: Cool and Store the Jam
Remove the pan from heat and allow the jam to cool slightly before pouring it into sterilized jars. Seal the jars tightly. If you plan to enjoy it soon, refrigeration is perfect, and it will last up to three weeks. For long-term storage, process the jars in a water bath for canning.
How to Serve Best Homemade Blackberry Jam Recipe
Garnishes
Adding a fresh sprig of mint or a light dusting of powdered sugar on top of your jam-spread toast can elevate both the look and taste, providing contrast and an extra hint of freshness.
Side Dishes
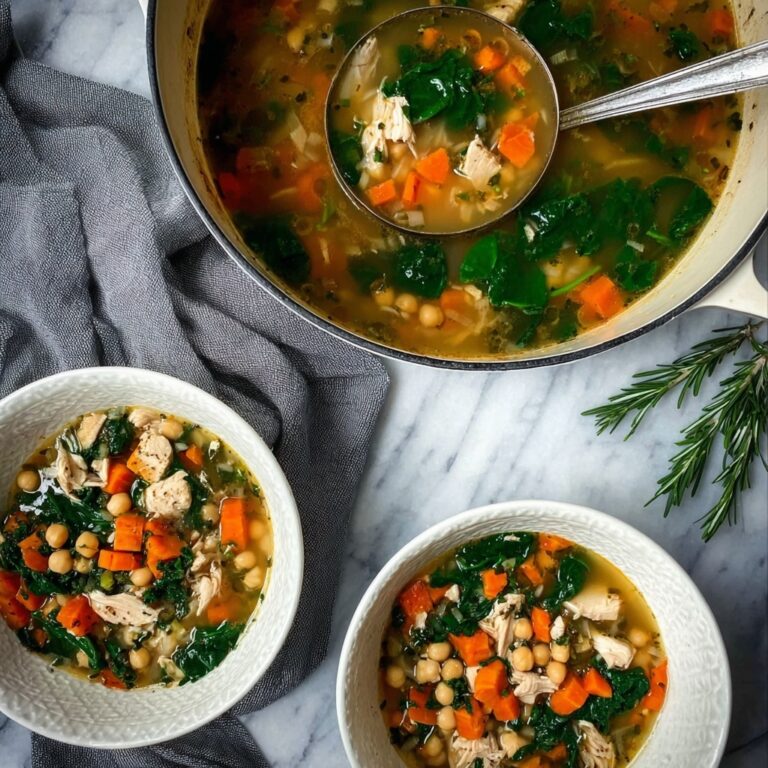
This jam pairs wonderfully with warm buttered biscuits, creamy brie cheese, or even dolloped onto vanilla ice cream. The vibrant berry flavor brings out the best in these simple but delicious accompaniments.
Creative Ways to Present
Try layering the jam with yogurt and granola in a parfait glass for a stunning breakfast treat, or swirl it into cheesecake batter before baking for a fruity surprise that delights every time.
Make Ahead and Storage
Storing Leftovers
Keep your leftover jam tightly sealed in sterilized jars in the refrigerator. It will maintain its fresh, vibrant flavor for up to three weeks, perfect for spreading on morning toast or mixing into drinks.
Freezing
You can freeze the jam in airtight containers, leaving some headspace for expansion. This method preserves the flavor and texture well, allowing you to enjoy your homemade blackberry jam months later.
Reheating
If your jam thickens too much in refrigeration or freezing, gently warm it in a saucepan over low heat, stirring until it loosens back up to a delightful, spreadable consistency.
FAQs
Can I use frozen blackberries for this recipe?
Absolutely! Frozen blackberries work well, especially when fresh ones aren’t in season. Just thaw and drain any excess liquid before starting to get the best texture.
Do I have to use pectin?
Pectin is optional. Without it, your jam will be a bit looser but still delicious. The natural pectin in blackberries will help it thicken up somewhat during cooking.
How do I sterilize jars properly?
Boil jars and lids in hot water for at least 10 minutes or run them through a hot dishwasher cycle before filling your jam. This prevents spoilage and ensures safe storage.
Can I make seedless blackberry jam?
Yes, by straining the mashed berries through a fine mesh sieve before cooking, you can remove most of the seeds while keeping the luscious flavor intact.
What is the best way to test if the jam has set?
Place a small spoonful of the jam on a cold plate and let it cool for a minute; if it wrinkles when pushed with your finger, the jam is ready to jar.
Final Thoughts
I can’t recommend this Best Homemade Blackberry Jam Recipe enough. It’s easy to make, captures the fresh flavor of summer berries perfectly, and adds that homemade charm to whatever you pair it with. Once you try it, you’ll find it hard to go back to store-bought jam. So grab your pot, gather those blackberries, and enjoy every sweet, tangy spoonful!
Print
Best Homemade Blackberry Jam Recipe
- Prep Time: 10 minutes
- Cook Time: 15 minutes
- Total Time: 25 minutes
- Yield: 2 cups
- Category: Condiment
- Method: Stovetop
- Cuisine: American
- Diet: Vegan, Gluten Free
Description
This Best Homemade Blackberry Jam recipe is a luscious, easy-to-make fruit preserve bursting with fresh blackberry flavor. Using simple ingredients like fresh blackberries, sugar, and lemon juice, this jam is perfectly sweetened and naturally tangy. Optional fruit pectin ensures a thicker consistency, while a stovetop cooking method makes it accessible for all home cooks. Ideal for spreading on toast, topping desserts, or gifting in jars, this vibrant jam captures the essence of summer berries.
Ingredients
Jam Ingredients
- 4 cups fresh blackberries, rinsed
- 2 cups granulated sugar
- 2 tablespoons lemon juice
- 1 tablespoon lemon zest (optional)
- 1 packet (1.75 oz) fruit pectin (optional, for thicker jam)
Instructions
- Prepare the Berries: In a large saucepan over medium heat, combine the fresh blackberries and lemon juice. Use a potato masher or the back of a spoon to gently mash the berries, releasing their natural juices.
- Add Sugar and Zest: Stir in the granulated sugar and optional lemon zest into the mashed berries. Bring the mixture to a gentle boil, stirring frequently to dissolve the sugar evenly.
- Incorporate Pectin if Using: If adding fruit pectin to achieve thicker jam, add it now following the packet instructions. Continue boiling the mixture for 1–2 minutes, stirring constantly to prevent burning.
- Simmer the Jam: Reduce the heat slightly to maintain a simmer, cooking for 10–15 minutes. Stir frequently until the jam thickens to your desired consistency.
- Test Jam Thickness: To check if the jam is ready, place a spoonful on a cold plate. If the jam wrinkles when you push it with your finger, it’s done.
- Cool and Jar: Remove the saucepan from heat and allow the jam to cool slightly. Pour the jam into sterilized jars and seal tightly.
- Store Properly: Refrigerate the jam for up to 3 weeks or process the jars in a water bath for longer shelf life and room temperature storage.
Notes
- For a seedless jam, strain the mashed berries through a fine mesh sieve before cooking.
- This recipe can be doubled, but the cooking time may need to be extended slightly to achieve proper thickness.
- Use sterilized jars and follow safe canning practices if opting for long-term storage.
