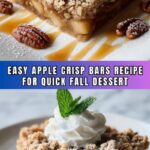
There is nothing quite like the warm, comforting flavors of a classic apple dessert, but imagine enjoying it in easy-to-handle, handheld bars! This Apple Crisp Bars Recipe takes everything you love about apple crisp—the tender, spiced apples, the crunchy oat topping, and buttery crust—and transforms it into a perfect snack or dessert that’s simple to make and delightful to eat. Whether you’re baking for a crowd or craving a sweet treat to share with friends, these bars hit all the right notes with their perfect balance of tart and sweet, softness and crunch. I’m so excited to share this recipe with you because once you try it, it will quickly become a favorite go-to for cozy gatherings and everyday indulgences alike.
Ingredients You’ll Need
Gathering your ingredients is simpler than it looks, and each one plays a crucial role in building that delicious texture and flavor we all crave in apple crisp bars. From the soft, diced apples bursting with spice to the buttery, crumbly base, these ingredients are nothing short of kitchen essentials that come together beautifully.
- 1 cup all-purpose flour: The foundation of your crust and crumbly topping, flour provides structure.
- 1/2 cup rolled oats: Adds a subtle chewiness and rustic texture to the crisp layer.
- 1/2 cup brown sugar, packed: Brings sweetness and a hint of caramel flavor to the bars.
- 1/4 teaspoon baking powder: Helps the crust rise slightly for lightness.
- 1/4 teaspoon salt: Enhances all the sweet flavors and balances the dish.
- 1/2 cup unsalted butter, melted: Infuses richness and tenderizes the crumb topping and crust.
- 3 medium apples, peeled, cored, and diced: The star ingredient, providing fresh, juicy bites loaded with flavor.
- 1 tablespoon lemon juice: Keeps the apples bright and prevents browning, adding a touch of tartness.
- 2 tablespoons granulated sugar: Sweetens and caramelizes the apple filling just right.
- 1 teaspoon cinnamon: Brings warm spice that’s quintessential to any apple dessert.
- 1/4 teaspoon nutmeg: Adds a hint of earthiness and depth to the spiced apple mix.
- 1/2 cup chopped walnuts (optional): For a lovely crunch and nutty flavor that complements the apples perfectly.
How to Make Apple Crisp Bars Recipe
Step 1: Prepare Your Pan and Oven
Begin by preheating your oven to 350°F (175°C). Grease a 9×9-inch baking pan and line it with parchment paper, leaving a generous overhang on two sides. This step will make it super easy to lift the bars out once they’ve cooled completely.
Step 2: Mix the Crust and Topping
In a large bowl, combine the all-purpose flour, rolled oats, packed brown sugar, baking powder, and salt. Stir in the melted unsalted butter until everything comes together into coarse crumbs. This mixture will form both your crisp crust and crumbly topping.
Step 3: Form the Crust
Reserve about three-quarters of a cup of the crumb mixture for the topping. Then press the remaining crumbs firmly and evenly into the bottom of the prepared pan. This crust should hold together well to support the luscious apple filling.
Step 4: Prepare the Apple Filling
In a separate bowl, toss the diced apples with the lemon juice, granulated sugar, cinnamon, and nutmeg until every piece is well-coated. This ensures the apples are flavorful and the lemon juice keeps them from turning brown.
Step 5: Assemble the Bars
Spread the spiced apple mixture evenly over the crust layer in the pan. Then sprinkle the reserved crumb mixture on top, followed by the optional chopped walnuts for an added crunch and nutty twist.
Step 6: Bake to Perfection
Pop the pan into your preheated oven and bake for 30 to 35 minutes. You’ll know they’re done when the topping turns a gorgeous golden brown and the apples are tender and bubbly.
Step 7: Cool and Slice
Once baked, remove your bars from the oven and allow them to cool in the pan for at least 20 minutes. Use the parchment edges to carefully lift the whole block out. Transfer to a cutting board and slice into squares. These bars are perfect warm or at room temperature.
How to Serve Apple Crisp Bars Recipe
Garnishes
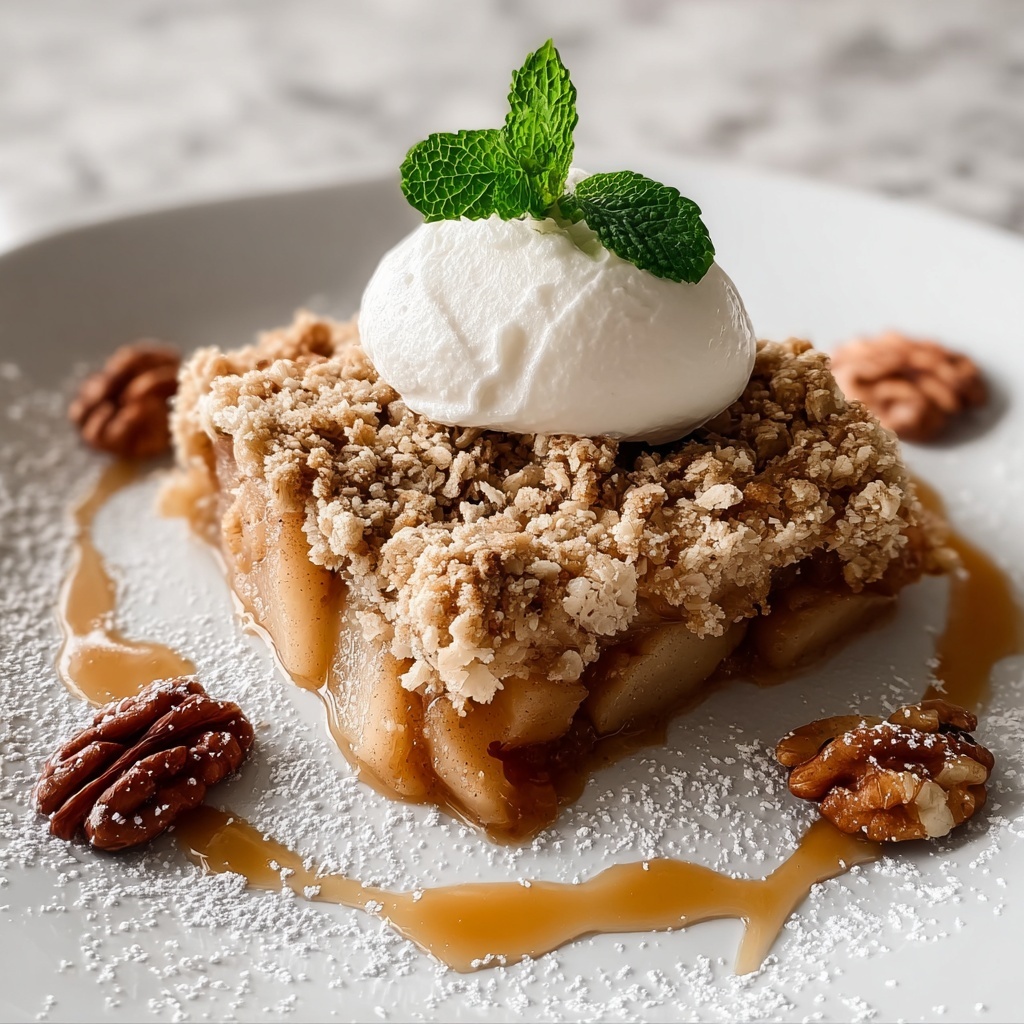
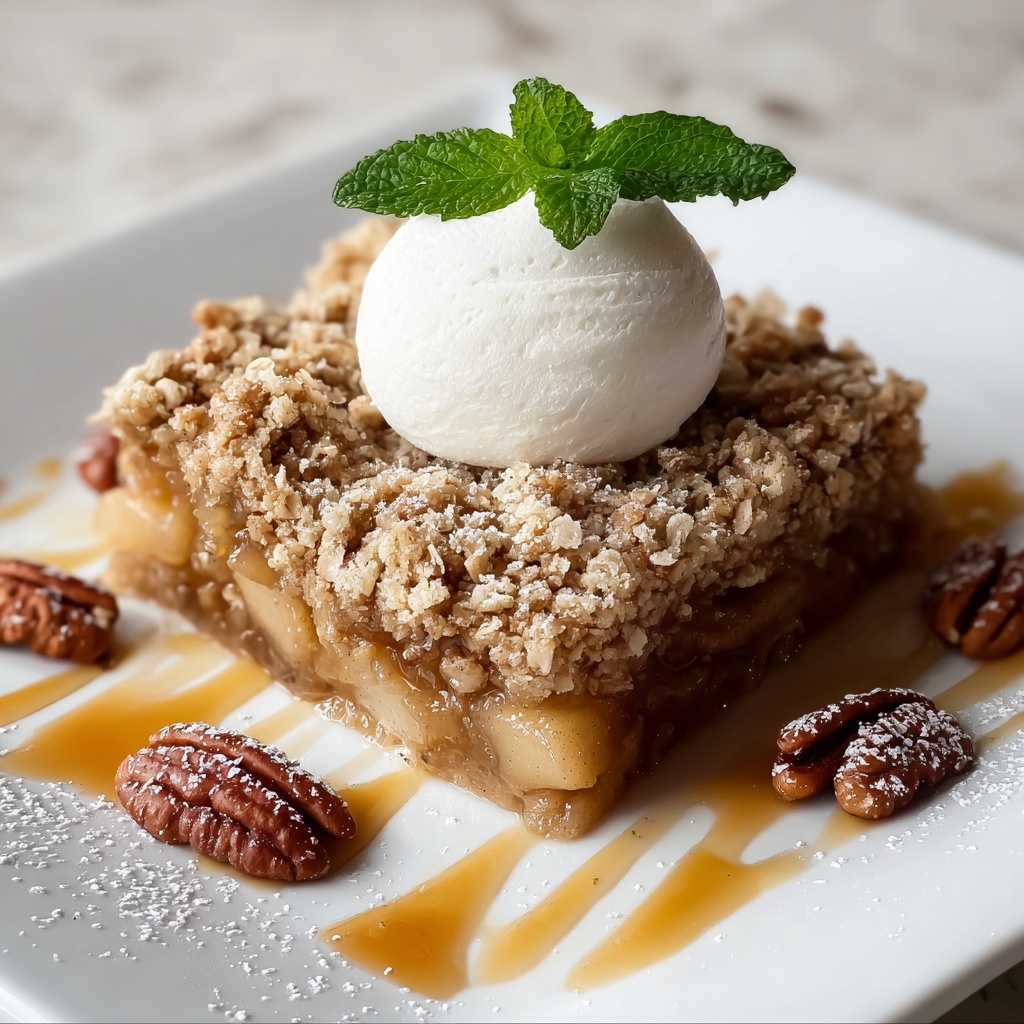
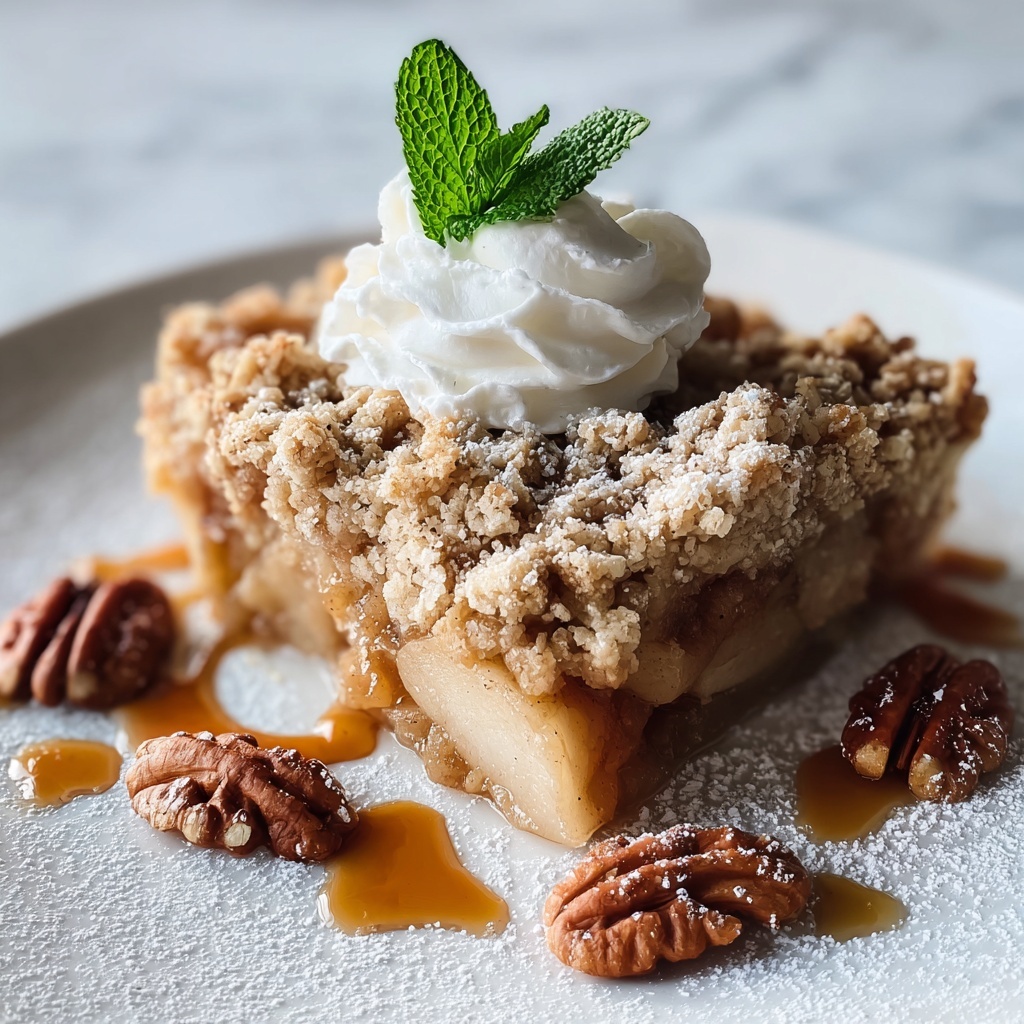
Apple Crisp Bars Recipe really shines with simple garnishes like a dollop of vanilla whipped cream or a scoop of creamy vanilla ice cream. Freshly ground cinnamon or a drizzle of caramel sauce on top adds a decadent touch perfect for special occasions.
Side Dishes
Serve these bars alongside a hot cup of coffee, tea, or even a glass of cold milk for a classic pairing. For a more festive brunch, pair with fresh fruit salad or yogurt for a balanced spread.
Creative Ways to Present
For an eye-catching presentation, cut the bars into fun shapes using cookie cutters or serve them on a rustic wooden board with fresh apple slices and nuts scattered around. You can even layer them in a trifle dish with whipped cream for an apple crisp parfait!
Make Ahead and Storage
Storing Leftovers
Once cooled, store any leftover apple crisp bars in an airtight container at room temperature for up to two days. For longer freshness, keep them refrigerated where they will stay moist and flavorful for about a week.
Freezing
You can freeze these bars easily by wrapping them tightly in plastic wrap and then placing them in a freezer-safe container or bag. They freeze beautifully for up to three months. To enjoy, simply thaw overnight in the fridge.
Reheating
Warm up your bars in the oven at 300°F (150°C) for about 10 minutes or until heated through. Avoid microwaving for too long to maintain the perfect crisp topping texture.
FAQs
Can I use different types of apples in this Apple Crisp Bars Recipe?
Absolutely! While tart apples like Granny Smith work wonderfully, you can mix it up with Gala, Honeycrisp, or Fuji for varying sweetness and texture. Just ensure your apples hold their shape when baked.
Is it okay to skip the walnuts?
Yes, walnuts are optional. They add a nice crunch and nutty flavor, but the bars are delicious even without them—perfect if you have nut allergies or prefer a simpler taste.
Can I make these bars gluten-free?
To make gluten-free Apple Crisp Bars Recipe, substitute the all-purpose flour with a gluten-free flour blend and ensure your oats are certified gluten-free. This swap maintains texture without compromising flavor.
How do I know when the bars are fully baked?
The topping should be golden brown and crisp, and the apples underneath tender. You might also notice a fragrant aroma of cinnamon and baked apples filling your kitchen—that’s your cue!
Can these bars be made ahead for parties?
Definitely! You can bake them a day ahead and store them in the refrigerator. Bring them to room temperature before serving, or warm slightly for that fresh-baked feel.
Final Thoughts
If you’re searching for a dessert that feels like a warm hug and is easy enough to whip up any day, this Apple Crisp Bars Recipe is pure magic. From the buttery crust and spiced apple filling to the crunchy topping, every bite is a perfect blend of textures and flavors. Give it a try, share with loved ones, and watch it quickly become one of your most requested recipes!
Print
Apple Crisp Bars Recipe
- Prep Time: 15 minutes
- Cook Time: 35 minutes
- Total Time: 50 minutes
- Yield: 9 to 12 bars
- Category: Dessert
- Method: Baking
- Cuisine: American
- Diet: Vegetarian
Description
Delicious and easy-to-make Apple Crisp Bars featuring a buttery oat crust, tender cinnamon-spiced apple filling, and a crunchy crumb topping with optional walnuts. Perfect as a snack or dessert, these bars combine classic apple crisp flavors in a convenient handheld form.
Ingredients
Crust and Topping
- 1 cup all-purpose flour
- 1/2 cup rolled oats
- 1/2 cup brown sugar, packed
- 1/4 teaspoon baking powder
- 1/4 teaspoon salt
- 1/2 cup unsalted butter, melted
- 1/2 cup chopped walnuts (optional)
Apple Filling
- 3 medium apples, peeled, cored, and diced
- 1 tablespoon lemon juice
- 2 tablespoons granulated sugar
- 1 teaspoon cinnamon
- 1/4 teaspoon nutmeg
Instructions
- Preheat the oven: Preheat your oven to 350°F (175°C). Grease a 9×9-inch baking pan and line it with parchment paper, leaving some overhang on the sides for easy removal.
- Prepare the crumb mixture: In a large bowl, combine the flour, rolled oats, brown sugar, baking powder, and salt. Stir in the melted butter until the mixture forms coarse crumbs resembling wet sand.
- Form the crust: Reserve about 3/4 cup of the crumb mixture for the topping. Press the remaining crumb mixture evenly into the bottom of the prepared pan to create a firm and even crust layer.
- Mix the apple filling: In a separate bowl, toss the diced apples with lemon juice, granulated sugar, cinnamon, and nutmeg. Mix well to evenly coat the apples with the spices and sugar.
- Assemble the bars: Spread the apple mixture evenly over the pressed crust in the pan, making sure to distribute the fruit uniformly.
- Add the topping: Sprinkle the reserved crumb mixture evenly over the apple layer, then top with chopped walnuts if using, for added crunch and flavor.
- Bake: Place the pan in the preheated oven and bake for 30 to 35 minutes, until the topping is golden brown and the apples are tender when pierced with a fork.
- Cool and serve: Remove the pan from the oven and let it cool for at least 20 minutes to set. Use the parchment overhang to lift the bars out from the pan. Transfer to a cutting board and cut into squares before serving.
Notes
- Use firm, tart apples such as Granny Smith or Honeycrisp for best flavor and texture.
- Chilling the crumb mixture before pressing can help it hold together better as a crust.
- For a nut-free version, omit the walnuts or substitute with seeds like pumpkin or sunflower seeds.
- Store bars in an airtight container at room temperature for up to 3 days or refrigerate for up to a week.
- These bars can be warmed slightly before serving to enhance their flavors.

