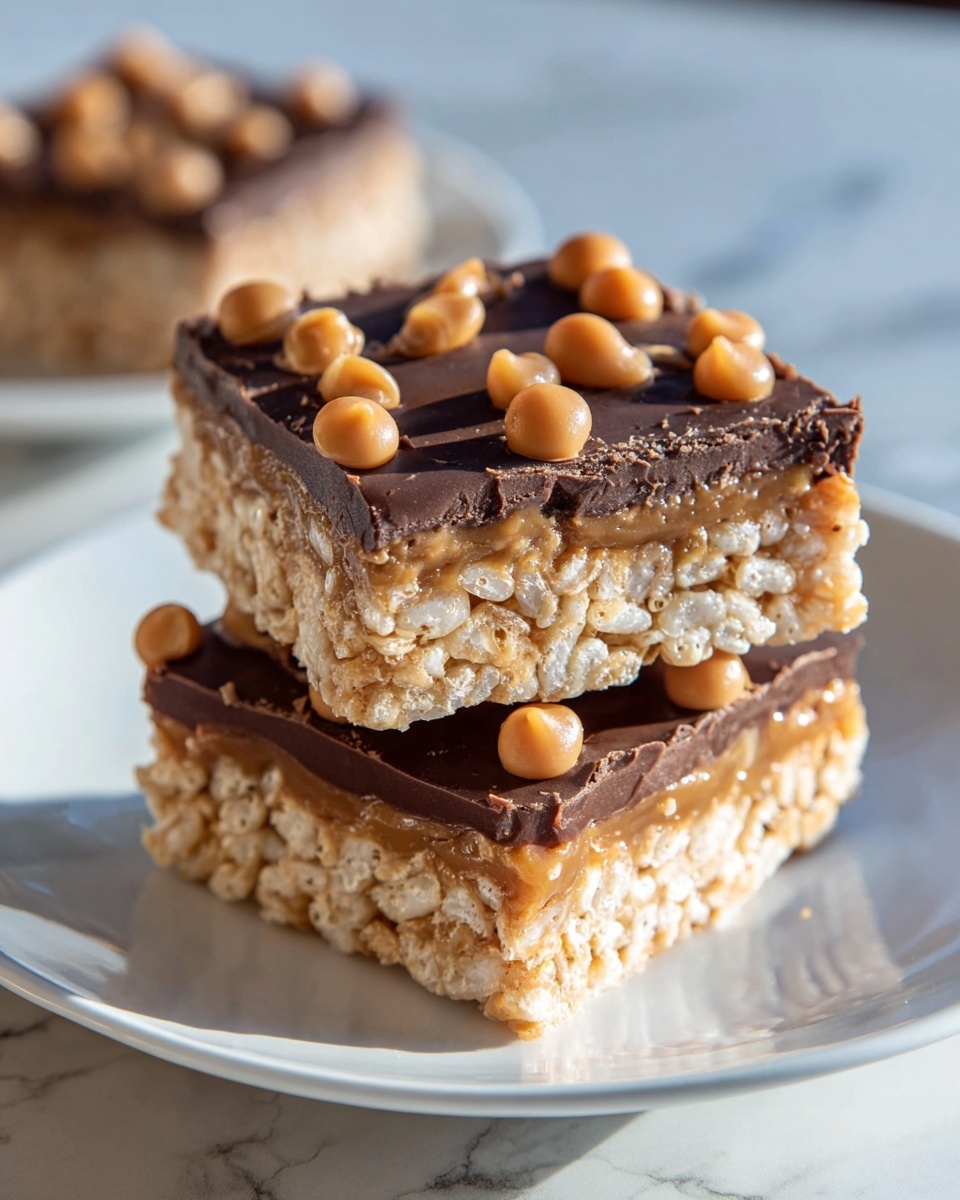
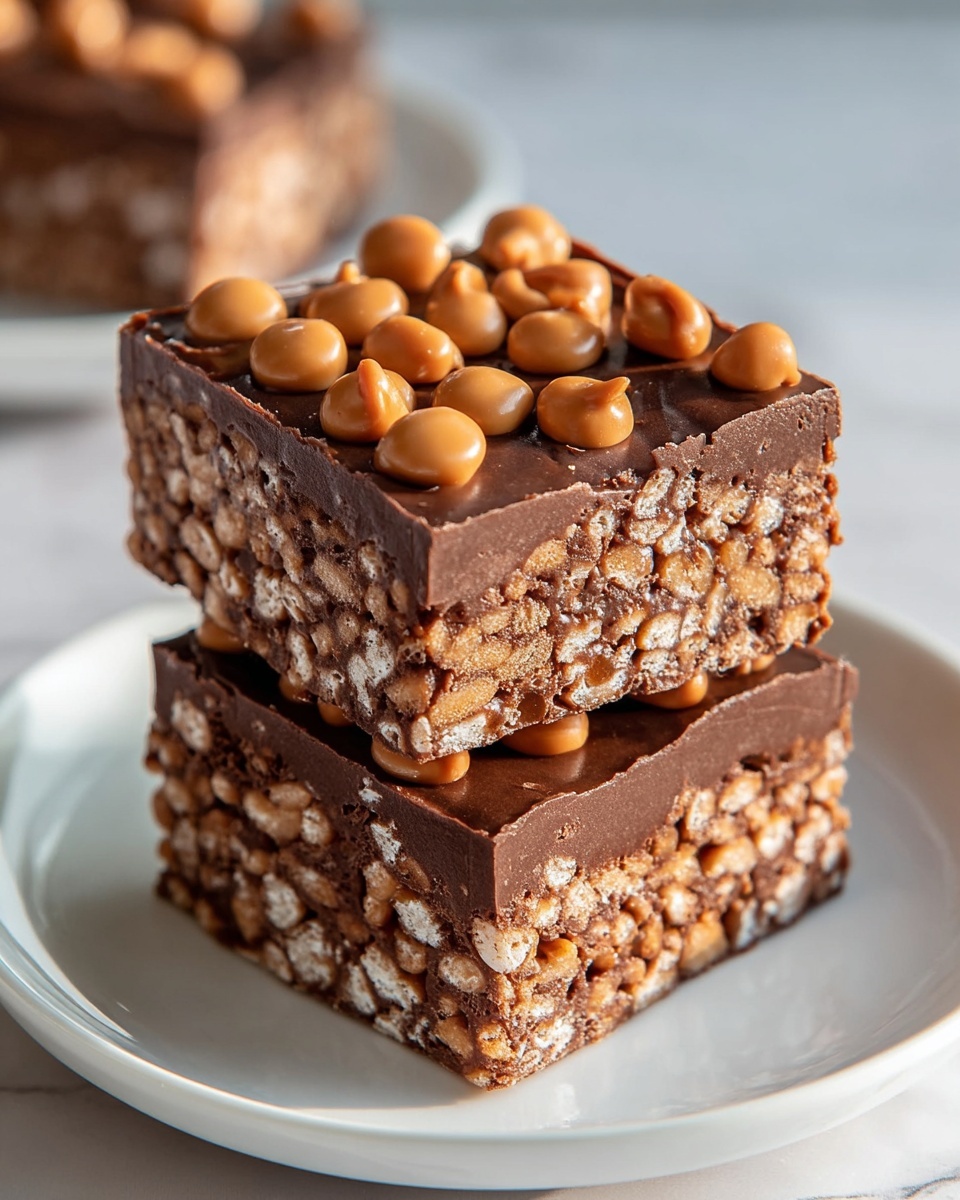
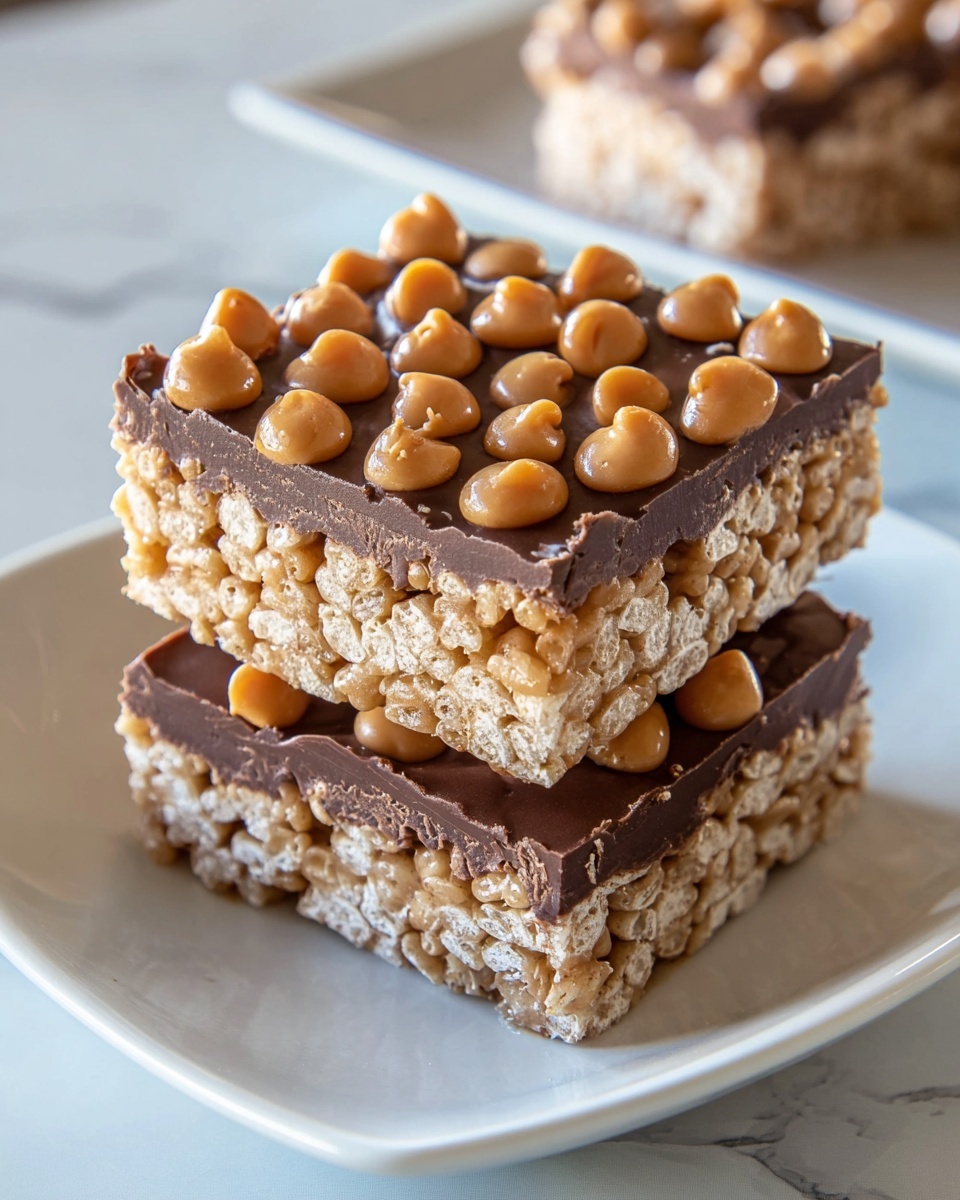
There is something truly magical about these Homemade Crunch Bars Recipe that makes them an instant favorite for kids and adults alike. Picture this: a perfect harmony of crispy rice cereal, melty chocolate, and gooey marshmallows all packed into a single bite-sized treat. These bars are delightfully crunchy yet chewy, beautifully simple to make, and totally irresistible whether you’re looking for a quick snack or a fun dessert to share with friends. Trust me, once you try this Homemade Crunch Bars Recipe, it will become your go-to when sweet cravings hit.
Ingredients You’ll Need
The beauty of this recipe lies in the simplicity and quality of its ingredients. Each one plays a key role—some adding flavor, others texture, and a few that bring it all together into that iconic homemade crunch and chew sensation.
- Rice cereal: This provides the iconic crispy crunch and lightness.
- Chocolate chips: They add rich sweetness and a creamy texture that’s irresistible when melted.
- Unsalted butter: Helps melt and blend the ingredients smoothly while adding a subtle buttery flavor.
- Mini marshmallows: The gooey binder that makes these bars sticky and chewy in the best way.
- Optional toppings (nuts or sprinkles): Great for adding extra texture or a playful pop of color.
How to Make Homemade Crunch Bars Recipe
Step 1: Prepare Your Baking Dish
Start by greasing an 8×8-inch baking dish with butter or cooking spray. This small step is essential to prevent sticking later, making it easier to remove your bars once set, and keeping their edges perfect.
Step 2: Melt Butter and Chocolate Chips
Over low heat, carefully melt the butter and chocolate chips together until smooth and glossy. This slow melting ensures the chocolate doesn’t burn and blends beautifully with the butter, creating a luscious base for your bars.
Step 3: Incorporate the Marshmallows
Add the mini marshmallows to the melted chocolate mixture and stir continuously until they melt fully. This gooey addition acts like glue, holding the crispy rice cereal together and ensuring that every bite melts in your mouth.
Step 4: Mix in the Rice Cereal
Gently fold the rice cereal into the marshmallow-chocolate blend, making sure every piece is evenly coated. This step guarantees that crunch in every bite without any dry or sticky patches.
Step 5: Press the Mixture into the Dish
Pour the sticky mixture into your prepared baking dish. Use a spatula or clean hands to press it down firmly and evenly. This helps the bars hold their shape when sliced and ensures perfect squares that won’t crumble.
Step 6: Add Your Optional Toppings
If you want to up the fun factor, sprinkle on nuts or colorful sprinkles before the bars completely cool. These add delightful texture and visual appeal, making the bars look as good as they taste.
Step 7: Chill and Slice
Place the baking dish in the refrigerator for about 30 minutes to let the bars fully set. Once firm, slice them into 16 squares and get ready to enjoy a nostalgic treat that’s fresh from your kitchen.
How to Serve Homemade Crunch Bars Recipe
Garnishes
These bars are already fabulous on their own, but adding a drizzle of melted white chocolate or sprinkling shredded coconut on top before chilling can elevate their appearance and taste. It’s these small finishing touches that impress guests and make every bite feel special.
Side Dishes
Serve your Homemade Crunch Bars with a cold glass of milk, a cup of coffee, or even a scoop of vanilla ice cream for an indulgent combo. Their sweet crunch pairs wonderfully with creamy or warm beverages and desserts.
Creative Ways to Present
For parties or gifts, cut the bars into fun shapes using cookie cutters or stack them in a decorative tin layered with parchment paper. Wrapping individual bars in colorful cellophane tied with a ribbon also makes a charming homemade gift that anyone will appreciate.
Make Ahead and Storage
Storing Leftovers
After enjoying some bars fresh, store the rest in an airtight container at room temperature for up to three days. This keeps them crisp on the outside but still delightfully chewy inside.
Freezing
If you want to keep these treats longer, wrapping each bar individually in plastic wrap and placing them in a freezer-safe bag works well. In the freezer, they last up to a month and thaw quickly at room temperature when you’re ready for a sweet snack.
Reheating
Since these bars are best enjoyed at room temperature or chilled, reheating is usually unnecessary. If you prefer a warm, gooey treat, a quick 10-second zap in the microwave works wonders—just be careful not to overdo it and melt the shape.
FAQs
Can I use a different type of cereal?
Absolutely! While rice cereal is classic for this recipe, puffed wheat or even corn flakes can offer a nice twist. Just keep in mind that the texture and flavor might vary slightly.
Is it necessary to use unsalted butter?
Unsalted butter lets you control the saltiness of your bars. Using salted butter is fine, too—just skip adding any extra salt to balance the flavor.
Can I substitute the mini marshmallows?
Mini marshmallows are ideal because they melt evenly and are easy to mix. Larger marshmallows can be chopped up, but might not integrate as smoothly.
How long do Homemade Crunch Bars Recipe stay fresh?
When stored properly in an airtight container, these bars stay fresh for about three days at room temperature, perfect for making ahead for a small gathering.
Can I add nuts or dried fruit to the mixture?
Yes, adding chopped nuts or dried fruit can add texture and flavor. Just fold them in gently after mixing in the rice cereal to distribute evenly.
Final Thoughts
Making these Homemade Crunch Bars Recipe is such a rewarding experience because it’s quick, simple, and produces a treat that’s carefree fun and deliciously nostalgic. Whether you’re making them as an after-school snack, a party favor, or a weekend baking project, you’re sure to create smiles and cravings all around. So grab your ingredients, have fun in the kitchen, and enjoy every crunchy, gooey bite!
Print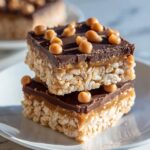
Homemade Crunch Bars Recipe
- Prep Time: 10 minutes
- Cook Time: 10 minutes
- Total Time: 50 minutes
- Yield: 16 servings
- Category: Dessert
- Method: Stovetop
- Cuisine: American
Description
Delight in these easy-to-make Homemade Crunch Bars combining crispy rice cereal, melted chocolate, and mini marshmallows for a nostalgic treat perfect for snacking or dessert.
Ingredients
Main Ingredients
- 3 cups rice cereal
- 1 cup chocolate chips (semi-sweet or dark)
- 4 tablespoons unsalted butter
- 2 cups mini marshmallows
Optional Toppings
- nuts or sprinkles
Instructions
- Prepare Baking Dish: Grease an 8×8-inch baking dish with butter or cooking spray to prevent sticking and make removal easier.
- Melt Butter and Chocolate: In a medium saucepan over low heat, gently melt the unsalted butter and chocolate chips together, stirring continuously until the mixture is smooth and fully combined.
- Add Marshmallows: Stir in the mini marshmallows into the melted chocolate and butter mixture. Continue stirring until the marshmallows are melted and the mixture is uniform.
- Incorporate Rice Cereal: Carefully fold the rice cereal into the chocolate-marshmallow mixture, ensuring that each piece is evenly coated to achieve the perfect crunch and flavor distribution.
- Press into Dish: Pour the coated rice cereal mixture into the prepared baking dish. Using a spatula or your hands, press the mixture down firmly to create an even, compact layer.
- Add Toppings: If desired, sprinkle nuts or decorative sprinkles on top before the mixture cools, allowing them to adhere as it sets.
- Chill and Slice: Refrigerate the dish for about 30 minutes until the bars are fully set and firm. Once chilled, slice into approximately 16 squares to serve.
Notes
- Use semi-sweet or dark chocolate chips for richer flavor and less sweetness.
- For a nut-free version, omit the optional nuts.
- Press the mixture firmly to help the bars hold together better.
- Store in an airtight container at room temperature for up to 3 days or refrigerate to extend freshness.
- Customize with your favorite toppings such as crushed pretzels or shredded coconut.


