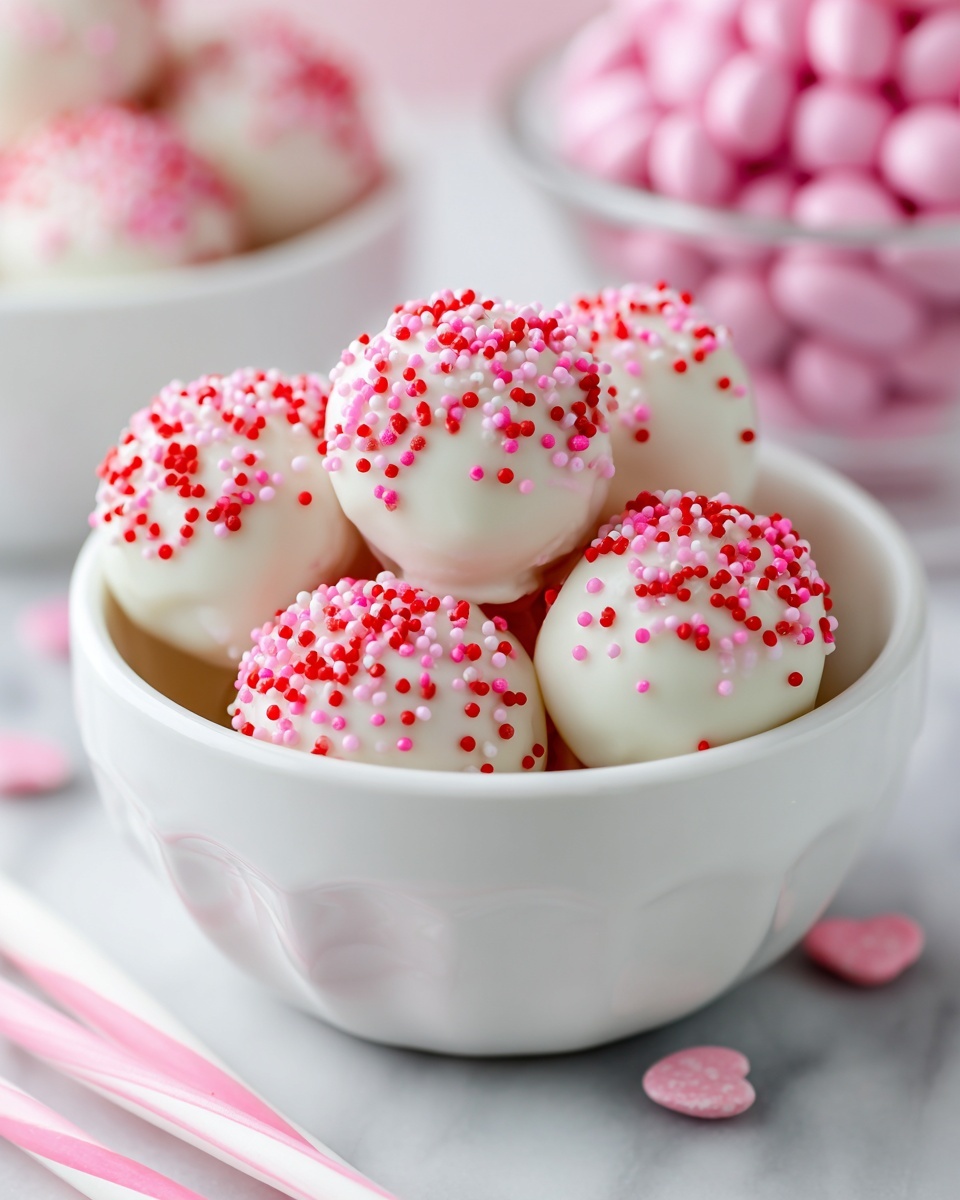
If you have a hankering for something sweet, portable, and absolutely delightful, this Strawberry Cake Balls Recipe is going to become your new go-to treat. These bite-sized morsels pack all the juicy, strawberry-flavored goodness of a classic cake into perfectly rounded little bites, making them ideal for parties, snacks, or just a moment of indulgence. The combination of moist strawberry cake, creamy frosting, and optionally a chocolatey coating gives you a wonderful texture contrast that keeps every bite exciting and irresistibly delicious.
Ingredients You’ll Need
The magic behind this strawberry cake balls recipe is in its simplicity. Each ingredient plays a crucial role, whether it’s the vibrancy of the strawberry cake mix, the moisture provided by the eggs and water, or the creamy sweetness of the frosting that binds everything together. The optional chocolate coating adds a final luscious touch, elevating these cake balls to a decadent treat that feels special.
- Strawberry cake mix: The base that delivers the sweet and fruity strawberry flavor, giving this dessert its signature taste and pink hue.
- Water: Essential for moistening the cake mix and helping it bake perfectly.
- Eggs: They provide structure and richness to ensure your cake has that ideal crumbly consistency once baked.
- Frosting: Acts as the glue, adding creaminess and sweetness that meld the crumbled cake into balls that hold together without falling apart.
- Chocolate coating (optional): Adds a beautiful glossy finish and delicious texture contrast for those who want to take it to the next level.
How to Make Strawberry Cake Balls Recipe
Step 1: Bake the Strawberry Cake
Start by preheating your oven to 350°F (175°C). Prepare the strawberry cake mix according to the package directions, including the water and eggs. Pour the batter into a pan and bake it for about 25 minutes until it’s fully cooked through. The aroma at this point will already have your kitchen smelling like a strawberry dream.
Step 2: Let the Cake Cool and Crumble
Allow the cake to cool completely once it’s out of the oven. This cooling step is key because if the cake is warm, the frosting will melt and the mixture won’t hold shape well. Once cooled, crumble the cake into small, fine pieces in a large mixing bowl—this is where the fun begins because everything starts coming together.
Step 3: Incorporate the Frosting
Add the frosting directly into the bowl with the crumbled cake. Mix thoroughly until the cake crumbs are evenly coated. The frosting binds the crumbs so the mixture sticks together nicely, which makes shaping into balls a breeze. Be careful not to add too much frosting, or the mixture may become too soft.
Step 4: Shape the Cake Balls
Scoop out small portions of the mixture and roll them gently between your palms to form bite-sized balls. Aim for consistent sizes so they’ll chill evenly. Place each cake ball on a baking sheet lined with parchment paper or a silicone mat to keep them from sticking.
Step 5: Optional Chocolate Coating
If you want to add a layer of elegance and extra flavor, melt your chocolate coating according to the package instructions. Dip each cake ball into the melted chocolate, then place it back on the lined baking sheet. This step creates a lovely shell that contrasts beautifully with the soft cake inside.
Step 6: Chill and Set
Pop your cake balls into the fridge for at least 30 minutes. This chilling allows the frosting to firm up and the chocolate coating to harden. Once set, they are ready to be enjoyed immediately or stored for later.
How to Serve Strawberry Cake Balls Recipe
Garnishes
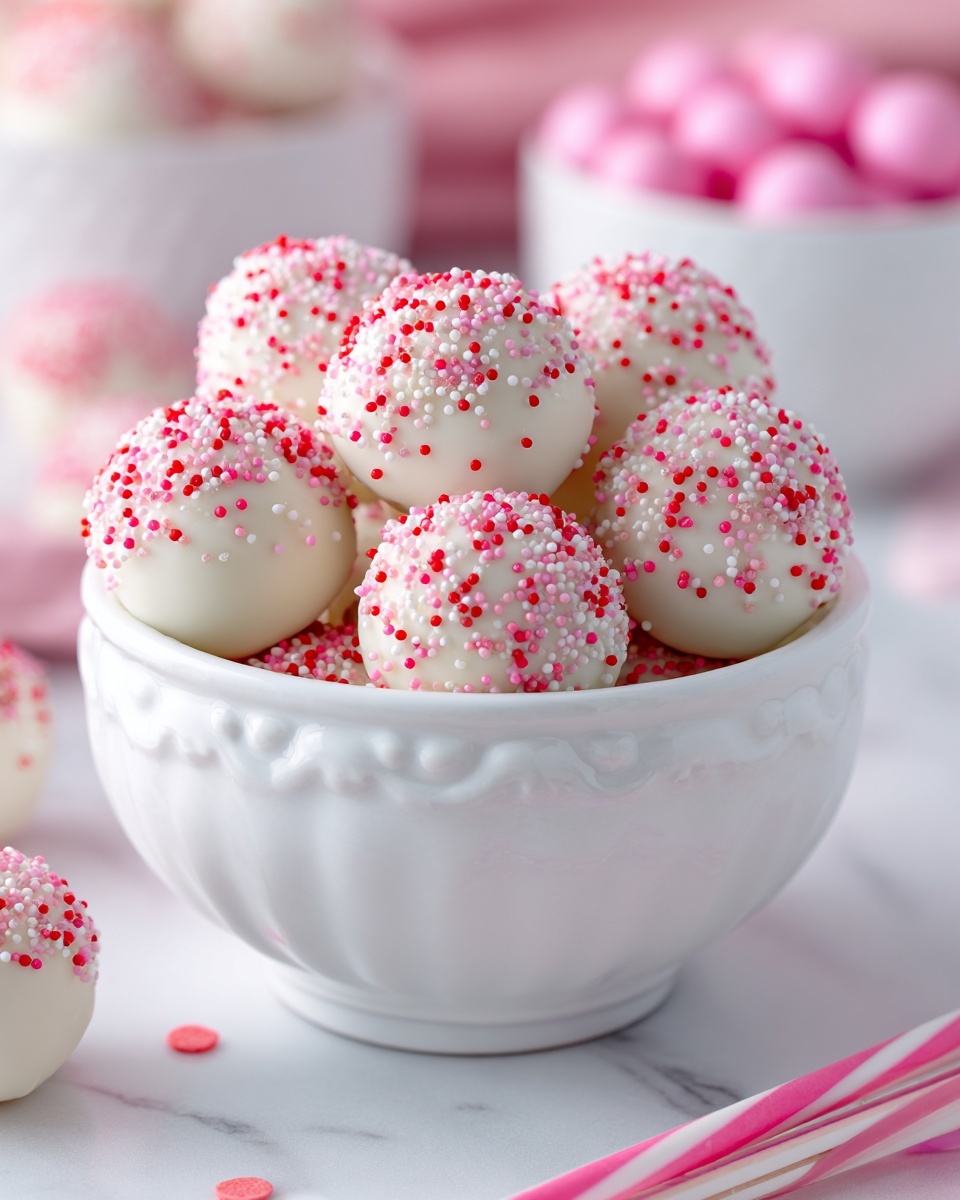
These strawberry cake balls get even prettier with just a little extra flair. Consider sprinkling them with edible glitter, colorful sprinkles, or a drizzle of white chocolate to add visual interest and some contrast in flavor. Fresh strawberry slices or tiny mint leaves also make lovely garnishes that reinforce the fruitiness.
Side Dishes
While these cake balls often shine on their own, pairing them with a simple side can make a charming dessert spread. Fresh berries, a scoop of vanilla ice cream, or a cup of tea or coffee complement the sweet, rich flavors beautifully and create a well-rounded treat experience.
Creative Ways to Present
Presentation is part of the joy with these cake balls. Try serving them on decorative trays lined with doilies, stacking them on cupcake stands, or packing them individually in mini cupcake liners for a cute on-the-go snack. They also make delightful edible gifts when wrapped in clear cellophane tied with a ribbon.
Make Ahead and Storage
Storing Leftovers
Leftover strawberry cake balls keep wonderfully in an airtight container in the refrigerator for up to a week. This makes them perfectly practical as a ready-made sweet snack or last-minute dessert for a busy day.
Freezing
You can freeze cake balls by placing them in a single layer on a baking sheet until solid, then transferring them to a freezer-safe container or bag. They’ll keep well for up to 2 months. Just thaw them in the fridge before serving.
Reheating
Because these cake balls are best enjoyed chilled, reheating isn’t typically necessary. If you prefer them slightly less cold, allow them to sit at room temperature for 15 to 20 minutes before eating—this smooths out the flavors and softens the texture without losing their charm.
FAQs
Can I use homemade strawberry cake instead of the mix?
Absolutely! A homemade strawberry cake can add a lovely personal touch and depth of flavor. Just make sure it has a similar moist texture so the cake balls hold together well when mixed with frosting.
What kind of frosting works best?
Classic vanilla or cream cheese frosting pairs perfectly with the strawberry flavor and provides the right balance of sweetness and creaminess to bind the cake crumbs evenly.
Can I skip the chocolate coating?
Yes, skipping the chocolate coating is totally fine. The cake balls will still be delicious on their own, especially if you enjoy a softer rather than crunchy exterior.
How big should I make the cake balls?
About one inch in diameter works well—small enough to pop in your mouth but large enough to enjoy a burst of flavor with each bite.
Are these cake balls kid-friendly?
Definitely! They’re a fun, bite-sized dessert that kids love, especially with the vibrant strawberry flavor and colorful presentation options.
Final Thoughts
There’s something truly joyful about making and sharing this Strawberry Cake Balls Recipe. Whether you’re baking for a special occasion or simply want a sweet treat that’s fun to eat, these cake balls hit the spot every time. Give them a try—you’ll find themselves disappearing faster than you expect, and you might just want to keep the recipe close forever.
Print
Strawberry Cake Balls Recipe
- Prep Time: 10 minutes
- Cook Time: 25 minutes
- Total Time: 35 minutes plus 30 minutes chilling
- Yield: 12 cake balls
- Category: Dessert
- Method: Baking
- Cuisine: American
Description
Delightful Strawberry Cake Balls are a fun and easy treat made by baking a strawberry cake, crumbling it, mixing with frosting, and optionally dipping in chocolate. Perfect for parties or a sweet snack, these bite-sized cake balls combine moist strawberry flavor with a creamy coating.
Ingredients
Strawberry Cake
- 1 box strawberry cake mix
- 1/2 cup water
- 2 eggs
Frosting
- 1/2 cup frosting (store-bought or homemade)
Optional Coating
- 1/2 cup chocolate coating (for dipping)
Instructions
- Bake the Cake: Preheat your oven to 350°F (175°C). Prepare the strawberry cake mix according to package instructions using the water and eggs provided. Pour the batter into a baking pan and bake for approximately 25 minutes or until a toothpick inserted comes out clean.
- Cool and Crumble: Allow the baked cake to cool completely to room temperature. Once cooled, crumble the cake into a large mixing bowl by hand or with a fork until finely broken into small pieces.
- Mix with Frosting: Add 1/2 cup of frosting to the crumbled cake. Mix thoroughly until the cake and frosting are fully combined and can be easily shaped.
- Form Cake Balls: Roll the mixture into small, bite-sized balls using your hands. Place the formed cake balls on a baking sheet or tray lined with parchment paper.
- Optional Chocolate Dip: If desired, melt the chocolate coating according to package instructions. Dip each cake ball into the melted chocolate to coat fully or partially, then return to the tray to set.
- Chill to Set: Refrigerate the cake balls for at least 30 minutes to allow them to firm up before serving. This helps maintain their shape and enhances flavor.
Notes
- You can substitute homemade frosting for store-bought to control sweetness and flavor.
- If you prefer, use white or dark chocolate coating instead of milk chocolate for dipping.
- Ensure the cake is completely cool before crumbling to avoid clumping with the frosting.
- Store cake balls in an airtight container in the fridge for up to 3 days.
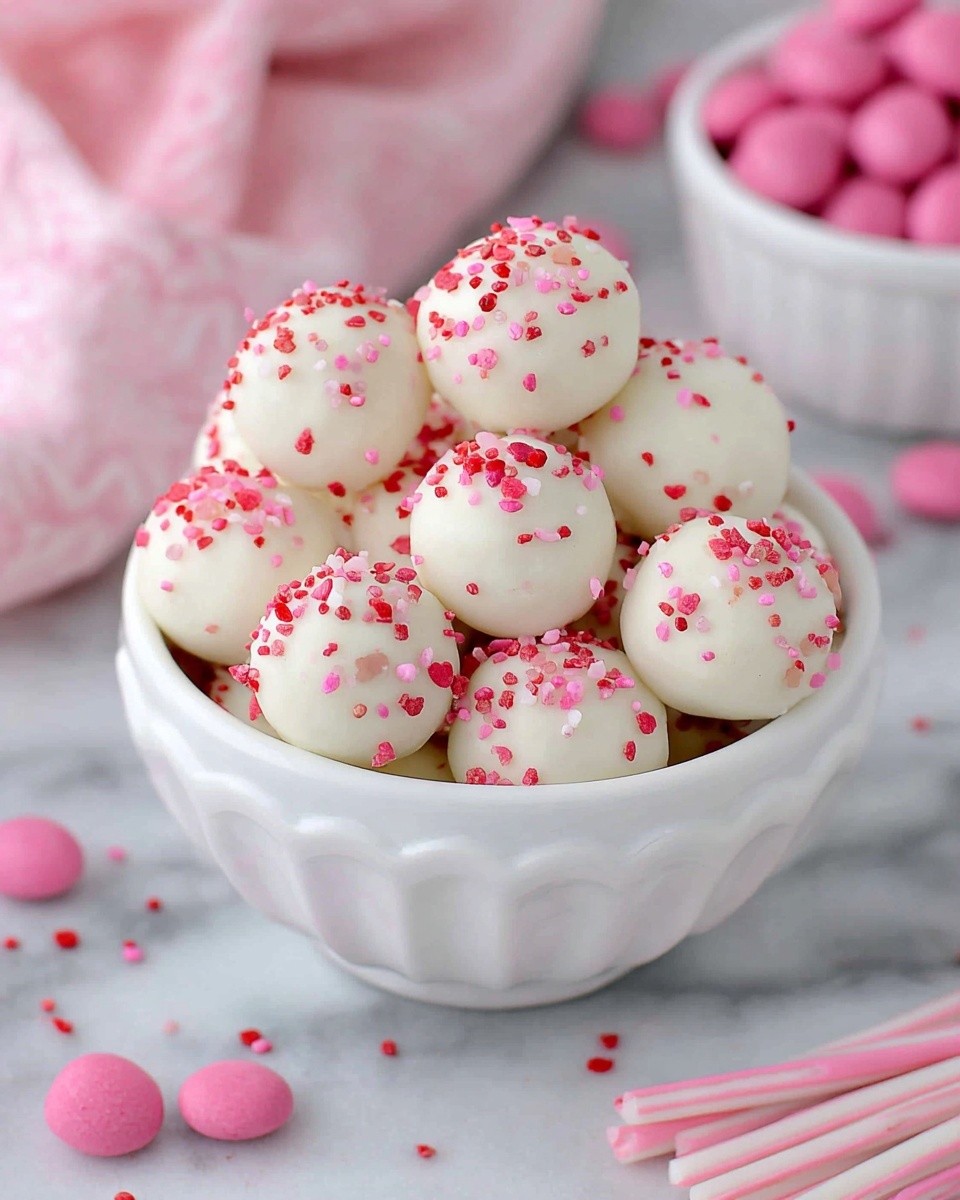
- Feel free to roll the cake balls in sprinkles or crushed nuts before chilling for added texture and decoration.


