If you’re searching for a dessert that captures both the cozy vibes of winter and the whimsy of a perfectly decorated treat, these Hot Cocoa Cupcake Mugs will absolutely steal your heart. Each bite blends deep, fudgy chocolate cake with a cloud of airy whipped cream, cute marshmallows, and a candy cane handle that transforms every cupcake into an edible mug of hot cocoa. Not only are they ridiculously adorable and fun to serve at parties, but they deliver that classic hot cocoa experience in cupcake form. Make a batch and watch them disappear in record time!
Ingredients You’ll Need
Gathering your ingredients for Hot Cocoa Cupcake Mugs couldn’t be easier, and every component brings a special touch. From the fudgy cake base to the whimsical toppings, each ingredient helps shape the flavor, texture, or presentation that makes these cupcake mugs unforgettable.
- Chocolate cake mix: An easy shortcut for moist, fail-proof cupcakes every time.
- Mini marshmallows: These add authentic hot cocoa flair and a pillowy texture on top.
- Chocolate chips: They deepen the chocolate flavor and add tiny bursts of meltiness.
- Heavy cream: Whipped into billowy clouds, this is essential for that classic cocoa “foam.”
- Powdered sugar: Sweetens the whipped cream without any graininess.
- Vanilla extract: Enhances the richness and warms up the whipped topping.
- Mini candy canes: These become the signature mug “handles” for that adorable effect.
- Melted chocolate: Works like edible glue to attach each handle securely.
- Optional toppings: Use chocolate shavings, crushed peppermint, or extra marshmallows for color and crunch.
How to Make Hot Cocoa Cupcake Mugs
Step 1: Prepare and Bake the Cupcakes
Start by preheating your oven to 350°F and lining a muffin tin with paper liners. Whip up your chocolate cake mix just as the box instructs, then stir in the chocolate chips for extra depth. Fill each liner about three-quarters full, bake for 18–20 minutes, and check for doneness with a toothpick—it should come out clean. Let them cool fully before you move on. The aroma alone will have your kitchen feeling incredibly cozy!
Step 2: Make Whipped Cream Topping
While your cupcakes are cooling, pour the heavy cream into a chilled bowl and add powdered sugar plus vanilla extract. Beat with an electric mixer until stiff peaks form. This topping is luxuriously light and a perfect stand-in for the “whipped topping” on a real mug of cocoa.
Step 3: Remove Liners for the Mug Effect
Once the cupcakes are completely cool, gently peel off the paper liners. By exposing the smooth cake sides, you’ll make each cupcake resemble a little cocoa mug—this step is what really sets Hot Cocoa Cupcake Mugs apart from standard cupcakes!
Step 4: Decorate with Whipped Cream and Marshmallows
Pipe or carefully spoon the whipped cream in a generous mound on top of each cupcake. Immediately sprinkle with mini marshmallows for that authentic “hot chocolate” look. You can also add chocolate shavings or a sprinkle of crushed peppermint at this stage.
Step 5: Attach Candy Cane Handles
Now for the fun: dip the end of a mini candy cane in melted chocolate and gently press it into the side of each cupcake to create a handle. Let the chocolate set—it’s what keeps the handle in place, transforming your cupcakes into true edible mugs.
Step 6: Chill Before Serving
Give the finished cupcakes a brief chill in the fridge. This helps the whipped cream hold its shape and ensures the candy cane handles are secure. Take a moment to admire your handiwork: these Hot Cocoa Cupcake Mugs are pure joy to behold and even more fun to eat!
How to Serve Hot Cocoa Cupcake Mugs
Garnishes
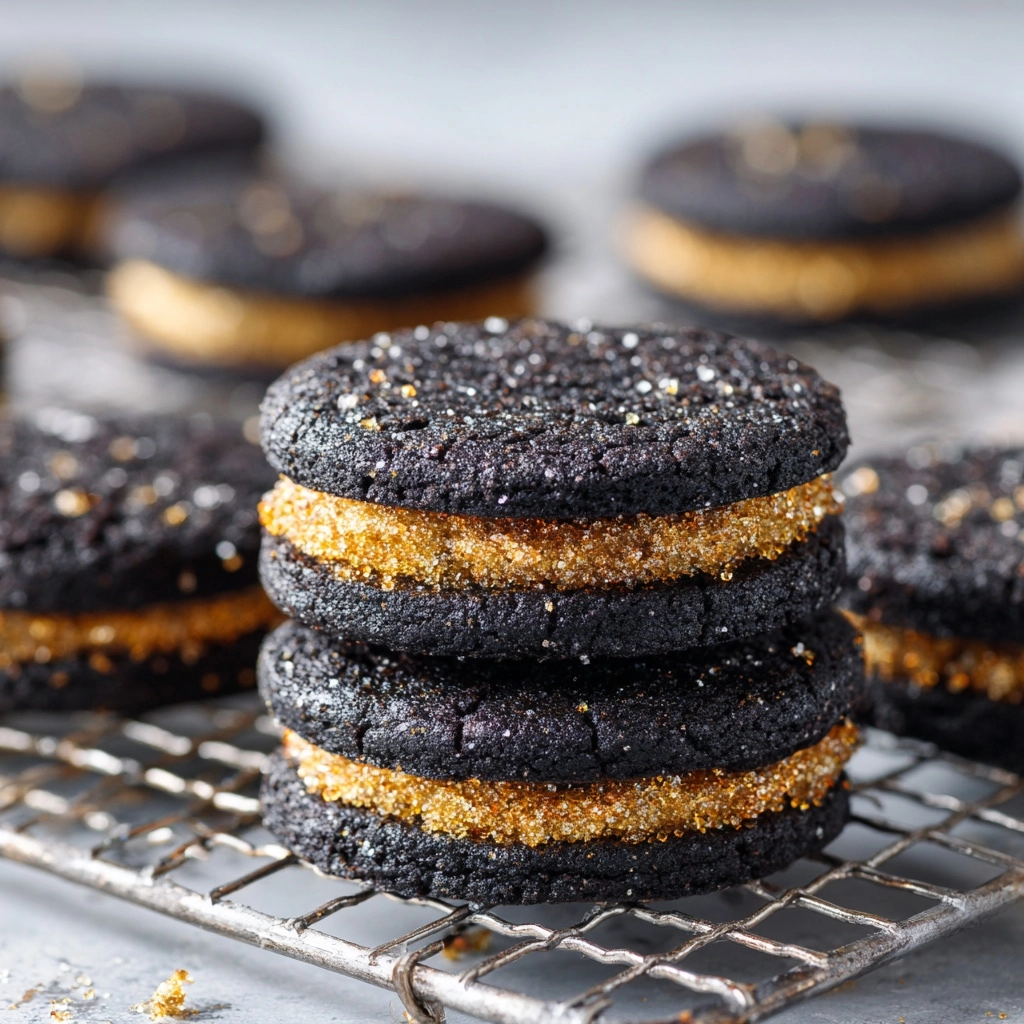
Don’t stop at marshmallows—pile on your favorite toppings. Chocolate shavings, a sprinkle of crushed peppermint, or even holiday sprinkles add color and crunch, making every bite of Hot Cocoa Cupcake Mugs as festive as it is delicious. If you’re feeling extra, a drizzle of chocolate or caramel sauce never hurts!
Side Dishes
Pair your Hot Cocoa Cupcake Mugs with an actual cup of creamy hot chocolate for the ultimate winter treat. Or, serve them alongside a tray of simple sugar cookies, fresh fruit slices, or a scoop of vanilla ice cream if you want a cool contrast. They love good company!
Creative Ways to Present
Display your cupcake mugs on a vintage cake stand or tray for a crowd-pleasing centerpiece. For parties, set out a “decorate your own” station and let guests customize their own mugs. These treats also make charming edible gifts—just wrap each one in cellophane and tie with a cute ribbon.
Make Ahead and Storage
Storing Leftovers
Hot Cocoa Cupcake Mugs store best in an airtight container in the fridge for up to three days. The whipped cream stays fluffy, and the cakes keep their moist texture. To help the candy cane handles stay crisp, avoid storing them in humid conditions.
Freezing
To freeze, skip the whipped cream and toppings—just tightly wrap the cooled, undecorated cupcakes and freeze for up to two months. Thaw overnight in the fridge, then decorate fresh when you’re ready to serve for that just-made magic.
Reheating
These are meant to be served chilled or at room temperature, but if your cupcakes feel a bit firm from the fridge, set them out for about 30 minutes before serving. If you ever want to warm just the cake base, pop the plain (undecorated) cakes in the microwave for 5–10 seconds.
FAQs
Can I use homemade chocolate cake instead of a mix?
Absolutely! A homemade chocolate cake batter will work beautifully for your Hot Cocoa Cupcake Mugs—just use any tried-and-true recipe that yields a moist crumb, and follow the same baking instructions.
My candy canes keep breaking—what should I do?
This is common since mini candy canes can be fragile. If one snaps, use just the curved portion as the handle and press carefully into the cupcake with melted chocolate to secure it.
Can I use frosting instead of whipped cream?
Definitely! Frosting is a great option if you want to prep your cupcakes well in advance. It provides extra stability, especially if transporting the Hot Cocoa Cupcake Mugs to a party.
Are there any non-dairy options for the whipped cream?
Yes! You can swap in coconut cream or a dairy-free whipped topping for the heavy cream, adjusting sweetness to your liking. Plant-based eaters can enjoy these cupcake mugs, too!
How far in advance can I make Hot Cocoa Cupcake Mugs?
The cupcakes themselves can be baked a day or two ahead. It’s best to add the toppings and handles within a few hours of serving to keep everything fresh and perky.
Final Thoughts
Whether you’re celebrating the holidays, throwing a winter party, or just craving something whimsical, these Hot Cocoa Cupcake Mugs are guaranteed to win hearts. They’re as fun to make as they are to eat—give them a try and watch the smiles pile up, one adorable cupcake at a time!
Print
Hot Cocoa Cupcake Mugs Recipe
- Prep Time: 20 minutes
- Cook Time: 20 minutes
- Total Time: 40 minutes (plus cooling and decorating time)
- Yield: 12 cupcakes
- Category: Dessert
- Method: Baking
- Cuisine: American
- Diet: Vegetarian
Description
Indulge in the cozy flavors of hot cocoa with these delightful Hot Cocoa Cupcake Mugs. Perfect for the holiday season or any time you’re craving a sweet treat, these cute cupcakes are sure to impress!
Ingredients
Cupcakes:
- 1 box chocolate cake mix (plus ingredients listed on the box)
- 1 cup mini marshmallows
- ½ cup chocolate chips
Whipped Cream Topping:
- 1 cup heavy cream
- ½ cup powdered sugar
- 1 teaspoon vanilla extract
Decorations:
- 12 mini candy canes (for handles)
- ½ cup melted chocolate (for glueing)
- Optional toppings: chocolate shavings, crushed peppermint, mini marshmallows
Instructions
- Preheat the Oven: Preheat oven to 350°F and line a muffin tin with paper liners.
- Prepare Cupcakes: Prepare the chocolate cake mix according to package instructions. Fill cupcake liners ¾ full and bake for 18–20 minutes.
- Make Whipped Cream: Beat heavy cream with powdered sugar and vanilla until stiff peaks form.
- Decorate: Remove liners from cooled cupcakes. Top with whipped cream, place a mini candy cane handle, and add desired toppings.
- Chill and Serve: Chill briefly to set decorations before serving.
Notes
- If candy canes don’t stick well, use only the curved portion. Frosting can be used instead of whipped cream for a more stable topping if serving later.
Nutrition
- Serving Size: 1 cupcake
- Calories: 310
- Sugar: 28g
- Sodium: 260mg
- Fat: 15g
- Saturated Fat: 8g
- Unsaturated Fat: 5g
- Trans Fat: 0g
- Carbohydrates: 42g
- Fiber: 1g
- Protein: 3g
- Cholesterol: 40mg
