If you have ever dreamed of recreating that beloved minty chocolate cookie moment at home, you are in for a treat. This Perfect Homemade Thin Mint Cookies Recipe brings the iconic crisp yet tender texture along with a rich chocolate-peppermint flavor that melts in your mouth. These cookies blend cocoa, buttery dough, and refreshing peppermint in the best way possible, satisfying your sweet tooth and nostalgic cravings all at once. Plus, they are surprisingly easy to make and perfect for sharing with friends or savoring by yourself with a cold glass of milk or a hot cup of tea.
Ingredients You’ll Need
The magic of these Perfect Homemade Thin Mint Cookies Recipe lies in its simple yet thoughtfully chosen ingredients. Each one plays an important role in creating the perfect balance of texture, flavor, and that signature minty finish you love.
- 1 cup unsalted butter, softened: Adds richness and helps achieve a tender crumb texture.
- 1 cup powdered sugar: Ensures the cookies are sweet and have a light, silky consistency.
- 1 large egg: Binds the dough together and contributes to a soft bite.
- 1 teaspoon pure vanilla extract: Enhances the overall flavor with warm, comforting notes.
- 1/2 teaspoon peppermint extract (plus extra for coating): Provides that fresh minty burst characteristic of Thin Mints.
- 1/2 teaspoon salt: Balances the sweetness while amplifying chocolate flavor.
- 1/2 cup unsweetened cocoa powder: Delivers deep, rich chocolate taste without overpowering.
- 1 1/2 cups all-purpose flour: Creates structure, making the cookies delightfully crisp but not hard.
- 12 ounces semi-sweet or dark chocolate chips: Used for dipping, these give the cookies a shiny, luscious chocolate coat.
How to Make Perfect Homemade Thin Mint Cookies Recipe
Step 1: Cream Butter and Sugar
Start by beating the softened unsalted butter and powdered sugar in a large bowl until the mixture turns light and fluffy. This step is crucial because it traps air, helping your cookies have a tender yet crisp texture that’s signature to Thin Mints.
Step 2: Add Egg and Extracts
Next, mix in the large egg, pure vanilla extract, and 1/2 teaspoon peppermint extract. These ingredients not only bind your dough but also introduce the classic minty and comforting flavors that make these cookies irresistible.
Step 3: Combine Dry Ingredients
In a separate bowl, whisk together the salt, unsweetened cocoa powder, and all-purpose flour. Whisking ensures everything is evenly distributed, giving your dough a uniform chocolate color and taste without any surprises.
Step 4: Mix Dry and Wet Ingredients
Gradually add the dry ingredients to your wet mixture while stirring gently. Mixing just until the dough forms prevents overworking, keeping the cookies tender rather than tough. Once your dough is ready, divide it in half, flatten each half into a disc, wrap them tightly in plastic wrap, and chill for at least one hour—this chilling step is essential for easier rolling and perfect cookie shape.
Step 5: Roll, Cut, and Bake
After chilling, preheat your oven to 350°F (175°C) and line baking sheets with parchment paper. Roll out the dough on a lightly floured surface to about 1/8-inch thickness and cut into rounds about 1.5 to 2 inches wide. Place these on your baking sheets and bake for 10 to 12 minutes. Watch carefully—the cookies should be set but not overbaked to maintain their delightful texture.
Step 6: Cool and Dip in Mint Chocolate
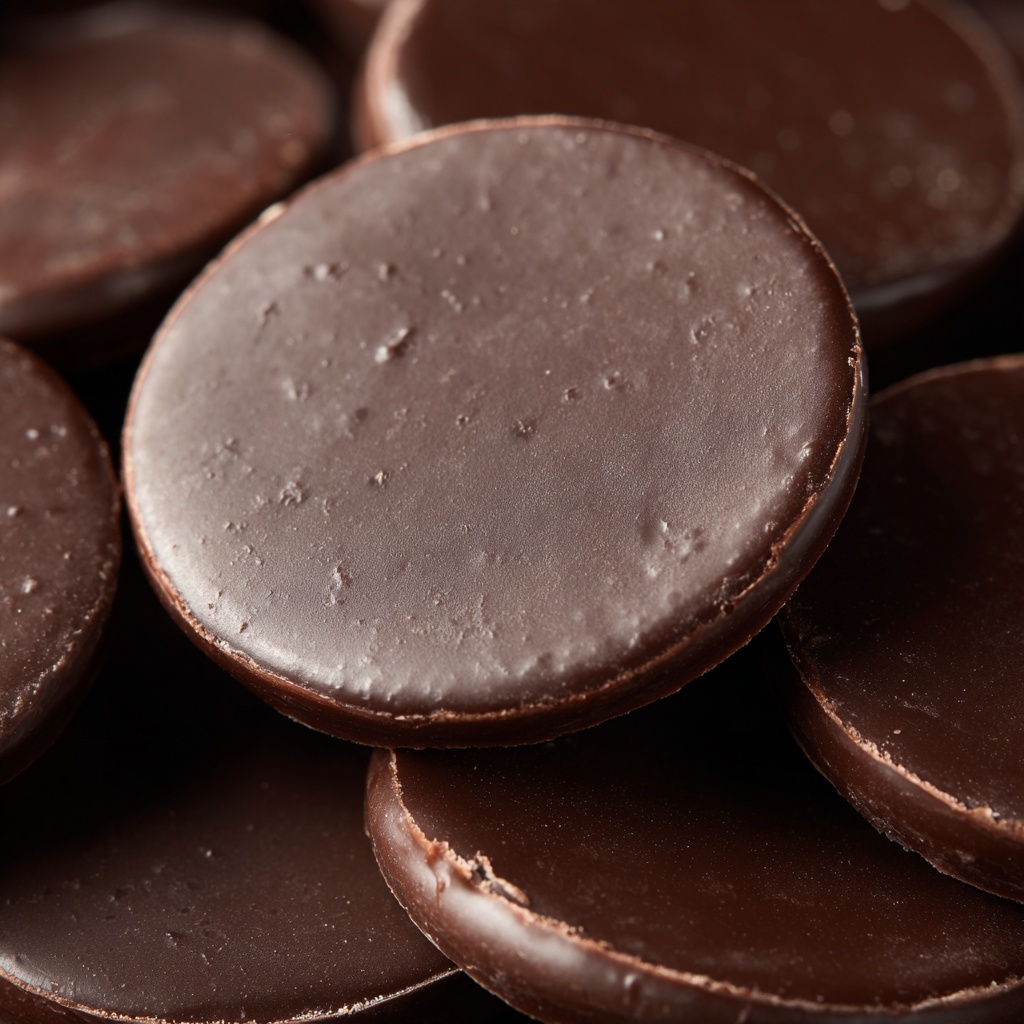
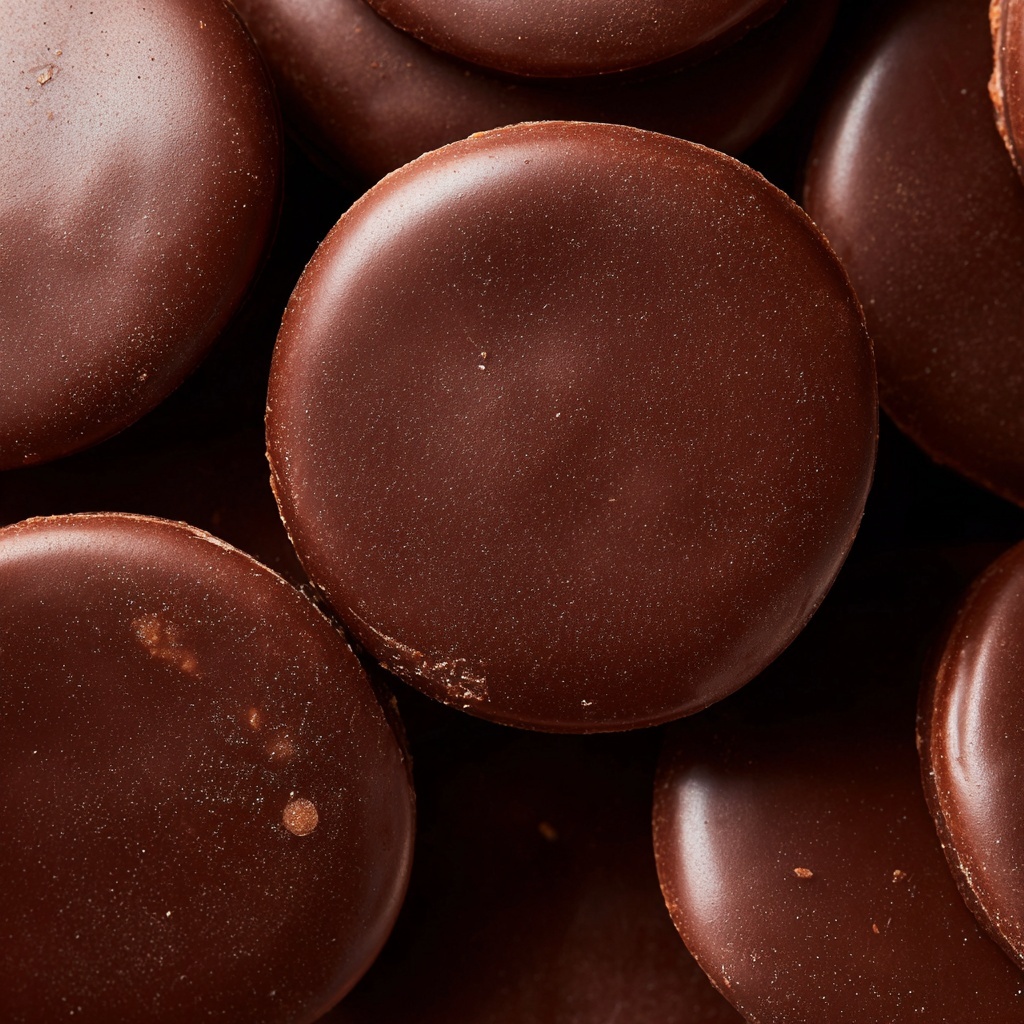
Let the cookies cool completely on wire racks so they firm up before the final step. Melt the chocolate chips in a microwave-safe bowl, heating in 30-second intervals and stirring between each to ensure a silky texture. Stir in the remaining 1/2 teaspoon peppermint extract to the melted chocolate for that unmistakable mint flavor. Dip each cookie fully in the chocolate, place them on parchment paper to set, and let the chocolate harden at room temperature or pop them into the fridge for a quicker set.
How to Serve Perfect Homemade Thin Mint Cookies Recipe

Garnishes
For an extra dash of elegance, sprinkle a tiny pinch of crushed peppermint candy or edible glitter on top of the chocolate coating before it sets. Not only does it look festive, but it also adds delightful texture and a little more mint zing.
Side Dishes
Perfect Homemade Thin Mint Cookies Recipe pairs wonderfully with creamy beverages like vanilla or peppermint latte, hot cocoa with a hint of cinnamon, or even an energizing cup of black tea. Their mint-chocolate combination complements these drinks beautifully and refreshes your palate.
Creative Ways to Present
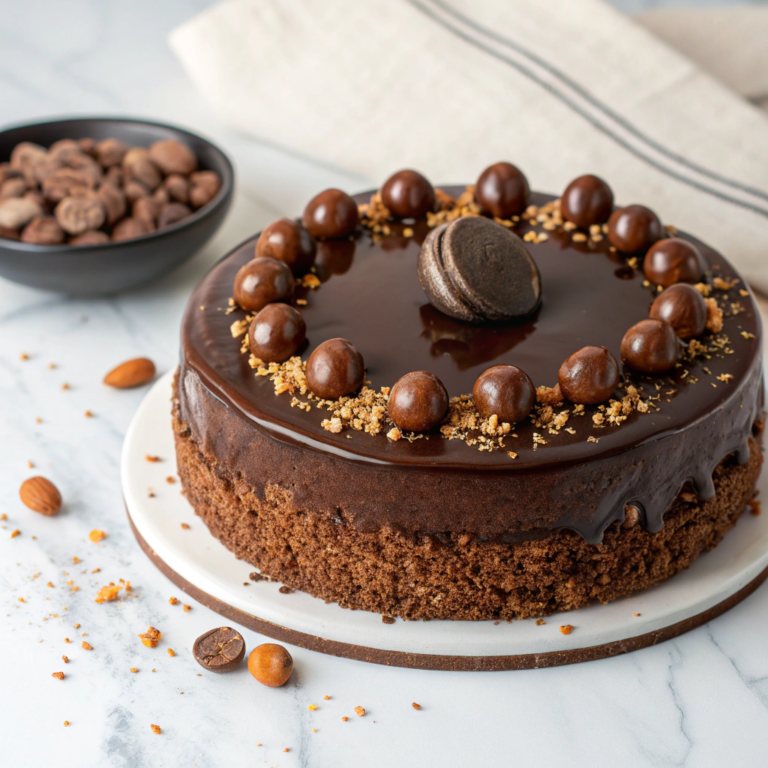
Try stacking these cookies into little towers tied with a green or red ribbon for gift-giving or gatherings. You can also crush a few and sprinkle them over ice cream or use them as an indulgent garnish for milkshakes, bringing a festive twist to familiar treats.
Make Ahead and Storage
Storing Leftovers
After enjoying a few, store your Perfect Homemade Thin Mint Cookies in an airtight container in the refrigerator to keep that signature crispy texture. They’ll stay fresh for up to two weeks, allowing you to savor the minty chocolate goodness whenever the craving strikes.
Freezing
If you want to save them for later, these cookies freeze wonderfully. Place them in a container with parchment layers between batches to prevent sticking. When frozen, they keep their taste and texture for up to three months, making them a perfect make-ahead treat.
Reheating
To bring out that freshly baked feel, warm the cookies in a preheated oven at 300°F for about 5 minutes. This revives the crispness without melting the chocolate coating, so you can enjoy them almost like they just came out of the oven.
FAQs
Can I make these cookies gluten-free?
Yes, you can easily substitute the all-purpose flour with a 1:1 gluten-free baking flour blend. This swap maintains the cookie’s texture and flavor while making them safe for gluten-sensitive friends.
Is peppermint extract necessary?
Peppermint extract is what gives these cookies their iconic mint flavor. While you could skip it, the cookies won’t have that classic Thin Mint taste we all adore, so it’s worth including!
How thick should I roll the dough?
Rolling the dough to about 1/8-inch thick is ideal for achieving thin, crisp cookies. Thicker dough will yield cakier cookies, which is not what traditional Thin Mints are known for.
Can I use baking chocolate instead of chocolate chips?
You can, but chocolate chips are formulated to melt smoothly and have the right sweetness for dipping. If you prefer, chop baking chocolate finely and add a little vegetable oil to mimic chip texture and consistency.
Why is chilling the dough important?
Chilling helps the dough firm up, making it easier to roll and cut precisely. It also prevents the cookies from spreading too much during baking, preserving their perfect shape and texture.
Final Thoughts
There’s something truly special about homemade treats that hit all the right notes of flavor and texture. This Perfect Homemade Thin Mint Cookies Recipe is a delightful way to channel that nostalgia and elevate your baking game. Whether you make them for a special occasion, a gift, or just because, these cookies are sure to become a favorite in your recipe collection. So grab your ingredients, roll up your sleeves, and enjoy every mint-chocolatey bite!
Print
Perfect Homemade Thin Mint Cookies Recipe
- Prep Time: 20 minutes
- Cook Time: 12 minutes
- Total Time: 1 hour 45 minutes
- Yield: About 36 cookies
- Category: Dessert
- Method: Baking
- Cuisine: American
- Diet: Vegetarian
Description
These Perfect Homemade Thin Mint Cookies are a delightful copycat of the classic Girl Scout treat, featuring a crisp chocolate-mint cookie base coated in a smooth, peppermint-infused chocolate layer. Ideal for dessert lovers craving a refreshing minty chocolate experience with a homemade touch.
Ingredients
Cookie Dough
- 1 cup unsalted butter, softened
- 1 cup powdered sugar
- 1 large egg
- 1 teaspoon pure vanilla extract
- 1/2 teaspoon peppermint extract
- 1/2 teaspoon salt
- 1/2 cup unsweetened cocoa powder
- 1 1/2 cups all-purpose flour
Chocolate Coating
- 12 ounces semi-sweet or dark chocolate chips
- 1/2 teaspoon peppermint extract
Instructions
- Prepare the Dough: In a large bowl, cream together the softened butter and powdered sugar until the mixture is light and fluffy. Add the egg, vanilla extract, and peppermint extract, mixing well to combine all the wet ingredients.
- Mix Dry Ingredients: In a separate bowl, whisk together the salt, unsweetened cocoa powder, and all-purpose flour to evenly distribute the dry components.
- Combine Wet and Dry: Gradually add the dry ingredient mixture to the wet ingredients. Mix until a cohesive dough forms.
- Chill the Dough: Divide the dough in half and flatten each half into a disc. Wrap each disc tightly with plastic wrap and refrigerate for at least 1 hour to firm up the dough for easier handling.
- Preheat and Prep: Preheat your oven to 350°F (175°C) and line baking sheets with parchment paper for non-stick baking.
- Shape Cookies: On a floured surface, roll out each dough disc to about 1/8-inch thickness. Use a round cutter to cut the dough into 1.5 to 2-inch rounds, placing them spaced evenly on the prepared baking sheets.
- Bake: Bake the cookies in the preheated oven for 10 to 12 minutes. Once baked, transfer the cookies to wire racks and allow them to cool completely.
- Melt Chocolate: In a microwave-safe bowl, melt the chocolate chips by heating in 30-second intervals and stirring in between until smooth and fully melted. Stir in the 1/2 teaspoon peppermint extract for flavor infusion.
- Coat Cookies: Dip each cooled cookie entirely into the melted chocolate, ensuring full coverage. Place the coated cookies onto parchment paper-lined trays to set.
- Set Chocolate: Allow the chocolate coating to set fully at room temperature, or place the cookies in the refrigerator to speed up the hardening process.
Notes
- For a gluten-free version, replace all-purpose flour with a 1:1 gluten-free baking flour blend.
- Store the cookies in an airtight container in the refrigerator or freezer to maintain their signature crisp Thin Mint texture.
- Ensure cookies are completely cooled before dipping to prevent melting or breakage of the chocolate coating.
- Use high-quality peppermint extract for the best authentic Thin Mint flavor.


