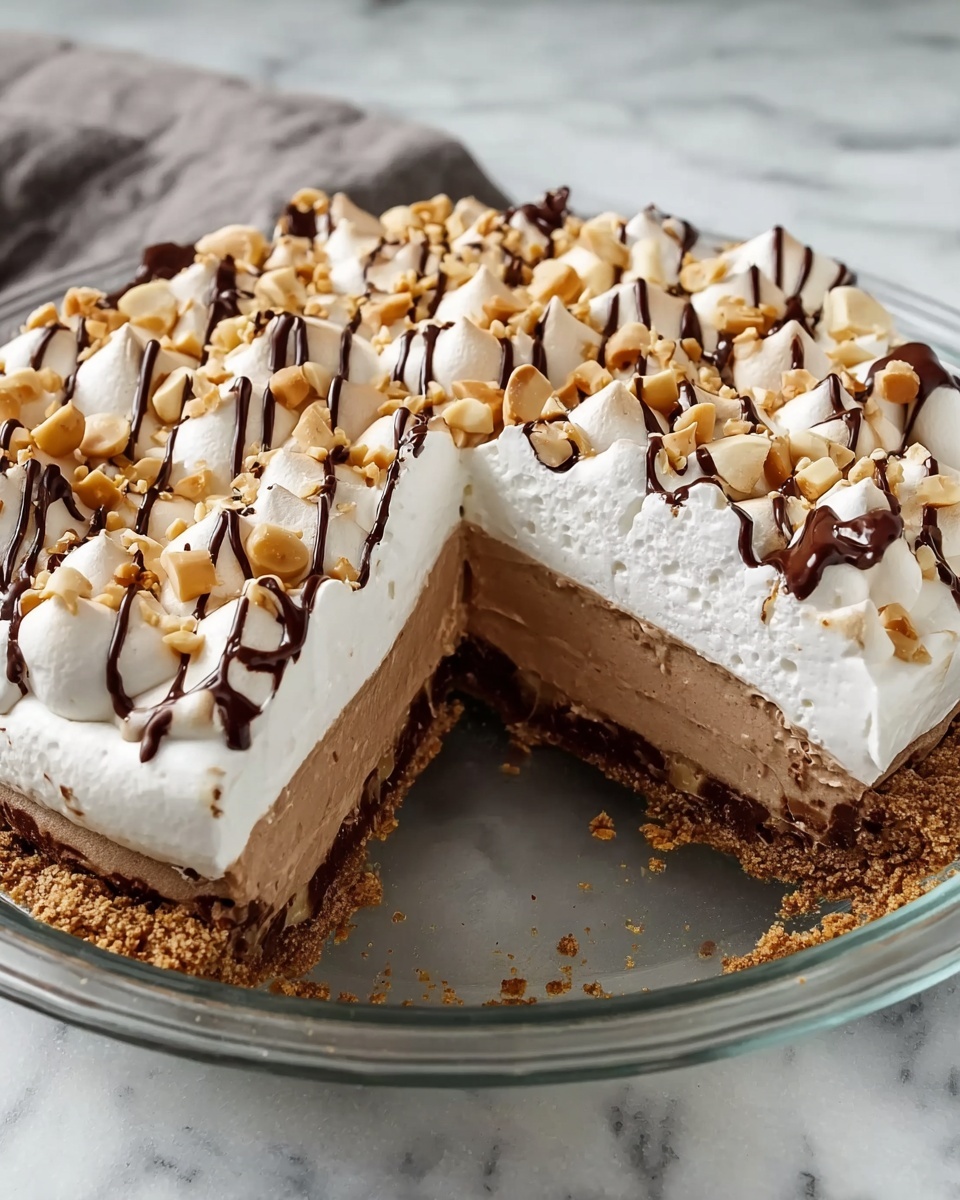
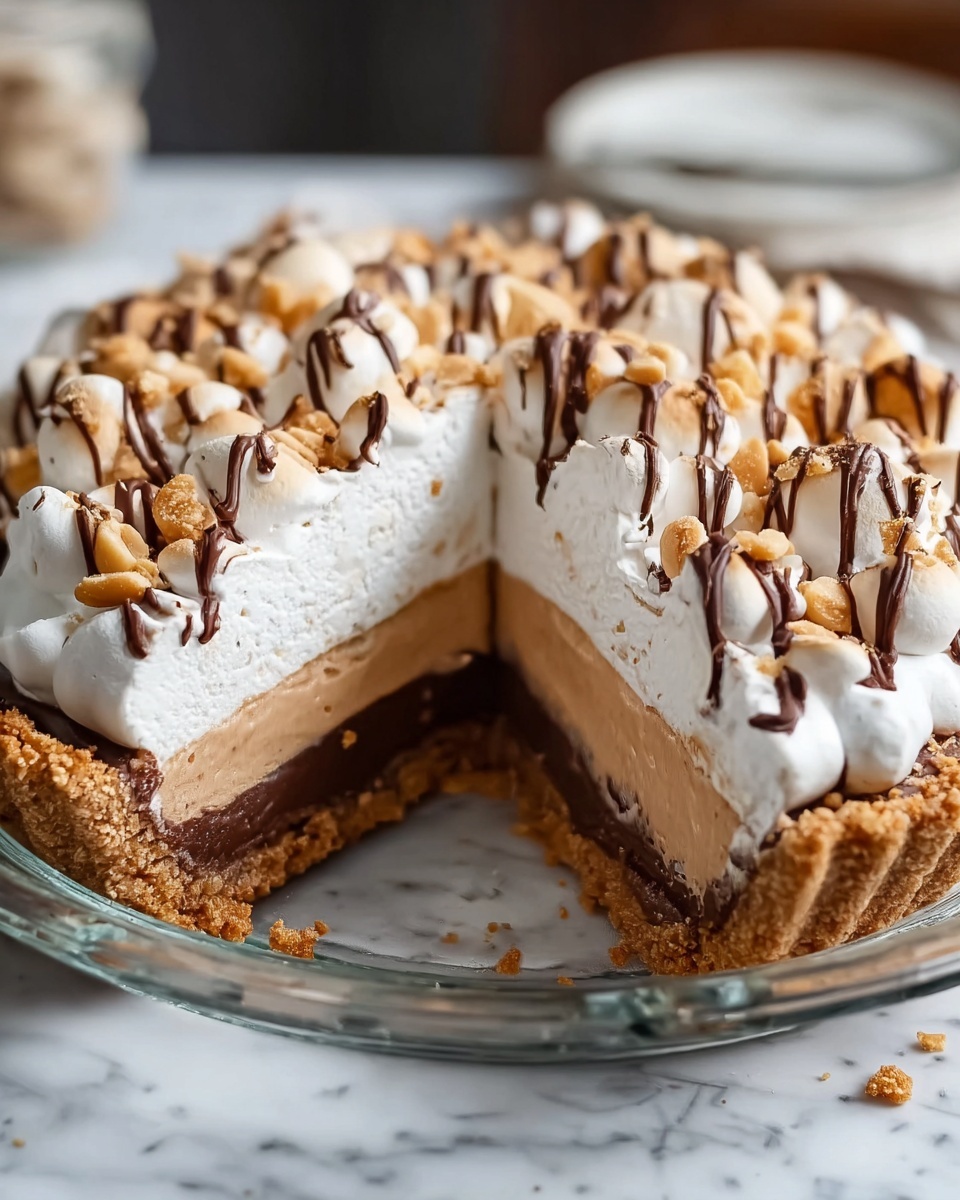
If you are craving something irresistibly creamy and packed with the perfect peanut butter flavor, you have to try this No-Bake Peanut Butter Pie Delight Recipe. It is one of those dreamy desserts that’s unbelievably simple to make but feels luxuriously rich and indulgent, making it a complete crowd-pleaser. The combination of smooth peanut butter, fluffy whipped topping, and the classic graham cracker crust comes together in a luscious filling that you don’t even need an oven to create. Trust me, once you take that first bite, this pie will become your go-to for easy entertaining or any time you want a sweet treat with minimal fuss.
Ingredients You’ll Need
Every ingredient in this recipe is thoughtfully chosen to create just the right balance of flavors and textures, making the No-Bake Peanut Butter Pie Delight Recipe as scrumptious as it sounds. These simple items not only bring richness and sweetness but also ensure a smooth, fluffy pie that sets perfectly in the fridge.
- 1 cup creamy peanut butter: Use creamy for the smoothest filling that blends easily with the other ingredients.
- 8 oz cream cheese, softened: Softened cream cheese brings that slight tang and creamy body to balance out the peanut butter.
- 1 cup powdered sugar: Powdered sugar adds sweetness without grittiness and helps stabilize the filling.
- 1 tsp vanilla extract: Vanilla deepens the flavor, making each bite more complex and delightful.
- 8 oz whipped topping (like Cool Whip), thawed: This adds airiness and lightness to the filling, turning dense peanut butter into a fluffy dream.
- 1 pre-made graham cracker crust: A buttery, crunchy crust grounds the softness of the filling, giving the pie a satisfying texture contrast.
- Optional toppings: Chocolate shavings, whipped cream, or crushed peanuts add extra flair and texture for a beautiful finish.
How to Make No-Bake Peanut Butter Pie Delight Recipe
Step 1: Blend Peanut Butter and Cream Cheese
Start by beating together the peanut butter and softened cream cheese in a large bowl. This creates a creamy, smooth base that’s essential for a luscious pie filling. Make sure there are no lumps so your pie feels silky with every spoonful.
Step 2: Add Sweetness and Flavor
Next, mix in the powdered sugar and vanilla extract. This step is where the sweet and aromatic notes come alive, perfectly complementing the rich peanut butter. Mix until everything is fully combined, ensuring an even flavor throughout the filling.
Step 3: Fold in the Whipped Topping
Here’s the trick to keeping the pie light and fluffy—gently fold in the thawed whipped topping. Take your time with this part; carefully folding maintains the airiness so your pie won’t feel dense or heavy.
Step 4: Pour Filling into Crust
Pour that heavenly filling into the pre-made graham cracker crust. Use a spatula to spread it evenly so that every slice holds just the right amount of creamy goodness. The graham cracker crust provides the perfect buttery crunch underneath.
Step 5: Chill Until Set
Refrigerate your pie for 2 to 3 hours. This chilling time lets the filling firm up nicely, giving your pie just the right texture—soft yet sliceable—turning it into the perfect make-ahead treat.
Step 6: Add Delicious Toppings
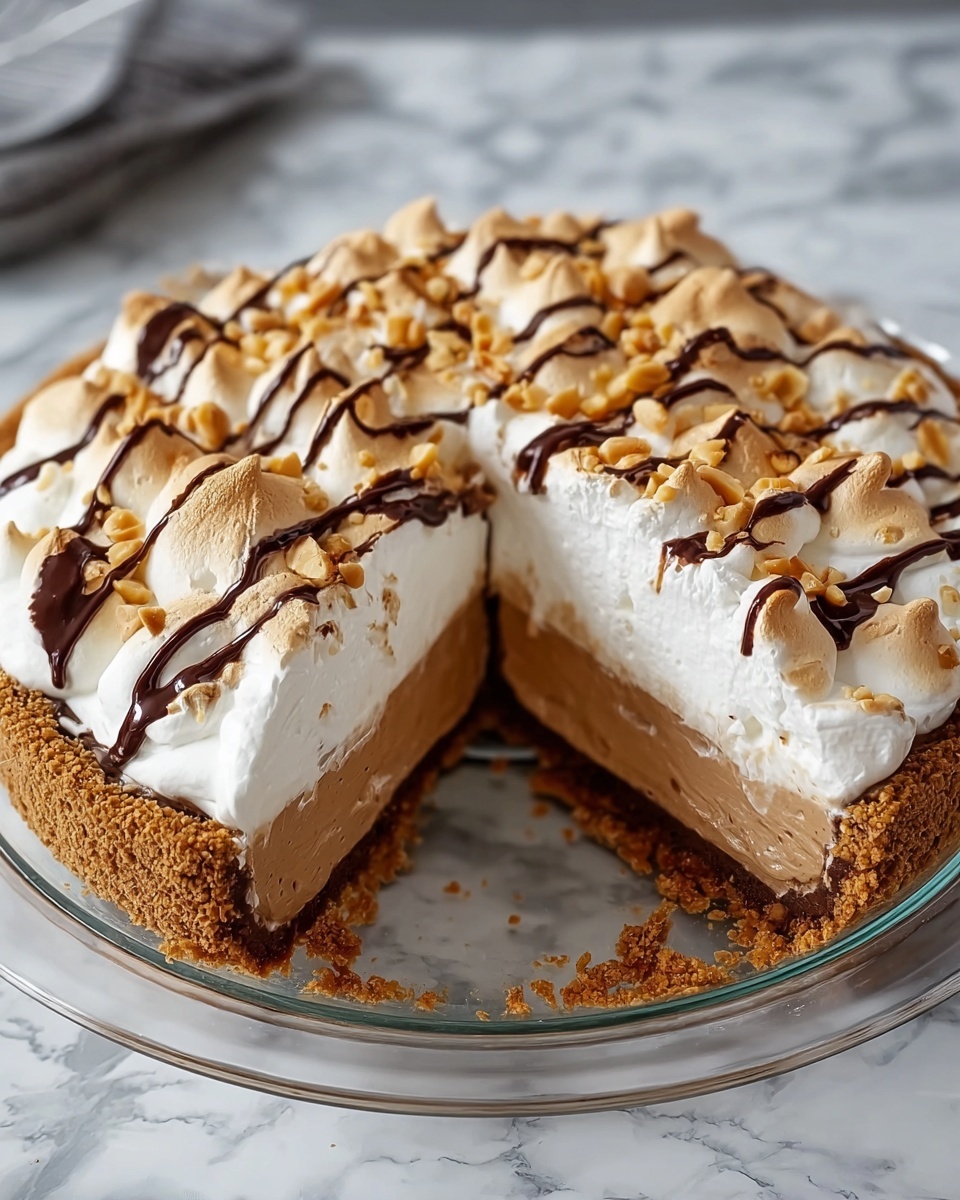
Before serving, top with your choice of chocolate shavings, extra whipped cream, or crushed peanuts. These toppings add texture and boost the visual appeal, turning a simple pie into a party-worthy dessert.
How to Serve No-Bake Peanut Butter Pie Delight Recipe
Garnishes
Garnishing your No-Bake Peanut Butter Pie Delight Recipe is all about elevating the flavors and adding visual appeal. I love a sprinkle of finely crushed peanuts for a salty crunch or a shower of dark chocolate shavings to contrast the sweetness. A dollop of fresh whipped cream is always a lovely finishing touch and softens each bite.
Side Dishes
This pie pairs beautifully with fresh berries or a simple berry compote on the side. The natural tartness accentuates the creamy, nutty filling. A small scoop of vanilla ice cream served alongside creates a classic dessert duo that will keep guests coming back for more.
Creative Ways to Present
If you’re aiming to impress, try serving individual mini versions in clear glass parfait cups with layers of chopped peanuts and chocolate bits between. Or, for a casual gathering, slice the pie into bite-sized squares and arrange them on a platter with little forks for easy sharing. Either way, this pie looks as good as it tastes!
Make Ahead and Storage
Storing Leftovers
Keep your leftover pie covered tightly with plastic wrap or stored in an airtight container in the refrigerator. It will stay delicious and fresh for up to 4 days, preserving that creamy texture and rich peanut flavor.
Freezing
You can freeze the pie for up to a month. Just wrap it securely in plastic wrap and aluminum foil to protect it from freezer burn. When ready to enjoy, thaw it overnight in the fridge for the best texture, avoiding sogginess or separation.
Reheating
Since this is a chilled no-bake dessert, reheating isn’t necessary or recommended. Simply serve it cold or at room temperature right from the fridge to keep that fluffy, creamy experience intact.
FAQs
Can I use crunchy peanut butter instead of creamy?
Absolutely! Crunchy peanut butter will add a bit of texture to the filling, which some people love. Just be aware the filling might be slightly less smooth but will still be delicious.
Is it possible to make this pie dairy-free?
You can substitute the cream cheese and whipped topping with dairy-free versions, and choose a dairy-free graham crust if available. The flavor will remain rich and peanut buttery, perfect for dairy-sensitive friends.
How long does the pie need to chill before serving?
Chilling for at least 2 to 3 hours is key to achieving the right consistency. If you’re in a hurry, chilling for about an hour may work, but the pie might be softer and less firm.
Can I make the filling ahead and assemble later?
Yes! You can prepare the filling a day in advance and keep it in the fridge, then pour it into the crust just before chilling. This helps the crust stay crisp and the filling fresh.
What if I don’t have a graham cracker crust?
No worries! You can make your own crust using crushed graham crackers mixed with melted butter or even use a cookie crust like Oreos for a fun twist to your No-Bake Peanut Butter Pie Delight Recipe.
Final Thoughts
This No-Bake Peanut Butter Pie Delight Recipe is truly one of those magical desserts that feels special but is so straightforward to whip up. Whether you’re making it for a casual family treat or a festive gathering, it delivers creamy peanut buttery goodness in every slice. I hope you enjoy creating and sharing this delightful pie as much as I do. Trust me, it’s going to be a new favorite in your recipe collection!
Print
No-Bake Peanut Butter Pie Delight Recipe
- Prep Time: 10 minutes
- Cook Time: 0 minutes
- Total Time: 3 hours 10 minutes
- Yield: 8 servings
- Category: Dessert
- Method: No-Cook
- Cuisine: American
- Diet: Vegetarian
Description
This No-Bake Peanut Butter Pie Delight is a creamy and luscious dessert combining the rich flavors of peanut butter and cream cheese with a light, fluffy whipped topping. Set in a pre-made graham cracker crust, it requires no baking and can be prepared in just 10 minutes plus chilling time, making it perfect for quick and delicious treats.
Ingredients
Filling
- 1 cup creamy peanut butter
- 8 oz cream cheese, softened
- 1 cup powdered sugar
- 1 tsp vanilla extract
- 8 oz whipped topping (like Cool Whip), thawed
Crust
- 1 pre-made graham cracker crust
Optional Toppings
- Chocolate shavings
- Whipped cream
- Crushed peanuts
Instructions
- Prepare the base mixture: In a large bowl, beat the creamy peanut butter and softened cream cheese together until the mixture is smooth and well combined, ensuring there are no lumps.
- Add sweetness and flavor: Mix in the powdered sugar and vanilla extract thoroughly until the ingredients are well blended, creating a sweet and flavorful filling.
- Incorporate whipped topping: Gently fold in the thawed whipped topping to maintain a light, airy texture, being careful not to overmix and deflate the mixture.
- Fill the crust: Pour the creamy peanut butter filling into the pre-made graham cracker crust, spreading it evenly to cover the entire base.
- Chill to set: Refrigerate the pie for 2 to 3 hours, or until fully set and firm enough to slice cleanly.
- Add toppings and serve: Before serving, optionally garnish the pie with chocolate shavings, additional whipped cream, or crushed peanuts for extra texture and flavor.
Notes
- For best results, use room temperature cream cheese to ensure smooth mixing.
- Make sure the whipped topping is fully thawed for easy folding.
- Can be stored in the refrigerator, covered, for up to 3 days.
- To make it dairy-free, substitute cream cheese and whipped topping with vegan alternatives.
- To enhance flavor, consider adding a pinch of salt to balance the sweetness.

