
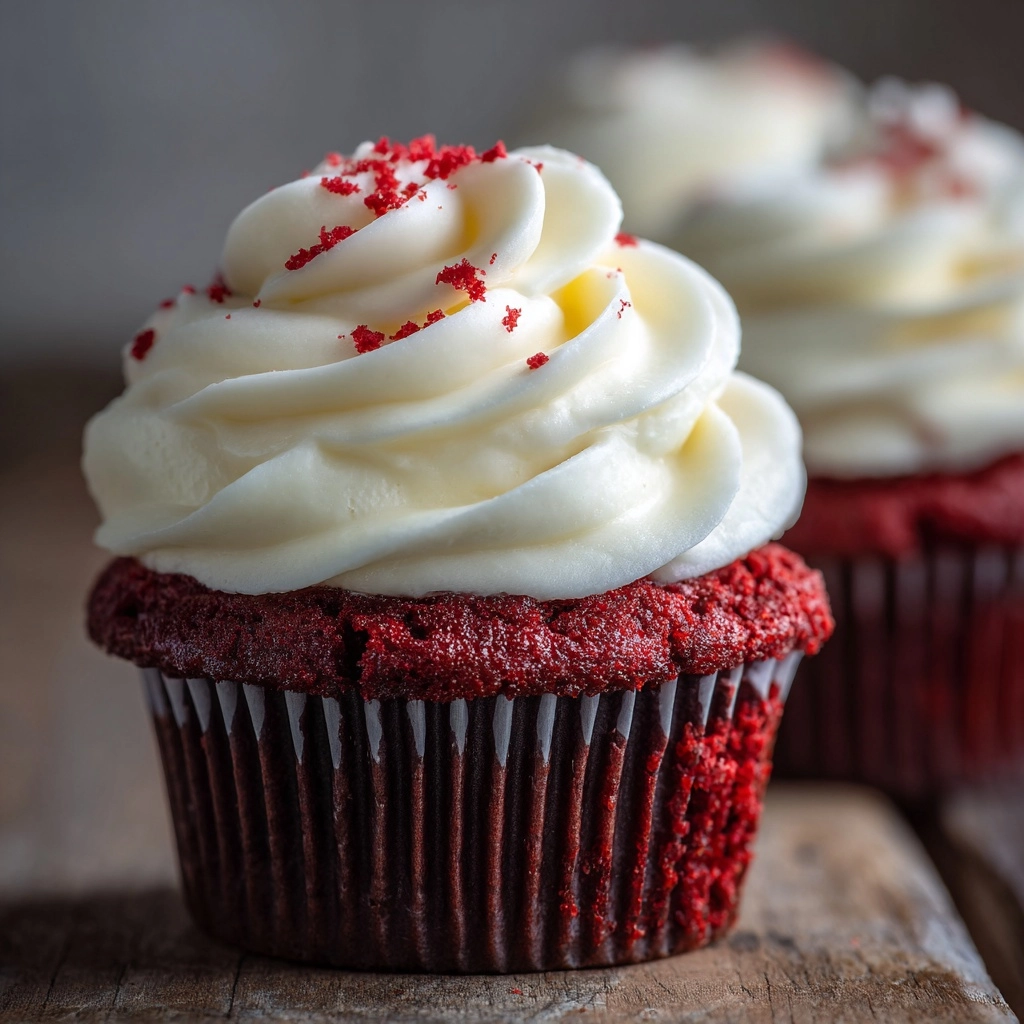
If you are looking for a dessert that captures all the charm of a classic red velvet cake but with a fun, bite-sized twist, then you absolutely have to try this Red Velvet Cookie Cups with Cream Cheese Frosting Recipe. It elegantly combines the rich, velvety chocolate flavor with that iconic red hue and finishes with a luscious cream cheese frosting that melts in your mouth. These cookie cups are not just a treat to eat but also a delightful way to impress friends and family with something uniquely delicious and visually stunning. Whether for a holiday party, a casual get-together, or just a sweet indulgence at home, these red velvet cookie cups bring joy with every single bite.
Ingredients You’ll Need
Gathering the right ingredients is the first step to baking your perfect batch of red velvet cookie cups. Each element plays a vital role, from the deep red cocoa powder mixture to the creamy frosting that tops it all off. Don’t worry, these ingredients are straightforward and pantry-friendly, making the process both simple and satisfying.
- All-purpose flour: Provides the perfect structure for soft, tender cookie cups.
- Unsweetened cocoa powder: Adds that subtle chocolate flavor essential for red velvet desserts.
- Baking soda: Helps the cookie cups rise and become delightfully fluffy.
- Salt: Balances the sweetness and enhances the flavors.
- Unsalted butter (softened): Brings richness and keeps the cookies moist.
- Granulated sugar: Sweetens and helps create a light texture.
- Brown sugar (packed): Adds a subtle caramel note and extra moisture.
- Large egg: Binds everything together for perfect consistency.
- Milk: Provides moisture and helps achieve a soft dough.
- Vanilla extract: Infuses a lovely warm flavor that complements the cocoa.
- Red food coloring: Delivers that iconic, vibrant red color red velvet is known for.
- Cream cheese (softened): The key to that silky, tangy frosting that pairs beautifully with the cookie cups.
- Powdered sugar: Sweetens the frosting to just the right level.
How to Make Red Velvet Cookie Cups with Cream Cheese Frosting Recipe
Step 1: Prepare your baking tools and dry ingredients
Start by preheating your oven to 350°F (175°C) and lightly greasing a 12-cup muffin pan or lining it with paper liners. Next, whisk together the all-purpose flour, unsweetened cocoa powder, baking soda, and salt in a medium bowl. This combination of dry ingredients lays the foundation for the perfect red velvet cookie cups, ensuring they’re tender but hold their shape.
Step 2: Cream the butter and sugars
In a large bowl, beat the softened unsalted butter along with the granulated sugar and brown sugar until the mixture is light, fluffy, and pale. This creaming process is what brings a lovely texture to the cookie, giving it that tender crumb you adore.
Step 3: Mix wet ingredients and add color
Beat in the large egg, milk, vanilla extract, and red food coloring until everything is thoroughly combined. The red food coloring is what transforms this cookie into a stunning red velvet masterpiece that simply can’t be overlooked.
Step 4: Combine dry and wet ingredients
Gradually mix the dry ingredients into the wet mixture until a soft, cohesive dough forms. Be gentle with mixing to keep your cookie cups light and soft.
Step 5: Shape and bake your cookie cups
Scoop about 1½ tablespoons of dough into each muffin cup and gently press down to create a small well in the center. Bake these in your preheated oven for 10–12 minutes, or until you see the edges set and the centers puff up just slightly. Once out of the oven, use the back of a spoon to gently press down the centers again to shape them into perfect little cups. Allow them to cool completely while still in the pan before carefully removing.
Step 6: Prepare the cream cheese frosting
For the frosting, beat together the softened cream cheese and butter until smooth and creamy. Then gradually add the powdered sugar and vanilla extract, continuing to beat until your frosting is luscious and fluffy. This creamy topping is the crowning glory that makes these cookie cups irresistible.
Step 7: Frost the cooled cookie cups
Once your cookie cups are fully cooled, pipe or spoon the cream cheese frosting into each cup generously. This final touch adds that classic tangy sweetness, making each bite a blissful mix of flavors and textures.
How to Serve Red Velvet Cookie Cups with Cream Cheese Frosting Recipe

Garnishes
To take your Red Velvet Cookie Cups with Cream Cheese Frosting Recipe to the next level, consider adding fun garnishes like colorful sprinkles, mini chocolate chips, or a light dusting of cocoa powder. These small additions bring festive flair and an extra layer of texture that will wow anyone lucky enough to enjoy them.
Side Dishes
These cookie cups make a fantastic dessert paired with fresh berries or a scoop of vanilla ice cream. Offering a side of coffee or a rich hot chocolate can also complement their sweetness beautifully, turning your treat into a cozy indulgence perfect for any time of day.
Creative Ways to Present
Presentation can make your red velvet cookie cups irresistible. Try serving them in a decorative cupcake liner or arrange them on a tiered dessert stand for an elegant display. Adding edible flowers or a drizzle of melted white chocolate can add sophistication for special occasions.
Make Ahead and Storage
Storing Leftovers
If you have any leftover Red Velvet Cookie Cups with Cream Cheese Frosting Recipe, store them in an airtight container in the refrigerator. They will stay fresh and flavorful for up to three days, perfect for a quick treat whenever the craving hits.
Freezing
You can freeze unfrosted cookie cups by placing them in a single layer on a baking sheet, freezing until solid, then transferring them to a freezer-safe bag. When ready to enjoy, thaw at room temperature and add frosting fresh to preserve the best texture and flavor.
Reheating
For the best experience, enjoy your cookie cups cold or at room temperature. If you prefer them warm, give them a quick 10-second zap in the microwave before frosting or serve alongside warm beverages to enhance the indulgence.
FAQs
Can I use a different kind of food coloring?
Absolutely! Gel food coloring works well and is more concentrated, so you might need less. Natural options like beet juice can also add a lovely red tint but may slightly affect the flavor.
Is it possible to make these cookie cups dairy-free?
Yes, you can substitute the butter and cream cheese with dairy-free alternatives. Just make sure the dairy-free cream cheese is smooth and spreadable for the frosting.
Can I make the dough ahead of time?
Yes, you can prepare the dough and refrigerate it for up to 24 hours before baking. This can even help the flavors develop deeper for an even tastier cookie cup.
How do I prevent the cookie cups from sticking to the pan?
Lightly greasing the muffin pan or using paper liners helps prevent sticking. Also, letting the cookie cups cool completely before removing them makes it easier to take them out intact.
Can I use mini muffin pans to make smaller cookie cups?
Definitely! Mini muffin pans are perfect for bite-sized versions. Adjust the baking time slightly, checking frequently to avoid overbaking.
Final Thoughts
There is something truly special about sharing a treat as charming as Red Velvet Cookie Cups with Cream Cheese Frosting Recipe. They combine the best of flavors and textures in a fun, approachable form that’s sure to bring smiles at any gathering. Once you try making and enjoying these delightful little cups, they will quickly become a treasured favorite in your dessert repertoire. So go ahead and bake your batch — happiness in cookie form is just around the corner!
Print
Red Velvet Cookie Cups with Cream Cheese Frosting Recipe
- Prep Time: 20 minutes
- Cook Time: 12 minutes
- Total Time: 32 minutes
- Yield: 12 cookie cups
- Category: Dessert
- Method: Baking
- Cuisine: American
- Diet: Vegetarian
Description
Delightfully soft and moist red velvet cookie cups filled with a rich and creamy cream cheese frosting. These bite-sized treats are perfect for holidays, parties, or any time you crave a special dessert with a classic red velvet twist.
Ingredients
Dry Ingredients
- 1 ¼ cups all-purpose flour
- ¼ cup unsweetened cocoa powder
- ½ teaspoon baking soda
- ¼ teaspoon salt
Wet Ingredients
- ½ cup unsalted butter, softened
- ½ cup granulated sugar
- ½ cup brown sugar, packed
- 1 large egg
- 1 tablespoon milk
- 1 ½ teaspoons vanilla extract
- 1 tablespoon red food coloring
Cream Cheese Frosting
- 4 oz cream cheese, softened
- 2 tablespoons unsalted butter, softened
- 1 ½ cups powdered sugar
- ½ teaspoon vanilla extract
Instructions
- Preheat and Prepare Pan: Preheat your oven to 350°F (175°C). Lightly grease a 12-cup muffin pan or line it with paper liners to prevent sticking.
- Mix Dry Ingredients: In a medium bowl, whisk together the all-purpose flour, unsweetened cocoa powder, baking soda, and salt until well combined. This ensures even distribution of leavening agents and cocoa.
- Cream Butter and Sugars: In a large bowl, beat the softened butter, granulated sugar, and brown sugar together until light and fluffy, which will create a tender texture in your cookie cups.
- Add Wet Ingredients: Beat in the egg, milk, vanilla extract, and red food coloring until the mixture is uniform in color and fully incorporated.
- Combine Mixtures: Gradually add the dry ingredients to the wet ingredients, mixing gently until a soft dough forms. Avoid overmixing to prevent toughness.
- Form Cookie Cups: Scoop about 1½ tablespoons of dough into each muffin cup. Use your fingers or the back of a spoon to gently press down the center of each dough portion to create a small well for the frosting.
- Bake: Bake the cookie cups for 10 to 12 minutes. They are done when the edges are set and the centers puff up slightly.
- Shape Centers: Once removed from the oven, immediately press down the centers of the cookie cups again with the back of a spoon to reinforce the cup shape. Let them cool completely in the pan before removing.
- Prepare Frosting: Beat together the softened cream cheese and butter until smooth and creamy. Slowly add in the powdered sugar and vanilla extract, beating until the frosting is fluffy and homogenous.
- Fill and Serve: Once the cookie cups have completely cooled, pipe or spoon the cream cheese frosting into each cup. Garnish as desired and serve.
Notes
- Garnish the cookie cups with sprinkles, mini chocolate chips, or a dusting of cocoa powder for added decoration and flavor.
- Store the cookie cups refrigerated in an airtight container for up to 3 days to maintain freshness and prevent spoilage.


