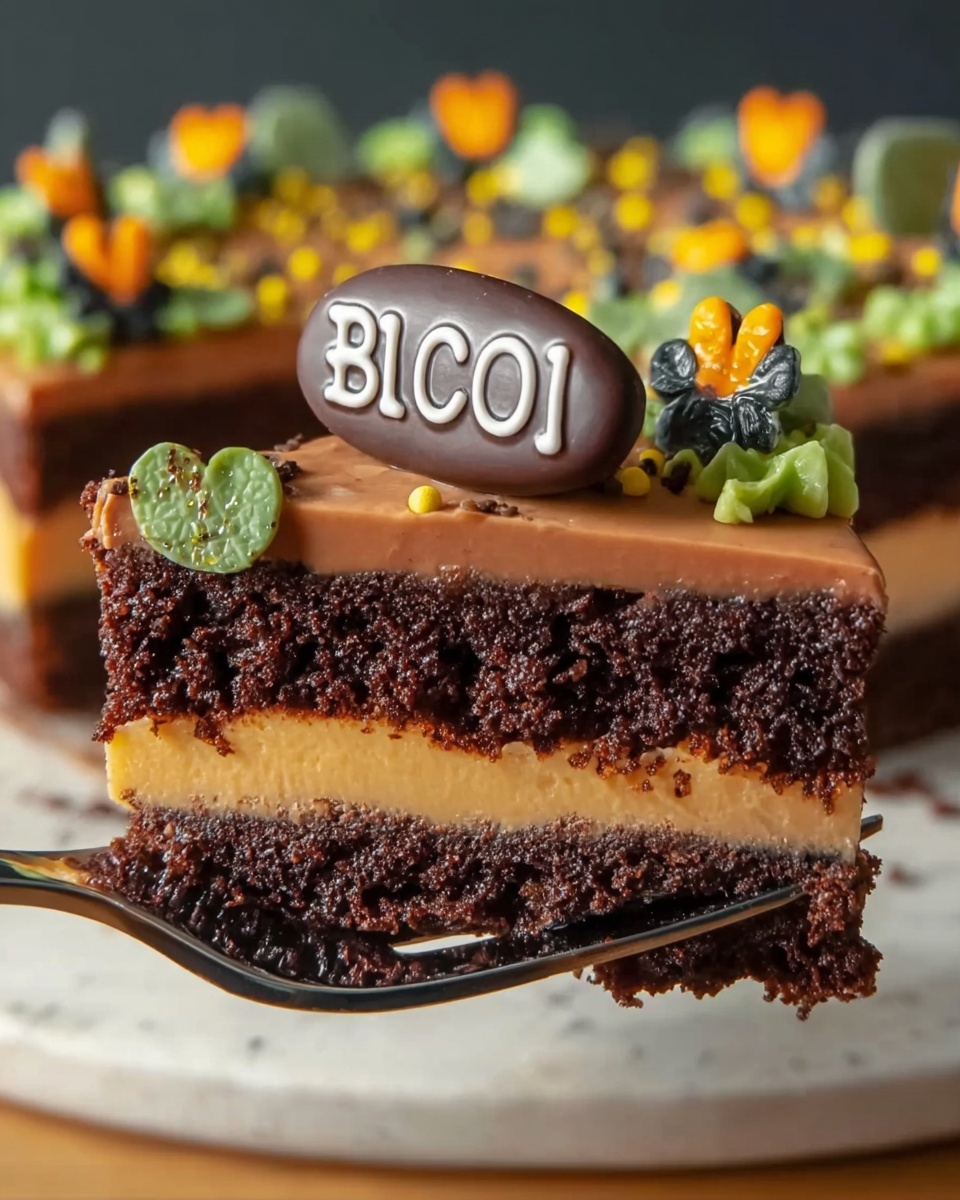
If you are looking for a delightfully spooky and irresistibly tasty treat, the Brownie Dirt Pudding Cups with Gummy Worms and Halloween Decorations Recipe is exactly what you need. This dessert combines layers of fudgy brownie pieces, creamy chocolate pudding, and crunchy cookie crumbs to mimic rich, dark soil. Enhanced with fun gummy worms and festive Halloween decorations, these pudding cups are both a feast for the eyes and the palate. Perfect for parties or cozy family nights, this recipe is an exciting way to bring a playful twist to your seasonal celebrations.

Ingredients You’ll Need
Gathering just the right ingredients is key to pulling off the perfect Brownie Dirt Pudding Cups with Gummy Worms and Halloween Decorations Recipe. Each ingredient adds a special touch—whether it’s the dense brownie base, velvety pudding, or crunchy cookie topping that resembles dirt. Here’s what you’ll need:
- Brownie mix: Use your favorite boxed brownie mix or homemade brownie recipe for a rich, fudgy foundation.
- Instant chocolate pudding mix (3.9 oz): Creates a smooth and creamy chocolate pudding layer that melts in your mouth.
- Cold milk (2 cups): Essential for preparing the pudding mix to the right consistency.
- Sweetened condensed milk (14 oz can): Adds extra sweetness and creamy texture to the pudding.
- Whipped topping (8 oz, thawed): Lightens the pudding mixture, giving it a fluffy, dreamy finish.
- Chocolate sandwich cookies (about 15): Crushed to mimic “dirt,” adding crunch and chocolate flavor.
- Gummy worms, candy pumpkins, or other Halloween candies: Fun, festive decorations that bring the dessert to life.
- Paper headstones (optional): For an extra spooky presentation that’s easy to make at home.
How to Make Brownie Dirt Pudding Cups with Gummy Worms and Halloween Decorations Recipe
Step 1: Prepare the Brownies
Start by baking the brownies according to the instructions on your boxed mix or your favorite homemade recipe. Once baked, make sure to let them cool completely before cutting or crumbling. This ensures the brownies hold their shape and don’t melt the pudding later on.
Step 2: Crumble the Brownies
After the brownies have cooled, cut them into small squares or crumble them into bite-sized pieces. These will form the “soil” base of your pudding cups and create that wonderfully rich texture every bite needs.
Step 3: Mix the Chocolate Pudding
In a large bowl, whisk together the instant chocolate pudding mix and cold milk until fully combined. Let the mixture rest for about 2 minutes so it thickens properly, becoming lusciously smooth and creamy.
Step 4: Fold in Condensed Milk and Whipped Topping
Add the sweetened condensed milk followed by the thawed whipped topping to the pudding mixture. Gently fold everything together to keep the pudding light and airy, without losing any of its creamy texture.
Step 5: Assemble the Cups
Begin layering the dessert by placing a generous portion of crumbled brownies at the bottom of individual cups or a large serving dish. This sturdy base will support the creamy pudding layer beautifully.
Step 6: Add the Pudding Layer
Carefully spoon the chocolate pudding mixture over the brownie layer until it is fully covered. This luscious layer creates a soft contrast to the dense brownies below.
Step 7: Add the Cookie “Dirt” Topping
Sprinkle crushed chocolate sandwich cookies on top to replicate “dirt.” This adds a delightful crunch and visually completes the dessert’s dirt-themed illusion.
Step 8: Decorate with Halloween Candy
Now the fun part! Decorate the top with gummy worms, candy pumpkins, or other spooky Halloween-themed candies. The bright colors and playful shapes add charm and plenty of whimsy.
Step 9: Add Paper Headstones (Optional)
For a truly eerie presentation, print and cut out small paper headstones, attach them to toothpicks, and stick them into the pudding cups. This simple touch turns your dessert into a spooky graveyard, sure to impress party guests of all ages.
Step 10: Serve and Enjoy
You can serve the Brownie Dirt Pudding Cups with Gummy Worms and Halloween Decorations Recipe immediately with a cold chocolate milk or refrigerate them until ready. Either way, they are best enjoyed chilled and fresh for the ultimate creamy and crunchy experience.
How to Serve Brownie Dirt Pudding Cups with Gummy Worms and Halloween Decorations Recipe
Garnishes
Enhance your serving presentation with additional garnishes like a dusting of cocoa powder or a drizzle of chocolate syrup. These small touches not only boost the flavor but also add a little visual drama to the dessert.
Side Dishes
Pair these pudding cups with simple, light sides such as fresh fruit or a crisp green salad to balance the richness of the dessert. For a Halloween party, mini pumpkin-shaped cookies or candied nuts also complement the spooky theme nicely.
Creative Ways to Present
Try serving the pudding cups in small mason jars, clear plastic cups, or even mini cauldrons for a fun Halloween vibe. Layering the dessert in transparent containers lets the “dirt” and gummy worms show through, making it even more inviting.
Make Ahead and Storage
Storing Leftovers
Place any uneaten pudding cups in airtight containers and refrigerate for up to three days. This keeps the layers fresh and prevents the cookie “dirt” from becoming soggy.
Freezing
While these pudding cups are best enjoyed fresh or chilled, you can freeze the brownie pieces separately for up to a month. Avoid freezing the entire assembled dessert, as the texture of the pudding and whipped topping can be compromised.
Reheating
Since this dessert is served cold, reheating is generally not recommended. Instead, just allow refrigerated cups to come to a slightly warmer temperature at room temperature if you prefer a softer pudding.
FAQs
Can I use homemade brownies instead of boxed mix?
Absolutely! Homemade brownies add a personal touch and can be customized to your liking. Just make sure they are fully cooled before assembling your pudding cups.
What can I substitute for the instant chocolate pudding mix?
You can use homemade chocolate pudding or even chocolate mousse, but the instant mix offers convenience and consistency, especially when making large batches.
How long can I prepare this dessert ahead of time?
It’s best to assemble the cups just a few hours before serving to maintain freshness and texture, but you can prepare the brownie and pudding components separately up to a day in advance.
Can I use different candies to decorate?
Definitely! While gummy worms and candy pumpkins fit the Halloween theme perfectly, feel free to get creative with other candies or edible decorations that suit your occasion.
Is this recipe suitable for kids?
Yes! Kids love the playful presentation and sweet flavors. Just be mindful of allergies, especially with ingredients like whipped topping or specific candies.
Final Thoughts
This Brownie Dirt Pudding Cups with Gummy Worms and Halloween Decorations Recipe is such a fun and delicious way to celebrate the season. It’s simple enough to whip up together with family or friends and impressive enough to wow any crowd. I hope you enjoy making and sharing these cute, creepy cups as much as I do—the flavors, textures, and festive decorations really come together in a perfect party treat. Give it a try and watch everyone’s faces light up!
Print
Brownie Dirt Pudding Cups with Gummy Worms and Halloween Decorations Recipe
- Prep Time: 20 minutes
- Cook Time: 30 minutes
- Total Time: 50 minutes
- Yield: 8-10 individual cups
- Category: Dessert
- Method: Baking
- Cuisine: American
Description
This Brownie Dirt Pudding Recipe is a fun and festive Halloween dessert featuring layers of rich brownies, creamy chocolate pudding, and crushed chocolate sandwich cookies that mimic dirt. Topped with gummy worms and candy pumpkins, it’s perfect for spooky gatherings and easy to assemble ahead of time.
Ingredients
Brownie Base
- 1 box of brownie mix (or your favorite homemade brownie recipe)
Pudding Layer
- 1 package (3.9 oz) instant chocolate pudding mix
- 2 cups cold milk
- 1 can (14 oz) sweetened condensed milk
- 1 container (8 oz) whipped topping, thawed
Toppings and Decorations
- 15 chocolate sandwich cookies, crushed (like Oreos)
- Gummy worms, candy pumpkins, or other Halloween-themed candies
- Paper headstones (optional)
Instructions
- Prepare the Brownies: Follow the instructions on the boxed brownie mix or your homemade brownie recipe. Bake according to the directions and allow the brownies to cool completely.
- Cut or Crumble the Brownies: Once cooled, cut the brownies into small squares or crumble them into pieces to form the base layer for the pudding cups.
- Make the Pudding Layer: In a large mixing bowl, whisk together the instant chocolate pudding mix and cold milk until well combined. Let it sit for 2 minutes to thicken properly.
- Add Sweetened Condensed Milk and Whipped Topping: Stir in the sweetened condensed milk and fold in the thawed whipped topping gently until the mixture is smooth and creamy.
- Assemble the Brownie Dirt Pudding Cups: In individual cups or a large serving dish, layer the crumbled brownies evenly to create the base.
- Add the Pudding Mixture: Spoon the creamy chocolate pudding evenly over the brownie layer to create a rich middle layer.
- Top with Crushed Cookies: Sprinkle the crushed chocolate sandwich cookies on top to resemble dirt, adding texture and flavor.
- Decorate for Halloween: Place gummy worms, candy pumpkins, or other spooky candy decorations on top for a festive look.
- Add Paper Headstones: If desired, print, cut out, and attach paper headstones to toothpicks, then insert them to complete the graveyard scene.
- Serve or Refrigerate: Serve immediately with a cold glass of chocolate milk, or cover and refrigerate the pudding cups until ready to serve.
Notes
- You can bake homemade brownies instead of using a boxed mix for a personalized touch.
- For best texture, make sure the brownies are completely cooled before crumbling.
- Use full-fat whipped topping for a richer pudding layer.
- This dessert can be assembled a few hours in advance and refrigerated to allow flavors to meld.
- Substitute gummy worms and candies according to your holiday theme or preference.
- For a gluten-free option, use gluten-free brownie mix and cookies.

