
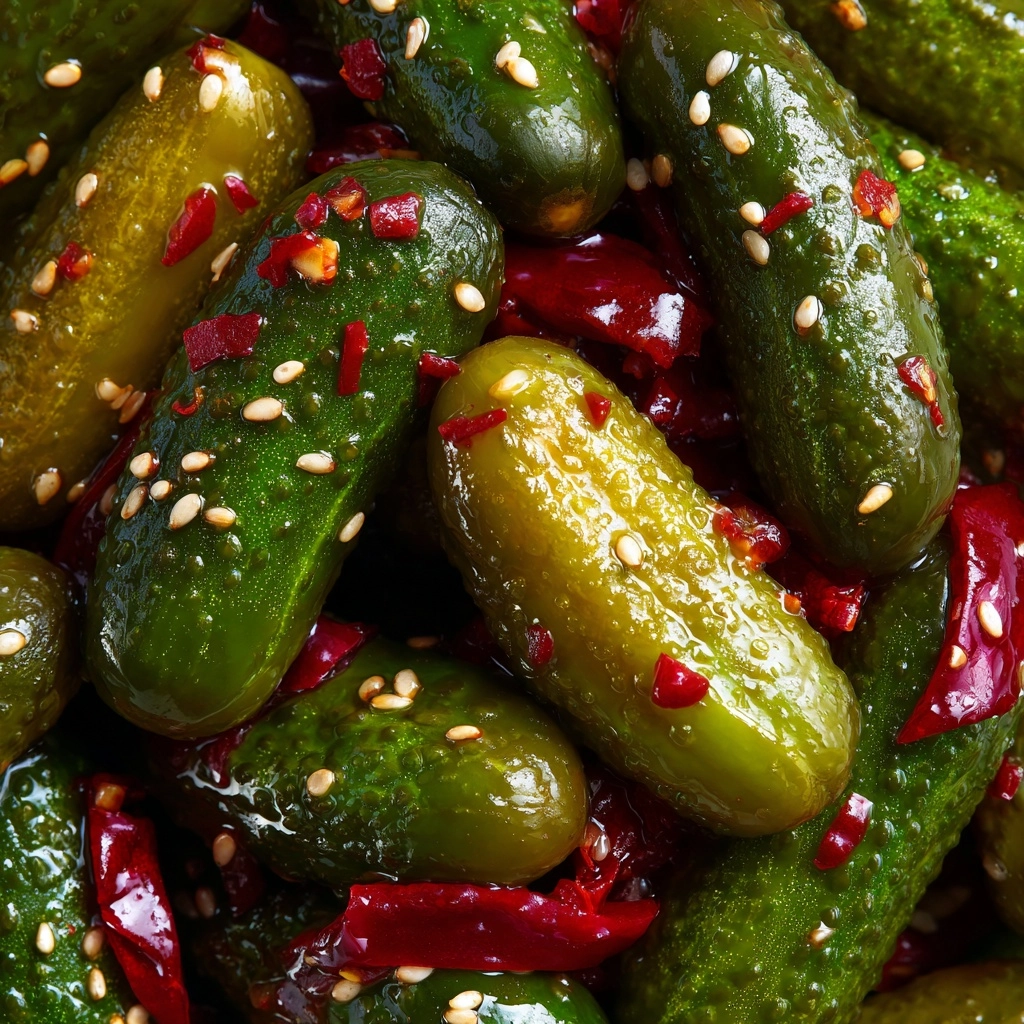
If you’ve ever craved that crisp, tangy snap of pickle perfection, you’re going to love this Homemade Claussen Pickles Recipe. It’s a delightful blend of simple ingredients and time-tested fermentation that results in pickles bursting with fresh dill flavor and a punch of garlic zing. Whether you like them whole or sliced into spears, these pickles offer that unbeatable crunch and vibrant taste that Claussen fans rave about, all right from your own kitchen. This recipe lets you control the ingredients, customize the heat, and enjoy the satisfaction of creating your very own classic refrigerator pickles with zero fuss.
Ingredients You’ll Need
Getting the right balance of flavors starts with a few straightforward ingredients, each playing a special role in crafting those perfect pickles. From the crispness of the cucumbers to the boldness of garlic and dill, every component contributes to texture and signature Claussen flavor.
- 10–12 small pickling cucumbers: Use fresh, firm cucumbers trimmed at the ends for optimal crunch and flavor.
- 4 cups cold water: Essential for diluting the vinegar and forming your pickling brine.
- 1 1/2 cups distilled white vinegar: Provides the classic tang and preserves your pickles beautifully.
- 1/3 cup kosher salt: A key to fermenting and seasoning, enhancing both taste and texture.
- 6 garlic cloves, peeled and smashed: Adds a punchy aroma and bite that pairs perfectly with dill.
- 2 tsp mustard seeds: Brings a subtle spice and complexity to the brine.
- 2 tsp dill seeds: Boosts the signature dill flavor for that unmistakable freshness.
- 1 tsp black peppercorns: Offers a gentle heat and depth to every bite.
- 1/2 tsp red pepper flakes (optional): For a touch of kick that wakes up your taste buds.
- 8–10 fresh dill sprigs: Aromatic and essential for that authentic dill pickle aroma and flavor.
- 1/2 tsp alum (optional): Helps ensure extra crispness but can be skipped if preferred.
How to Make Homemade Claussen Pickles Recipe
Step 1: Prepare Your Cucumbers
Start by deciding whether you want your pickles whole or sliced into spears—both are fantastic! Wash the cucumbers thoroughly and trim off the ends to avoid bitterness. Preparing them this way ensures an ideal texture and allows the brine to permeate evenly.
Step 2: Make the Brine
Combine cold water, distilled white vinegar, and kosher salt in a large bowl or pitcher. Stir until all the salt dissolves completely. This brine is the magic liquid that will soak your cucumbers in a tangy, salty bath, kickstarting the fermentation.
Step 3: Layer the Flavors
In a large, clean glass jar or container, add garlic cloves, mustard seeds, dill seeds, peppercorns, red pepper flakes if using, and half of the fresh dill sprigs at the bottom. This base infuses the pickle brine with complex aromas and spice right from the start.
Step 4: Pack the Cucumbers
Stand your cucumbers upright and pack them tightly into the jar. This helps them stay submerged in the brine and allows flavors to meld perfectly. Tuck the remaining dill sprigs around the sides for an extra boost of herbaceous goodness.
Step 5: Submerge and Add Alum (optional)
Pour your prepared brine over the cucumbers until they are fully covered. If you’re opting to use alum for extra crispness, sprinkle it in at this stage. This simple ingredient can make a significant difference in crunch.
Step 6: Ferment at Room Temperature
Cover the jar loosely with a lid or cloth to let gases escape, and let it sit at room temperature for 2–3 days. Taste your pickles daily until they reach your perfect balance of tang and flavor.
Step 7: Refrigerate and Enjoy
Once fermented to your satisfaction, seal the jar tightly and store it in the refrigerator. Your pickles will continue to develop their flavor slowly while maintaining that unbeatable crunch for several weeks.
How to Serve Homemade Claussen Pickles Recipe
Garnishes
Sprinkle freshly chopped dill or a dash of crushed red pepper flakes on your homemade pickles to enhance their natural zing. A small drizzle of olive oil and fresh lemon zest can add a gourmet touch when serving as a snack or appetizer.
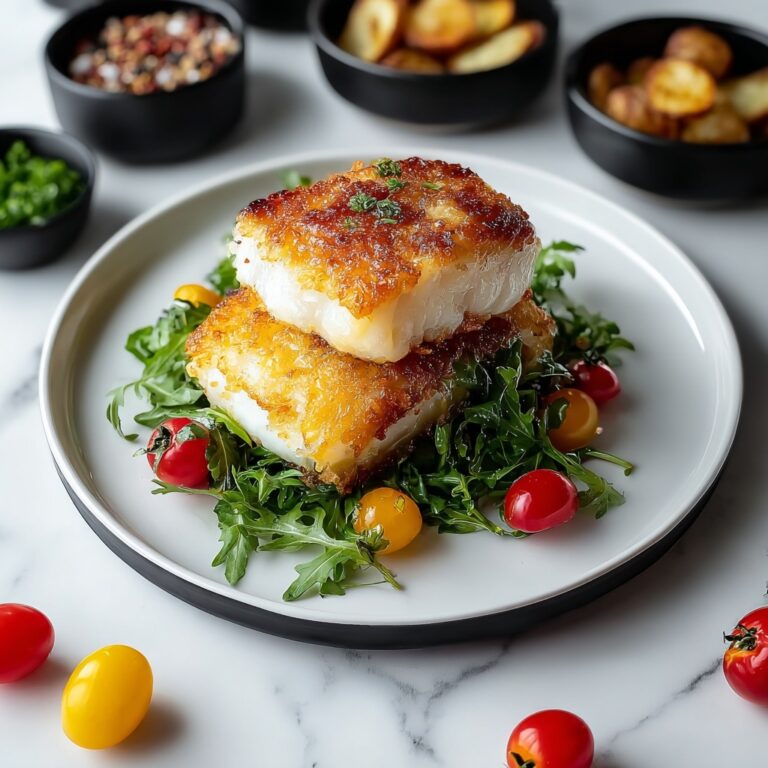
Side Dishes
These pickles are classic companions to sandwiches, burgers, and BBQ plates. Their tangy crispness cuts through rich, meaty flavors perfectly. Pair with potato salad, smoked meats, or creamy macaroni for a true American deli experience at home.
Creative Ways to Present
Slice pickles into thin coins for topping salads or burgers, or chop them finely to stir into dips like tartar sauce or ranch dressing. You can also skewer them with cheese and olives for vibrant party platters your guests will adore.
Make Ahead and Storage
Storing Leftovers
Keep your pickles refrigerated in their brine in a sealed jar to maintain crunch and freshness for up to several weeks. The flavor deepens over time, so leftovers can taste even better after a few days.
Freezing
Because pickles rely on crunch and texture, freezing is not recommended as it causes them to become mushy upon thawing. It’s best to enjoy your Homemade Claussen Pickles Recipe fresh from the fridge whenever possible.
Reheating
Pickles are designed to be enjoyed cold or at room temperature. Reheating is not necessary and will diminish their snap and flavor, so keep them chilled and ready to delight as a crunchy, cool treat.
FAQs
Can I use regular cucumbers instead of pickling cucumbers?
While you can technically use regular cucumbers, pickling cucumbers are preferred due to their thinner skins and firmer texture which helps maintain that satisfying crunch in your Homemade Claussen Pickles Recipe.
Is alum necessary for crisp pickles?
Alum is optional. It does help keep your pickles extra crisp, but if you prefer not to use it, just be sure to refrigerate your pickles promptly after fermentation to preserve their crunch.
How long can I ferment my pickles?
Fermentation time is flexible depending on your taste. Typically, 2–3 days at room temperature brings a well-balanced tang and flavor, but if you like them tangier, you can extend the process a little longer, just watch closely.
Can I add other vegetables or flavors?
Absolutely! Onions, jalapeños, or extra garlic cloves are fantastic additions to customize your batch with different layers of flavor and heat.
What if my pickles taste too salty?
If the brine feels too salty, try rinsing the pickles briefly before serving or dilute future batches with a bit more water to balance the saltiness to your liking.
Final Thoughts
There’s nothing quite like biting into a perfectly tangy, crunchy homemade pickle, and this Homemade Claussen Pickles Recipe makes it easy and fun to replicate that satisfying experience in your own kitchen. With just a handful of simple ingredients and a bit of patience, you’ll impress yourself and your friends with pickles that taste fresh, vibrant, and full of personality. Give it a try—you won’t regret it!
Print
Homemade Claussen Pickles Recipe
- Prep Time: 15 minutes
- Cook Time: 0 minutes
- Total Time: 2–3 days (including fermentation)
- Yield: 10–12 servings
- Category: Side Dish
- Method: No-Cook
- Cuisine: American
- Diet: Vegan, Gluten Free
Description
This Homemade Claussen Pickles recipe offers a tangy, crisp, and flavorful fermented pickle experience made from fresh pickling cucumbers, garlic, dill, and a carefully balanced brine. Perfect for those craving a no-cook, naturally fermented side dish, these pickles are easy to prepare and develop depth of flavor over a few days at room temperature before refrigeration.
Ingredients
Pickles
- 10–12 small pickling cucumbers (washed and ends trimmed)
Brine
- 4 cups cold water
- 1 1/2 cups distilled white vinegar
- 1/3 cup kosher salt
Spices & Flavorings
- 6 garlic cloves (peeled and smashed)
- 2 tsp mustard seeds
- 2 tsp dill seeds
- 1 tsp black peppercorns
- 1/2 tsp red pepper flakes (optional)
- 8–10 fresh dill sprigs
- 1/2 tsp alum (optional, for extra crispness)
Instructions
- Prepare Cucumbers: Slice the cucumbers into spears or leave them whole, depending on your preference for texture and size in your pickles.
- Make Brine: In a large bowl or pitcher, combine cold water, distilled white vinegar, and kosher salt. Stir until the salt is fully dissolved to create a balanced, flavorful brine.
- Layer Spices: In the bottom of a large, clean glass jar or container, add garlic cloves, mustard seeds, dill seeds, black peppercorns, red pepper flakes (if using), and half of the fresh dill sprigs to infuse the base of your pickles with aromatic flavors.
- Pack Cucumbers: Tightly pack the cucumbers upright into the jar on top of the spices. Tuck the remaining dill sprigs around the cucumbers for added freshness and herbal notes.
- Add Brine and Alum: Pour the prepared brine over the cucumbers ensuring they are fully submerged to encourage proper fermentation. If using, sprinkle the alum into the jar to help maintain extra crispness during the process.
- Ferment: Cover the jar loosely with a lid or breathable cloth to allow gases to escape, and leave it at room temperature for 2–3 days. Monitor for desired tanginess and texture.
- Store: Once pickles reach your preferred flavor level, seal the jar tightly and refrigerate. They will continue to develop flavor and stay crisp for several weeks.
Notes
- Use pickling cucumbers to achieve the best crunchy texture.
- If you choose not to use alum, be sure to refrigerate the pickles immediately after fermentation to maintain their crunch.
- Feel free to add sliced onions, jalapeños, or extra garlic for a personalized flavor variation.


