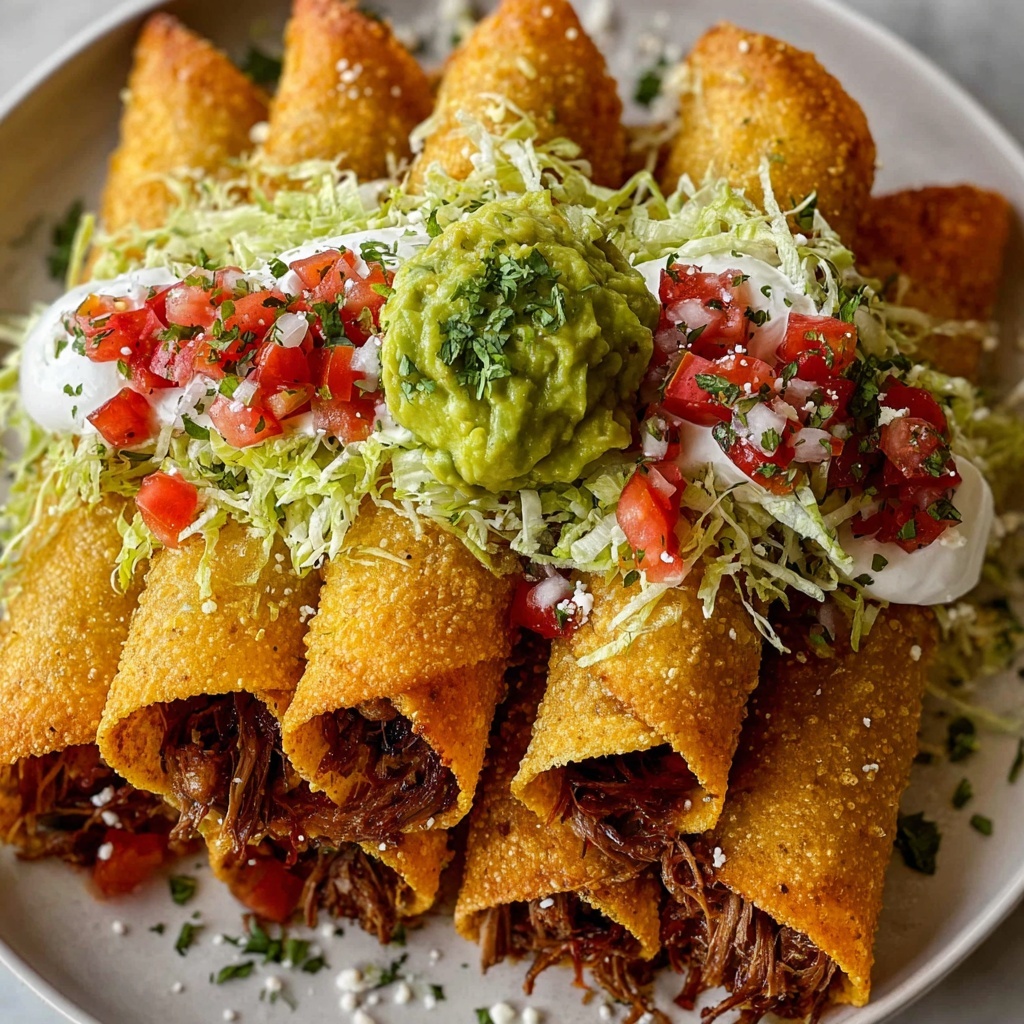
If you have a craving for a snack that’s crunchy, cheesy, and packed with tender shredded chicken, you’ve come to the right place. This Crispy Chicken Taquitos Recipe is a total crowd-pleaser that transforms simple ingredients into irresistible little rolled delights. Each bite offers a perfect balance of creamy filling and a satisfyingly crisp exterior, making it an ideal treat for any occasion, whether it’s game day, a casual dinner, or a party appetizer that everyone will rave about.
Ingredients You’ll Need
Gathering a few staple ingredients is all it takes to whip up these fantastic taquitos. Each component plays a role in building rich flavor, smooth texture, and that golden, crispy finish that makes these irresistible.
- Cooked shredded chicken (2 cups): The hearty base of our filling that brings protein and savory goodness.
- Shredded cheddar cheese (1 cup): Adds melty, sharp flavor that binds the filling together perfectly.
- Cream cheese, softened (1/2 cup): Contributes creamy richness for a luscious texture.
- Sour cream (1/4 cup): Gives a tangy undertone that brightens the overall taste.
- Garlic powder (1/2 tsp): Provides a warm, aromatic punch without overpowering.
- Onion powder (1/2 tsp): Boosts the savory profile with subtle sweetness.
- Cumin (1/2 tsp): Brings a gentle earthiness and depth to the spice mix.
- Chili powder (1/4 tsp): Adds just a hint of smoky heat to balance the flavors.
- Salt and pepper to taste: Essential to enhance and unify all ingredients.
- Small flour tortillas (10): The thin wraps that hold everything together for that crispy finish.
- Vegetable oil for frying: Ensures a golden, crunchy exterior that’s oh-so-satisfying.
- Optional toppings: Salsa, guacamole, sour cream, and chopped cilantro for added freshness and flair.
How to Make Crispy Chicken Taquitos Recipe
Step 1: Mix the Filling
Start by combining the shredded chicken, cheddar cheese, cream cheese, and sour cream in a large bowl. Mixing these creamy and savory ingredients together lays down the base for a rich filling that tastes as delicious as it looks.
Step 2: Season the Mixture
Sprinkle in garlic powder, onion powder, cumin, chili powder, salt, and pepper, then stir thoroughly. This blend of spices infuses the filling with layers of flavor, giving every bite that perfect Tex-Mex vibe.
Step 3: Prepare the Tortillas
Lay each small tortilla flat on your workspace. Spoon about 2 to 3 tablespoons of the chicken mixture onto the lower third of the tortilla. This helps keep them the right size and easier to roll tightly without spilling.
Step 4: Roll Them Up
Roll each tortilla snugly around the filling, making sure the seam is firmly sealed. The tight roll is key to frying up those irresistibly crisp edges without the filling leaking out.
Step 5: Heat the Oil
Heat about one inch of vegetable oil in a large skillet over medium-high heat until shimmering hot. Proper oil temperature is crucial for that golden, crunchy exterior without absorbing too much oil.
Step 6: Fry the Taquitos
Carefully place the rolled taquitos seam-side down in the hot oil. Fry them for about 2 to 3 minutes on each side until they turn a beautiful golden brown and become delightfully crisp. Working in batches keeps the oil temperature steady.
Step 7: Drain and Repeat
Use tongs to remove the cooked taquitos and drain them on paper towels. Continue frying the remaining taquitos until all are perfectly crisp and ready for serving.
Step 8: Serve Warm
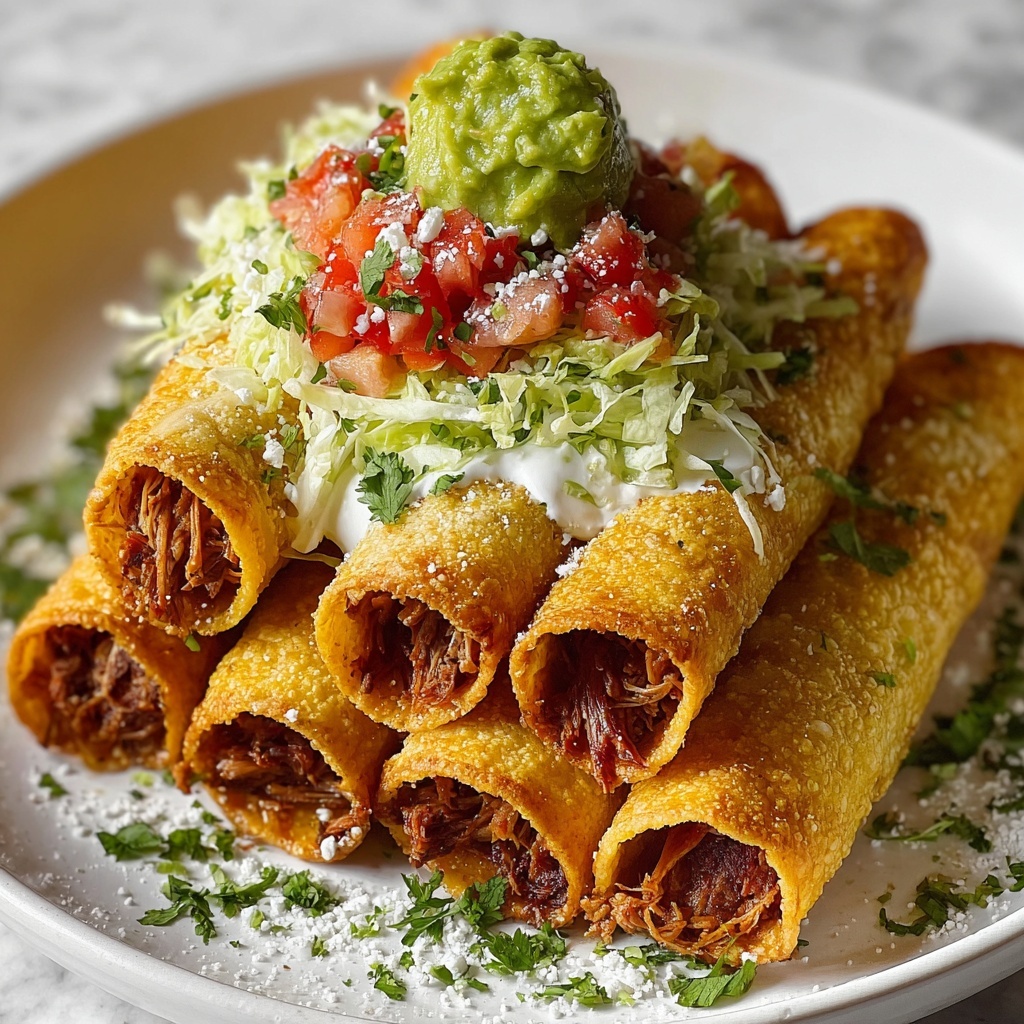
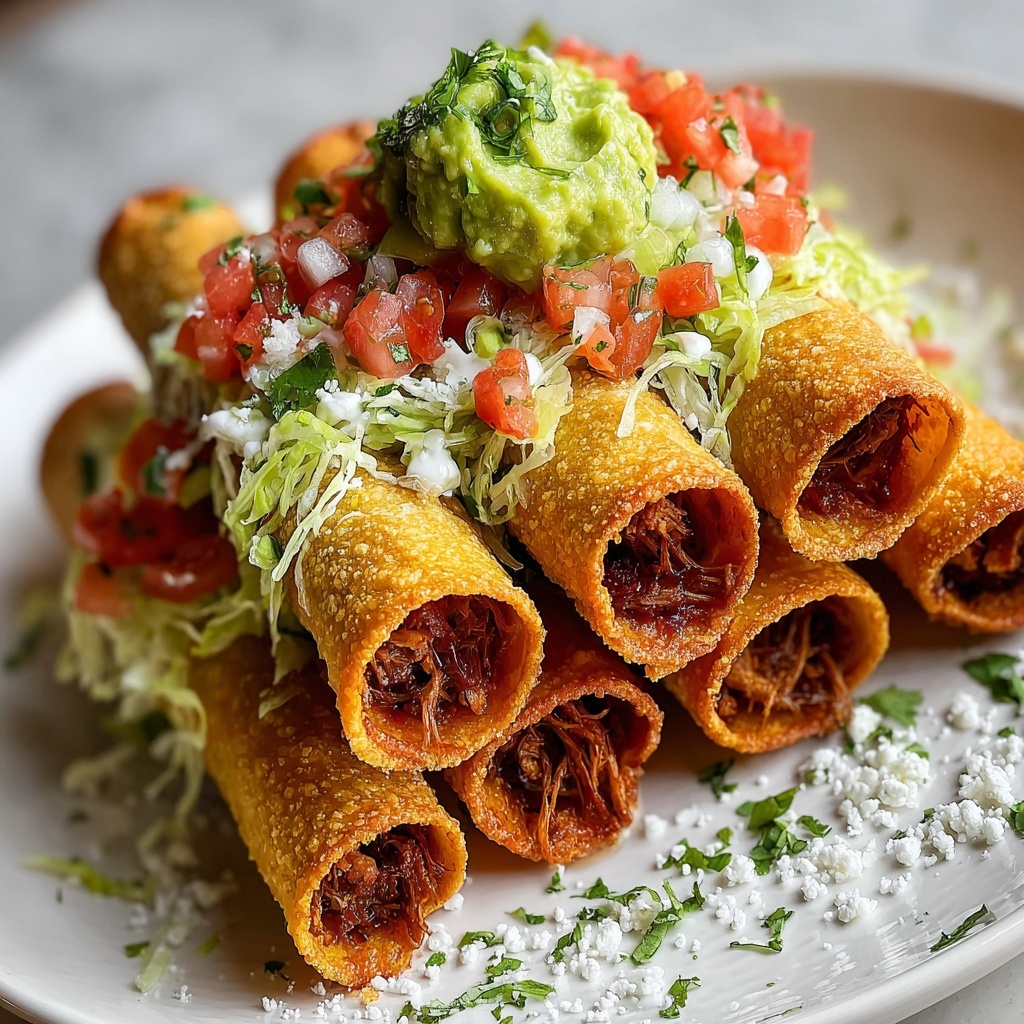
Plate your freshly fried taquitos warm with optional toppings like salsa, guacamole, sour cream, or chopped cilantro. These extras not only complement the flavors but also add bursts of freshness and color.
How to Serve Crispy Chicken Taquitos Recipe
Garnishes
A sprinkle of chopped cilantro instantly brightens the dish with its fresh herbaceous notes. Add dollops of sour cream and tangy salsa for cool, creamy, and zesty contrasts that let every taquito pop with vibrant flavors.
Side Dishes
Pair these taquitos with a simple Mexican rice or a crisp green salad to round out your meal. Black beans or a fresh corn salsa make excellent companions, balancing the richness of the taquitos with earthy or fresh textures.
Creative Ways to Present
Serve the taquitos upright in a tall glass or mason jar for a playful, easy-to-grab appetizer display at parties. Layer them on a colorful platter surrounded by bowls of different dips — this way, guests can mix and match every delicious bite.
Make Ahead and Storage
Storing Leftovers
Keep leftover taquitos in an airtight container in the refrigerator for up to 3 days. This short window ensures they stay fresh and maintain their crispiness when reheated.
Freezing
For longer storage, freeze the un-fried rolled taquitos on a baking sheet first, then transfer them to a freezer-safe bag. They’ll keep well for up to 2 months — just fry them straight from frozen to save time.
Reheating
To revive the crispiness, reheat taquitos in a hot oven or air fryer until warmed through and crunchy. Avoid microwaving if possible, as it tends to make them soggy.
FAQs
Can I use corn tortillas instead of flour tortillas?
Absolutely! While flour tortillas tend to roll more easily and crisp nicely, corn tortillas can add a lovely authentic flavor. Just warm them up first to make rolling easier and gently handle to prevent cracking.
Is it possible to bake the taquitos instead of frying?
Yes! Baking at 425°F for about 20 minutes or until crisp is a healthier alternative. Be sure to lightly spray or brush the taquitos with oil to encourage crispiness.
What can I substitute for cream cheese in the filling?
If you’re out of cream cheese, you can use more sour cream or even some Greek yogurt for a tangy creaminess. Just keep in mind the consistency might be slightly less thick.
Can I make these taquitos vegetarian?
Definitely! Substitute the shredded chicken with beans, sautéed mushrooms, or seasoned roasted vegetables for a delicious vegetarian version that still packs in flavor.
How do I keep the taquitos from unrolling while frying?
Rolling them tightly and placing them seam-side down in the hot oil helps hold them together. You can also secure them with a toothpick if needed, just remember to remove it before serving.
Final Thoughts
This Crispy Chicken Taquitos Recipe is a go-to favorite that showcases how a handful of simple ingredients can come together to create something truly special. Whether you’re feeding a family or entertaining friends, these taquitos add a fun, satisfying burst of flavor that’s hard to beat. I hope you give them a try and enjoy every crispy, cheesy bite as much as I do!
Print
Crispy Chicken Taquitos Recipe
- Prep Time: 0h 15m
- Cook Time: 0h 15m
- Total Time: 0h 30m
- Yield: 10 taquitos
- Category: Appetizer
- Method: Frying
- Cuisine: Mexican
Description
These Crispy Chicken Taquitos are a deliciously crunchy appetizer or snack featuring tender shredded chicken mixed with creamy cheeses and spices, all wrapped in flour tortillas and fried to golden perfection. Perfect for party platters or casual meals, they’re easy to make and satisfying with customizable toppings like salsa and guacamole.
Ingredients
Filling
- 2 cups cooked shredded chicken
- 1 cup shredded cheddar cheese
- 1/2 cup cream cheese, softened
- 1/4 cup sour cream
- 1/2 tsp garlic powder
- 1/2 tsp onion powder
- 1/2 tsp cumin
- 1/4 tsp chili powder
- Salt and pepper to taste
Taquitos
- 10 small flour tortillas
- Vegetable oil for frying (about 1 inch depth in skillet)
Optional Toppings
- Salsa
- Guacamole
- Sour cream
- Chopped cilantro
Instructions
- Prepare the filling: In a large mixing bowl, combine the shredded chicken, cheddar cheese, cream cheese, and sour cream. Mix until everything is well combined to create a creamy, flavorful mixture.
- Season the mixture: Add garlic powder, onion powder, cumin, chili powder, salt, and pepper to the filling and stir thoroughly to ensure even distribution of the spices throughout.
- Fill tortillas: Lay one tortilla flat on a clean surface. Spoon 2-3 tablespoons of the seasoned chicken mixture onto the lower third of the tortilla, ready to be rolled.
- Roll taquitos: Tightly roll the tortilla around the filling starting from the filled end, securing the mixture inside. Repeat this process with the remaining tortillas and filling.
- Heat oil: Pour vegetable oil into a large skillet to about 1 inch depth and heat over medium-high heat until hot but not smoking, preparing for frying.
- Fry taquitos: Carefully place a few taquitos seam-side down into the hot oil. Fry each side for 2-3 minutes or until golden brown and crispy, turning gently to cook evenly without breaking.
- Drain excess oil: Using tongs, remove the taquitos from the skillet and place them on paper towels to drain any excess oil, keeping them crisp and less greasy.
- Serve and garnish: Serve the taquitos warm with optional toppings such as salsa, guacamole, extra sour cream, and chopped cilantro to add freshness and flavor.
Notes
- For extra crispiness, you can double-fry the taquitos by frying once, letting them rest briefly, then frying again for a minute.
- If you prefer a lighter version, bake the taquitos at 400°F (200°C) for 15-20 minutes instead of frying.
- Use corn tortillas for a gluten-free option but warm them first to prevent cracking when rolling.
- Customize the filling by adding jalapeños for heat or black beans for extra protein and fiber.
- Be cautious when frying to avoid overcrowding the skillet, which can lower the oil temperature and result in soggy taquitos.
